Android Studio--Activity实现跳转功能
2024-09-05 20:29:01
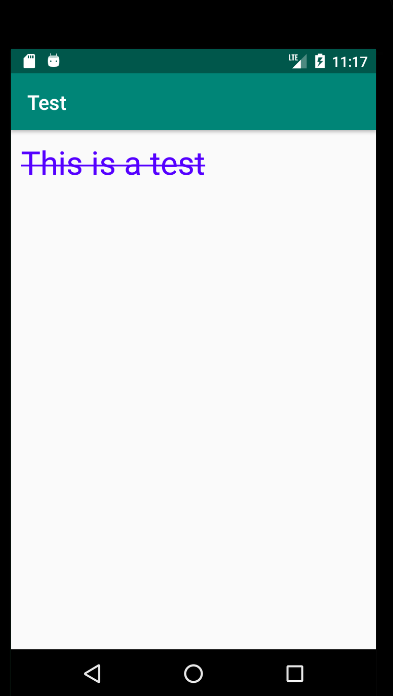
首先,完成一个布局文件,名字就叫做activity_text_view.xml
<?xml version="1.0" encoding="utf-8"?>

<LinearLayout xmlns:android="http://schemas.android.com/apk/res/android"

    android:layout_width="match_parent"

    android:layout_height="match_parent"

    android:orientation="vertical"

    >

    <TextView

        android:id="@+id/ttv1"

        android:layout_width="match_parent"

        android:layout_height="wrap_content"

        android:text="This is a test"

        android:textColor="#5500FF"

        android:textSize="32sp"

        android:padding="10dp"

        />

</LinearLayout>

下面来新建一个TestTextViewActivity.java文件
package com.example.test;

import android.graphics.Paint;

import android.os.Bundle;

import android.widget.TextView;

import androidx.appcompat.app.AppCompatActivity;

public class TestTextViewActivity extends AppCompatActivity {

    private TextView mtv1;

    @Override

    protected void onCreate(Bundle savedInstanceState) {

        super.onCreate(savedInstanceState);

        setContentView(R.layout.activity_text_view);

        mtv1 = findViewById(R.id.ttv1);

        mtv1.getPaint().setFlags(Paint.STRIKE_THRU_TEXT_FLAG); // set strike through style in the text

        mtv1.getPaint().setAntiAlias(true); // get rid of the zigzag effect

    }

}
在MainActivity.java文件里加入以下代码:
package com.example.test;

import android.content.Intent;

import android.os.Bundle;

import android.view.View;

import android.widget.Button;

import androidx.appcompat.app.AppCompatActivity;

public class MainActivity extends AppCompatActivity {

    private Button mBtnTextView;  // define a text view button

    @Override

    protected void onCreate(Bundle savedInstanceState) {

        super.onCreate(savedInstanceState);

        setContentView(R.layout.activity_main);

        mBtnTextView = findViewById(R.id.btnTextView1);  // get the button, it is in activity_main.xml

        mBtnTextView.setOnClickListener(new View.OnClickListener() {

            public void onClick(View view) {

                Intent intent = new Intent(MainActivity.this, TestTextViewActivity.class);

                startActivity(intent);

            }

        });

    };

}
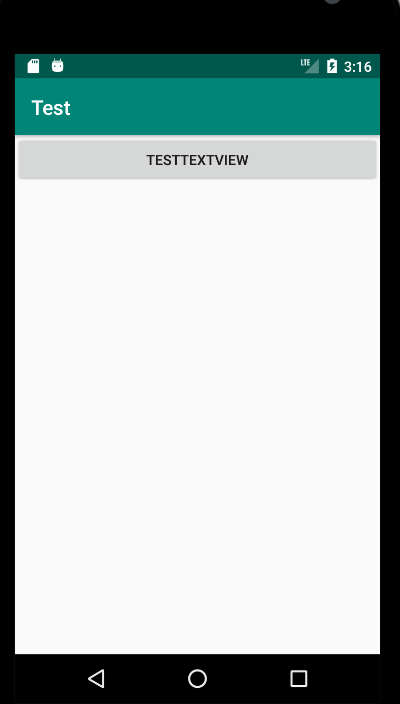
activity_main.xml
<?xml version="1.0" encoding="utf-8"?>

<LinearLayout xmlns:android="http://schemas.android.com/apk/res/android"

    android:layout_width="match_parent"

    android:layout_height="match_parent"

    android:orientation="vertical"

    >

    <Button

        android:id="@+id/btnTextView1"

        android:layout_width="match_parent"

        android:layout_height="wrap_content"

        android:text="TestTextView"

        />

</LinearLayout>
注意:在AndroidMainifest.xml里面加入activity
<activity android:name=".TestTextViewActivity"/>
效果图如下:
最新文章
- jQuery所支持的css样式
- EhCache的配置
- bzoj 1537: [POI2005]Aut- The Bus 线段树
- 用gulp建立自动工具,完成软件的编译、测试、打包和发布流程
- lr中switch的应用
- js函数的调用问题
- Java 多线程 —— synchronized关键字
- Spark工程开发常用函数与方法(Scala语言)
- OpenGL第18,19,20讲小结
- 周末充电之WPF(四).多窗口之间操作
- Common Lisp 编译器IDE环境搭建
- Python每日一练(1):计算文件夹内各个文章中出现次数最多的单词
- shell 调用mysql 存储过程判断真假
- HDU 3699 A hard Aoshu Problem (暴力搜索)
- Django编写RESTful API(三):基于类的视图
- PHP中的 $_SERVER 函数说明详解
- 【ShaderToy】画一个球体
- Git 教程(二):提交和回退
- mybatis_异常
- MongodbHelper