React Native学习(五)—— 使用插件react-native-scrollable-tab-view
本文基于React Native 0.52
Demo上传到Git了,有需要可以看看,写了新内容会上传的。Git地址 https://github.com/gingerJY/React-Native-Demo
一、总览
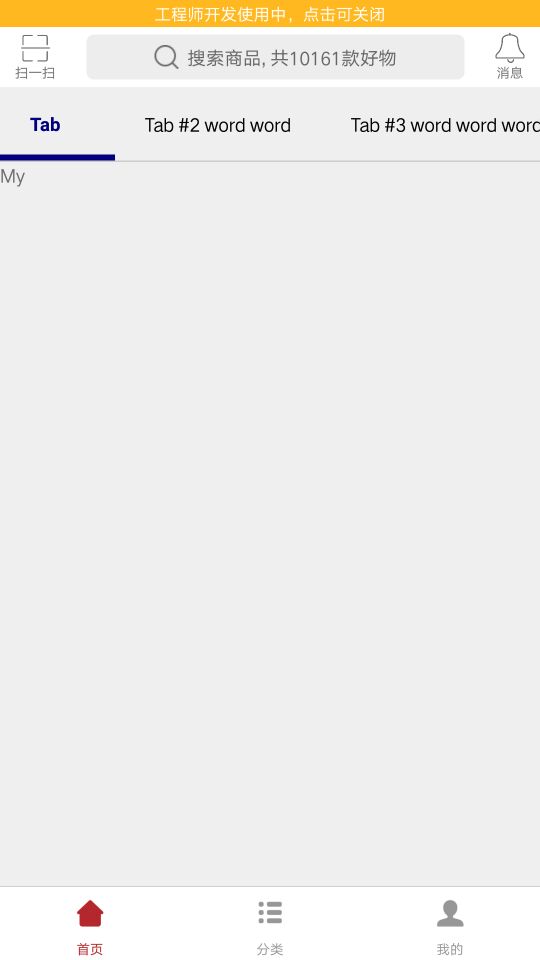
如下图,有一个滑动的tab切换,就是用react-native-scrollable-tab-view来实现的。

二、使用react-native-scrollable-tab-view插件
1、通过npm将插件加入项目
npm install react-native-scrollable-tab-view --save
2、在home.js引入插件
import ScrollableTabView, { ScrollableTabBar, DefaultTabBar } from 'react-native-scrollable-tab-view';
3、使用插件
① 这里就写一下我这个效果的实现,其他内容可以看 https://github.com/skv-headless/react-native-scrollable-tab-view
② TabBar有DefaultTabBar和ScrollableTabBar两种,这里使用ScrollableTabBar,下面是官方给出的例子(如果是在APP的首页会出现内容不显示的问题,三里面有解决办法)
     <ScrollableTabView

            initialPage={0}

            renderTabBar={() => <ScrollableTabBar />}

      >

            <Text tabLabel='Tab #1'>My</Text>

            <Text tabLabel='Tab #2 word word'>favorite</Text>

            <Text tabLabel='Tab #3 word word word'>project</Text>

            <Text tabLabel='Tab #4 word word word word'>favorite</Text>

            <Text tabLabel='Tab #5'>project</Text>

     </ScrollableTabView>
③ 修改默认样式
注意改变下划线颜色,要设置backgroundColor
<ScrollableTabView

      renderTabBar={() => <ScrollableTabBar />}

      tabBarBackgroundColor='#fff'

      tabBarActiveTextColor='#b4282d'

      tabBarInactiveTextColor='#333'

      tabBarUnderlineStyle={styles.tabBarUnderline}

>

 …………省略

</ScrollableTabView>
tabBarUnderline: {

    backgroundColor: '#b4282d',

    height: 2,

}
④ 添加数据
由于tab项很多,所以数据写在state里,减少重复代码,也便于修改
constructor(props) {

   super(props);

   this.state = {

      label: ['推荐', '新品', '居家', '餐厨', '配件', '服装', '电器', '洗护', '杂货', '饮食', '婴童', '志趣'],

   };

}
⑤ 遍历数据
   renderScrollableTab() {

        let label = this.state.label

            return (

                    <ScrollableTabView

                        renderTabBar={() => <ScrollableTabBar />}

                        …………省略

                    >

                        {

                            label.map((item, index) => {

                                return (<Recommend tabLabel={item} key={index}/>)

                            })

                        }

                    </ScrollableTabView>

            )

    }
注:Recommend 是一个新加的页面,注意要在home.js引入。当然也可以不加新页面,return一个Text也可以。
home.js完整代码 https://github.com/gingerJY/example/blob/master/RN_scrollableTab/home.js
三、解决不显示问题
APP首页使用插件经常会出现一些别处没有的问题,这个tab下面内容不显示就是其中之一。解决方法为:
1、加一个是否显示的状态
  constructor(props) {

        super(props);

        this.state = {

            tabShow: false,

        };

  }
2、在初始化render之后,将状态设为true
componentDidMount() {

   setTimeout(() => {

     this.setState({

         tabShow: true

     });

   }, 0)

}
3、render的时候判断this.state.tabShow,等setTimeout执行后改变了状态,才会渲染
   if (this.state.tabShow){

            return (

                <ScrollableTabView

                    renderTabBar={() => <ScrollableTabBar />}

                   …………略

                >

                    …………略

                </ScrollableTabView>

            )

     }
这样就可以显示了。
END--------------------------------------------------
生命周期、布局
最新文章
- [LeetCode] Maximal Rectangle 最大矩形
- 【原】Spark之机器学习(Python版)(二)——分类
- 谈谈LoveLive SIF以及即将诞生的LL练习器
- python学习:环境搭建
- Android复习笔记--架构与版本
- 20145223《Java程序程序设计》实验一实验报告
- LGLProgressHUD
- Android——ViewGroup的一个用法实例(转载)
- hdu 2187
- memcache分布式小实例
- ProgressBar、RatingBar和Spinner控件
- ASP文件上传代码
- POJ1850-Code 递推数学
- java 类方法和实例方法 以及 类变量和实例变量
- 关于MT8127中sdk的编译出错问题
- 系统设计Design For Failure思想
- XML语言2.约束
- 微信小程序scroll-view滚动一次多次触发的问题解决方案
- 防止网站被镜像,被iframe
- Oslo 相机 App
热门文章
- 《基于Node.js实现简易聊天室系列之引言》
- 聊5块钱P2V
- R in action读书笔记(12)第九章 方差分析
- MAC 添加共享,脚本执行
- Jmeter之断言——检查点
- Perl语言入门:第六章习题:处理用户所指定的名字并汇报相应的姓。
- Android自动化测试之Monkey
- 【简●解】POJ 1845 【Sumdiv】
- luogu 2-SAT 问题
- myBatis查询报错 You have an error in your SQL syntax; check the manual that corresponds to your MySQL server version for the right syntax to use near