springcloud的服务提供者与服务消费者
2024-09-02 18:08:42
1、说明
springcloud中由服务消费者调用服务提供者一共有两种方法rest和feign
2、feign
(1)使用feign的方式进行服务调,搭建服务提供者。
- 创建一个web项目(服务提供者)
- 修改pom文件
<dependency>

    <groupId>org.springframework.cloud</groupId>

    <artifactId>spring-cloud-starter-eureka</artifactId>

    <version>1.4.4.RELEASE</version>

</dependency>

<dependency>

    <groupId>org.springframework.boot</groupId>

    <artifactId>spring-boot-starter-web</artifactId>

</dependency> - 在项目启动类上加@EnableDiscoveryClient注解
- 添加配置文件
spring.application.name=spring-cloud-producer

server.port=9000

#将服务注册的地址
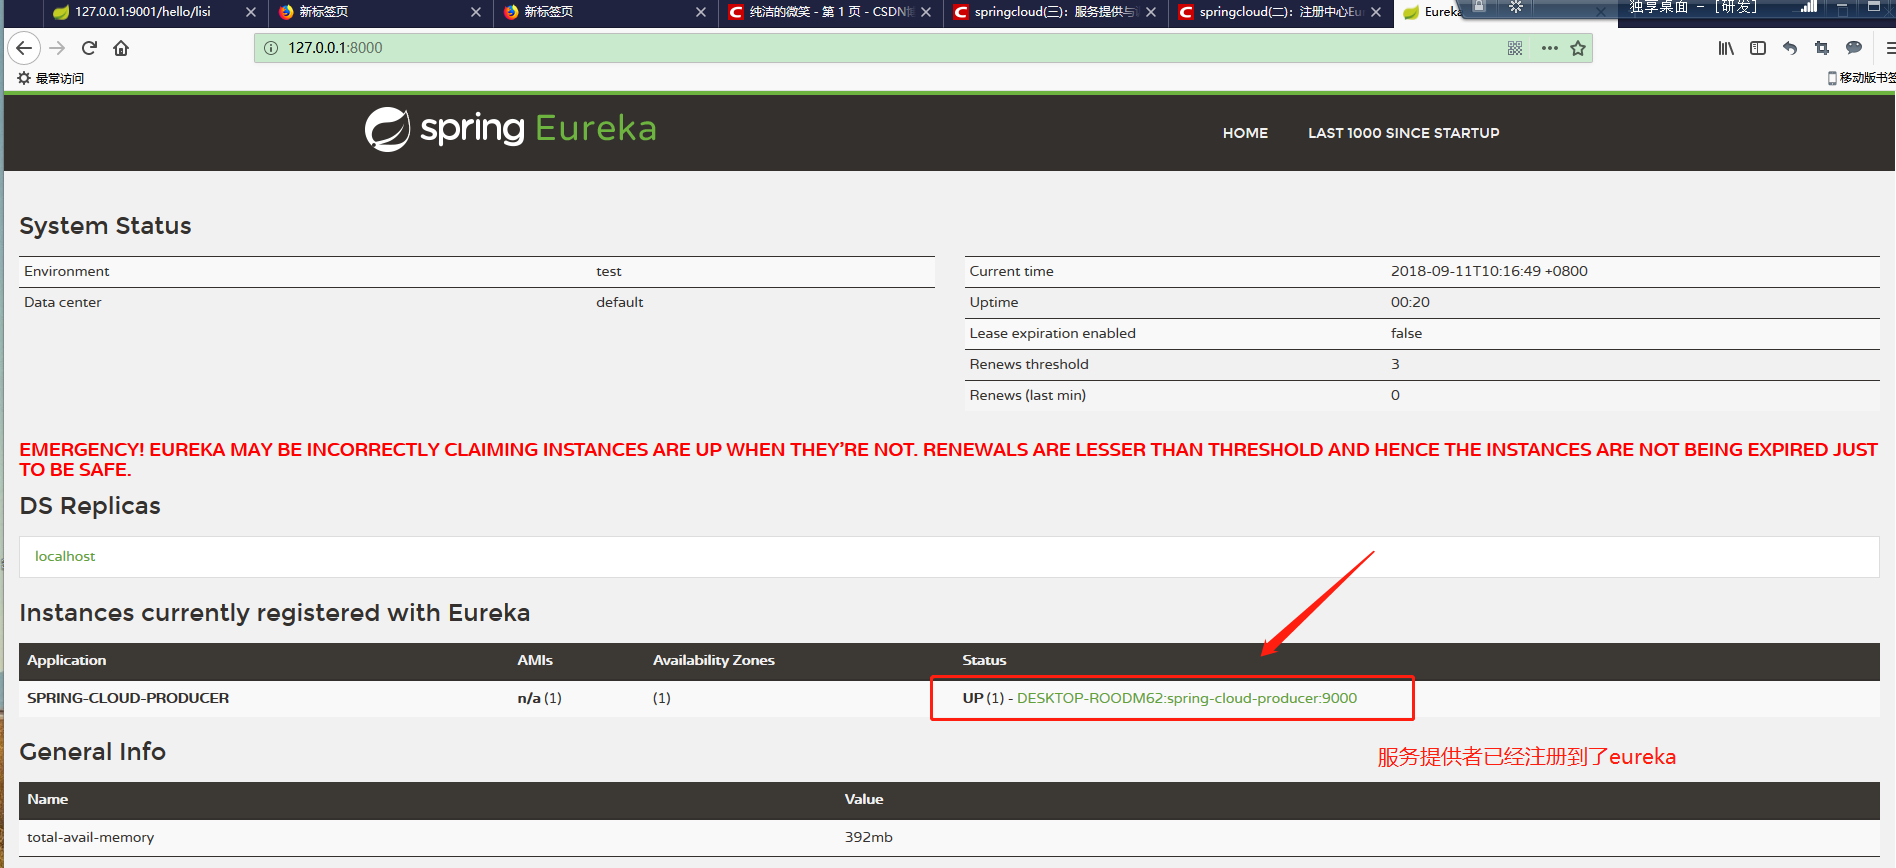
eureka.client.serviceUrl.defaultZone=http://localhost:8000/eureka/ - 编写测试代码
import org.springframework.web.bind.annotation.RequestMapping;
import org.springframework.web.bind.annotation.RequestParam;
import org.springframework.web.bind.annotation.RestController; @RestController
public class HelloController {
@RequestMapping("/hello")
public String index(@RequestParam String name) {
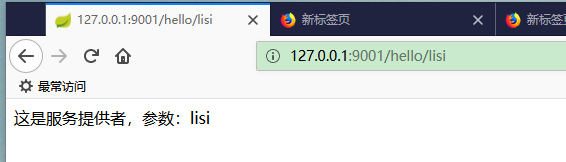
return "这是服务提供者,参数:"+name;
}
}
6、效果
(2)使用feign的方式进行服务调,搭建服务消费者。
- 创建一个web项目(服务消费者)
- 修改pom文件
<dependency>

     <groupId>org.springframework.boot</groupId>

     <artifactId>spring-boot-starter</artifactId>

</dependency>

 <dependency>

     <groupId>org.springframework.cloud</groupId>

     <artifactId>spring-cloud-starter-feign</artifactId>

     <version>1.4.4.RELEASE</version>

</dependency>

<dependency>

     <groupId>org.springframework.cloud</groupId>

     <artifactId>spring-cloud-starter-eureka</artifactId>

     <version>1.4.4.RELEASE</version>

</dependency> - 在项目启动类上加@EnableDiscoveryClient 启动服务注册和发现 @EnableFeignClients 启用feign进行远程调用 注解
- 添加配置文件
spring.application.name=spring-cloud-consumer

server.port=9001

eureka.client.serviceUrl.defaultZone=http://localhost:8000/eureka/ - 编写测试代码
5.1编写调用接口
import org.springframework.cloud.netflix.feign.FeignClient;

import org.springframework.web.bind.annotation.RequestMapping;

import org.springframework.web.bind.annotation.RequestParam;

// name的值是服务提供者的配置文件中的spring.application.name

@FeignClient(name= "spring-cloud-producer")

public interface HelloRemote {

    @RequestMapping(value = "/hello")

    String hello(@RequestParam(value = "name") String name);

}
5.2编写调用类
import com.comsuer.comsuer.Service.HelloRemote;

import org.springframework.beans.factory.annotation.Autowired;

import org.springframework.web.bind.annotation.PathVariable;

import org.springframework.web.bind.annotation.RequestMapping;

import org.springframework.web.bind.annotation.RestController;

@RestController

public class helloController {

    @Autowired

    private HelloRemote helloRemote;

    @RequestMapping("/hello/{name}")

    public String index(@PathVariable("name") String name) {

        return helloRemote.hello(name);

    }

}
6. 效果
3、rest
springcloud使用rest+ribbon实现服务调用和服务提供者的负载均衡
(1)搭建服务提供者
- 创建一个web项目
- 修改pom文件
<dependency>

    <groupId>org.springframework.cloud</groupId>

    <artifactId>spring-cloud-starter-netflix-eureka-client</artifactId>

</dependency>

<dependency>

    <groupId>org.springframework.boot</groupId>

    <artifactId>spring-boot-starter-web</artifactId>

</dependency> - 在启动类上加@EnableDiscoveryClient 注解
- 添加配置文件
spring.application.name=spring-cloud-producer

server.port=9000

eureka.client.serviceUrl.defaultZone=http://localhost:8000/eureka/ - 编写测试代码
import org.springframework.web.bind.annotation.PostMapping;
import org.springframework.web.bind.annotation.RequestBody;
import org.springframework.web.bind.annotation.ResponseBody;
import org.springframework.web.bind.annotation.RestController; @RestController
public class HelloController {
@PostMapping("/hello")
@ResponseBody
public String index(@RequestBody String name) {
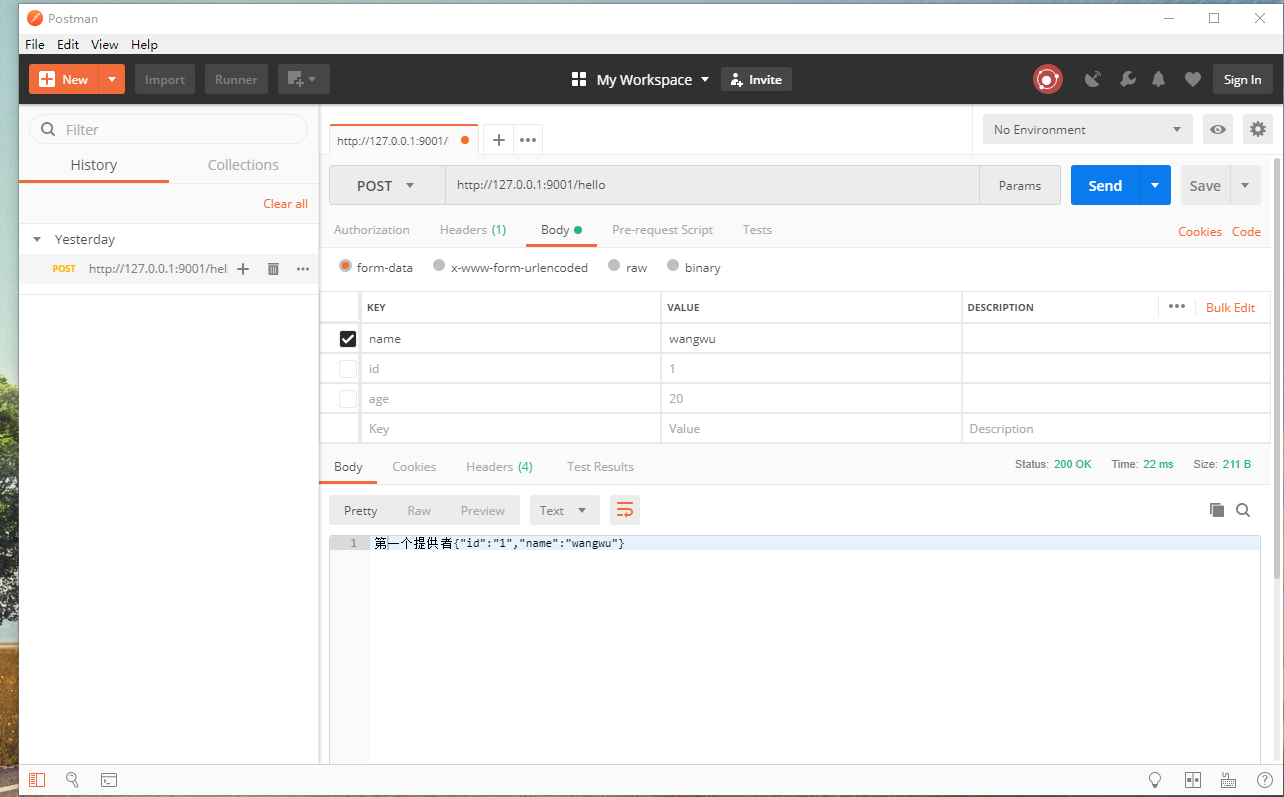
return "第一个提供者"+name;
}
} - 按照上面的五个步骤再构建一个服务提供者
(2)搭建服务消费者
- 创建一个web项目
- 修改配置文件
<dependency>

   <groupId>org.springframework.boot</groupId>

   <artifactId>spring-boot-starter-web</artifactId>

</dependency>

<dependency>

   <groupId>org.springframework.cloud</groupId>

   <artifactId>spring-cloud-starter-ribbon</artifactId>

   <version>1.4.4.RELEASE</version>

</dependency>

<dependency>

  <groupId>org.springframework.cloud</groupId>

  <artifactId>spring-cloud-starter-eureka-server</artifactId>

  <version>1.4.4.RELEASE</version>

</dependency>

<dependency>

<groupId>com.alibaba</groupId>

   <artifactId>fastjson</artifactId>

   <version>1.2.49</version>

</dependency> - 在启动类上添加@EnableDiscoveryClient 注解,并修改启动类的代码,修改如下
import org.springframework.boot.SpringApplication;

import org.springframework.boot.autoconfigure.SpringBootApplication;

import org.springframework.cloud.client.discovery.EnableDiscoveryClient;

import org.springframework.cloud.client.loadbalancer.LoadBalanced;

import org.springframework.context.annotation.Bean;

import org.springframework.web.client.RestTemplate;

@SpringBootApplication

@EnableDiscoveryClient

public class ComsuerApplication {

    public static void main(String[] args) {

        SpringApplication.run(ComsuerApplication.class, args);

    }

    // 实现负载均衡

    @Bean

    @LoadBalanced

    RestTemplate restTemplate(){

        return new RestTemplate();

    }

} - 添加配置文件
spring.application.name=spring-cloud-consumer

server.port=9001

eureka.client.serviceUrl.defaultZone=http://localhost:8000/eureka/ - 编写测试代码
import com.alibaba.fastjson.JSON;

import org.springframework.beans.factory.annotation.Autowired;

import org.springframework.web.bind.annotation.PostMapping;

import org.springframework.web.bind.annotation.ResponseBody;

import org.springframework.web.bind.annotation.RestController;

import org.springframework.web.client.RestTemplate;

@RestController

public class helloController {

    @Autowired

    private RestTemplate rest;

    @PostMapping("/hello")

    @ResponseBody

    public String hello(String name){

        System.err.println(name);

        String url = "http://spring-cloud-producer/hello";

        User user = new User();

        user.setName(name);

        user.setId("1");

        String s1 = JSON.toJSONString(user);

        String s = rest.postForObject(url, s1, String.class);

        return s;

    }

}
rest调用效果,会调一次一,调一次二
4.总结
feign方式的负载均衡和rest步骤基本一样。
最新文章
- .NET全栈开发工程师学习路径
- 快速增加sql数据
- C语言的执行
- 插件~使用ECharts动态在地图上标识点~动态添加和删除标识点
- 生成24位字符串ID__IdGenerator.java
- poi2012完成
- cf 357C
- 偶然碰到的Win7 64位下CHM 的问题解决
- java基础之注解
- Unable to instantiate activity ComponentInfo或java.lang.ClassNotFoundException: com.ibright.herolegen
- The first to Python
- Selenium 新窗口处理方法
- Java开发笔记(七十八)面向对象的后门——反射
- module.exports 和 exports(转)
- 汇编笔记-DOSBox安装和使用(转载)
- Winform系列——好用的DataGridview过滤控件(表格的高级搜索功能)
- log4j。日志输出
- 【刷题】BZOJ 2724 [Violet 6]蒲公英
- golang container heap&sort
- Jquery中parent()和parents()