Spring Boot 整合视图层技术,application全局配置文件
2024-09-05 06:36:02
Spring Boot 整合视图层技术
Spring Boot 整合jsp

Spring Boot 整合Freemarker

Spring Boot 整合 Thymeleaf  (重点讲解,官方推荐)
Spring Boot 整合jsp
步骤:
- 新建maven project的Spring Boot 的jar项目
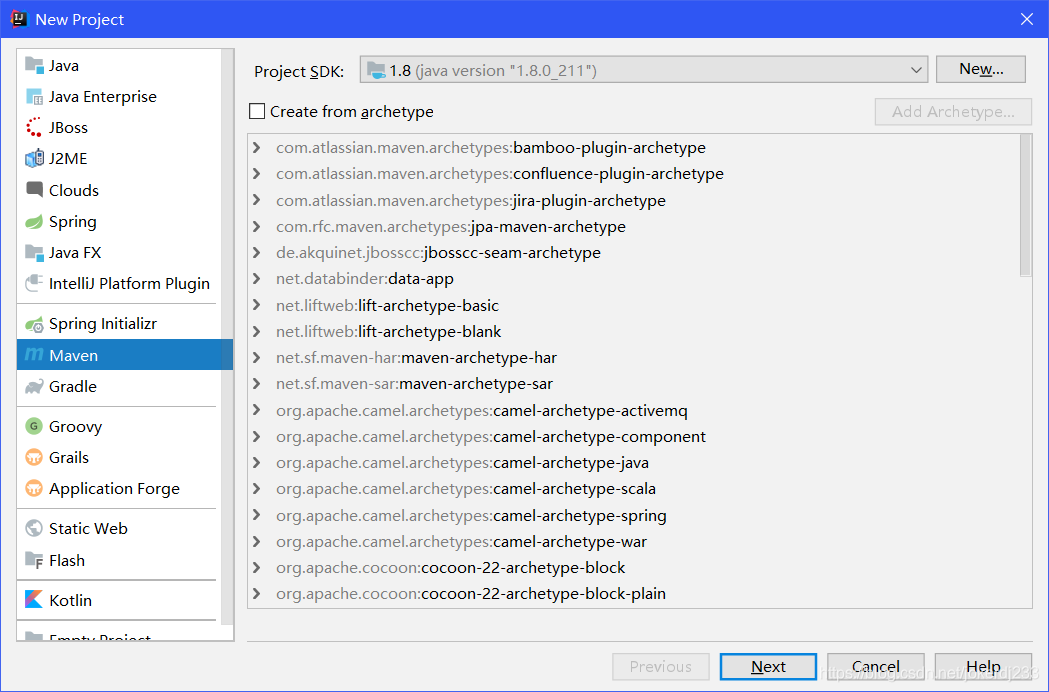
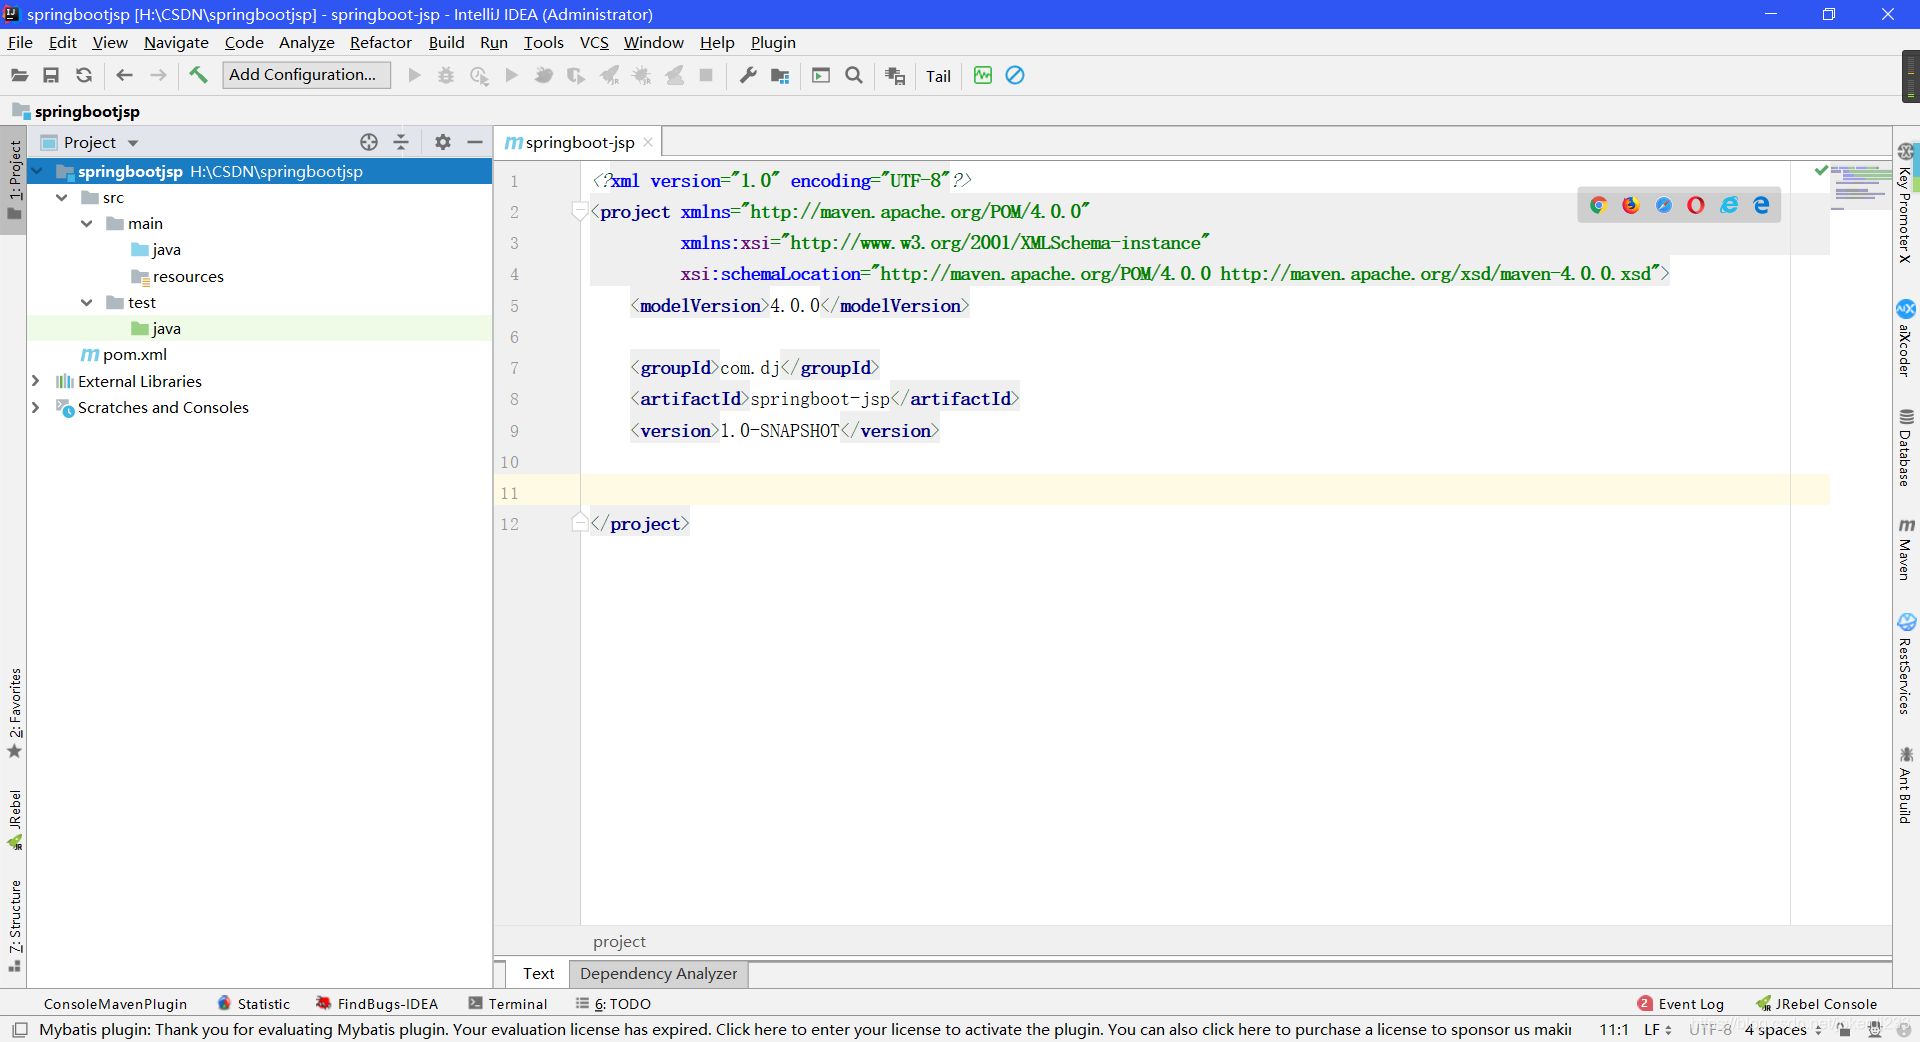
- 打开pom.xml文件 加入jsp依赖
代码如下:
 <parent>

        <groupId>org.springframework.boot</groupId>

        <artifactId>spring-boot-starter-parent</artifactId>

        <version>2.2.4.RELEASE</version>

    </parent>

    <dependencies>

        <!-- spring boot web启动器 -->

        <dependency>

            <groupId>org.springframework.boot</groupId>

            <artifactId>spring-boot-starter-web</artifactId>

        </dependency>

        <!-- jstl -->

        <dependency>

            <groupId>javax.servlet</groupId>

            <artifactId>jstl</artifactId>

        </dependency>

        <!-- jasper:jsp引擎 -->

        <dependency>

            <groupId>org.apache.tomcat.embed</groupId>

            <artifactId>tomcat-embed-jasper</artifactId>

        </dependency>

    </dependencies>
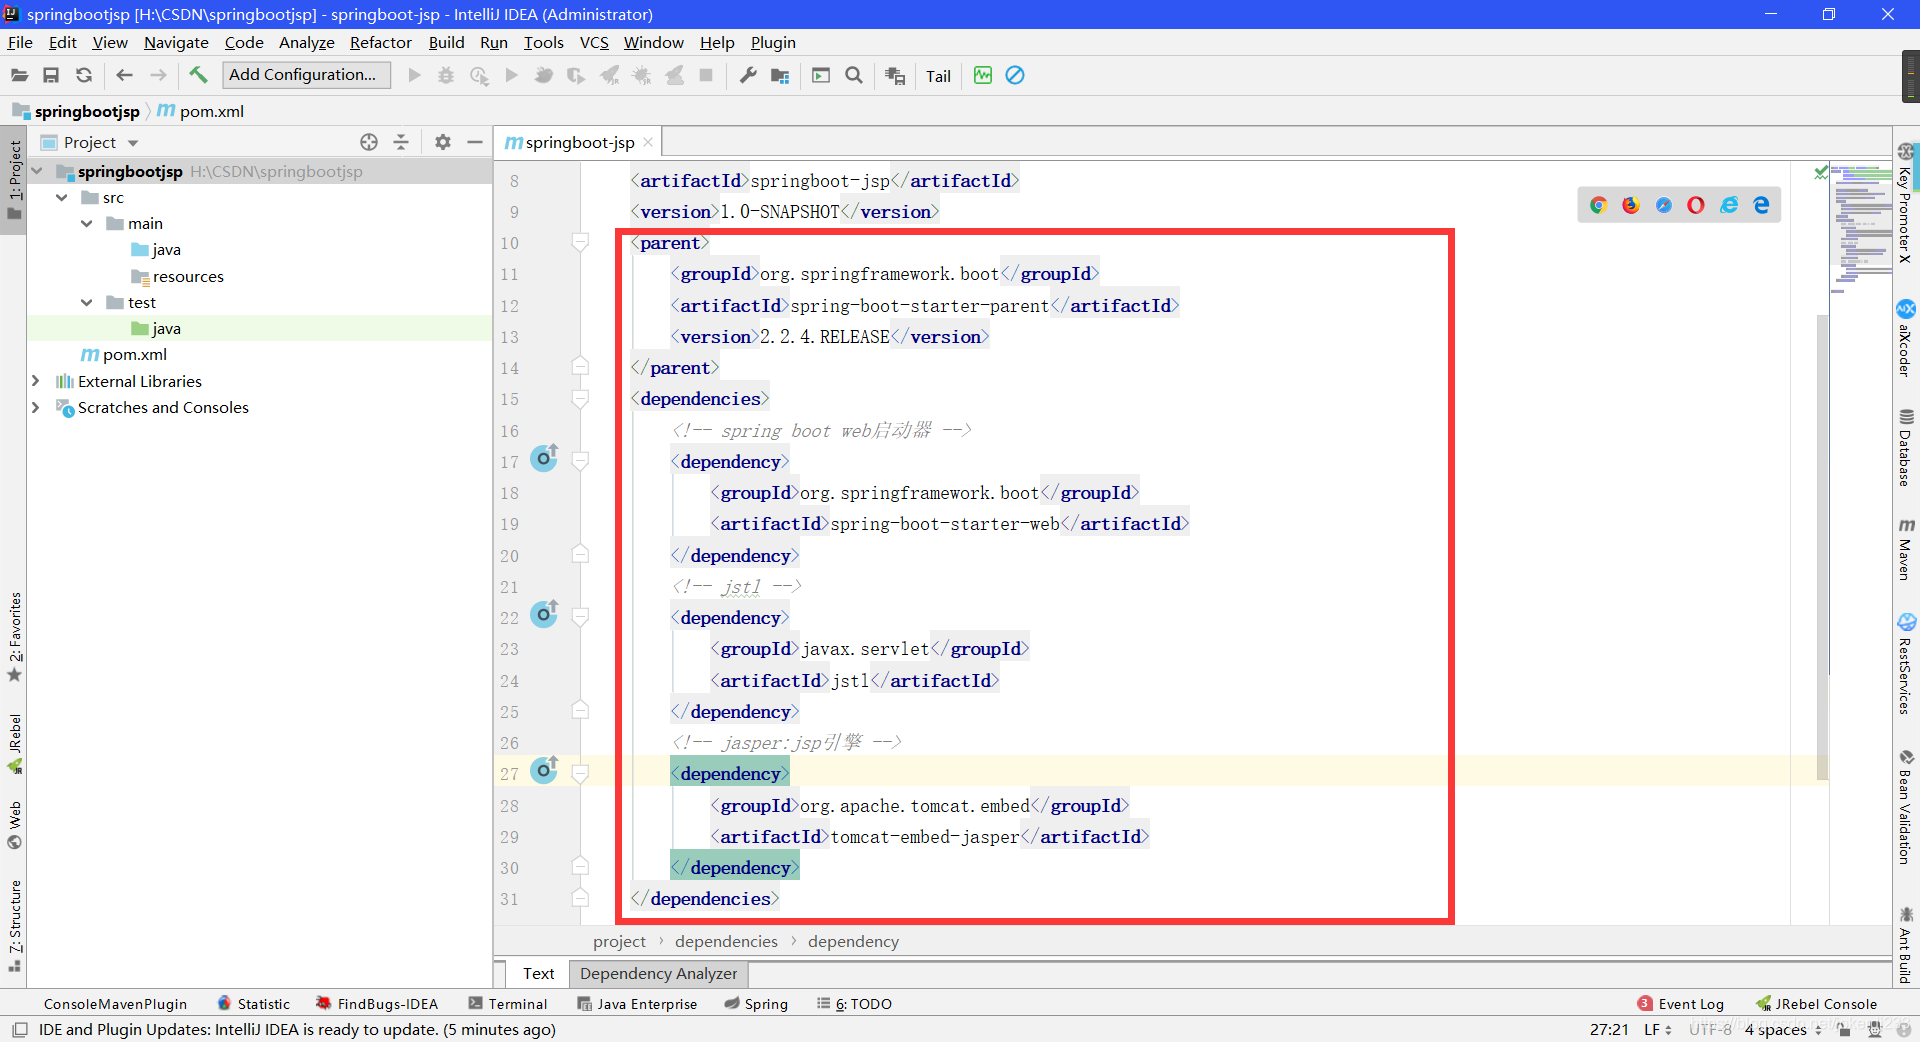
- 编写控制器Controller(不访问数据库)
代码如下:
@Controller

public class UserController {

	/**

	 * 获取用户信息,到jsp页面进行展示

	*/

	@RequestMapping("/userList")

	public String getUsersAll(Model model) {

		//访问业务层-->数据访问层mapper-->mybatis数据库获取所有用户信息

		//模拟,定义固定的用户信息

		List<User> list=new ArrayList<User>();

		list.add(new User("007", "小张", 22));

		list.add(new User("009","小康",32));

		list.add(new User("012","小健",18));

		model.addAttribute("list", list);

		//配置springmvc的视图解析器,前缀:/WEB-INF/   后缀: .jsp

		return "index";

	}

}
- 创建Spring Boot的全局配置文件 application.properties
src/main/resources-->创建-->application.properties
Spring boot默认识别两个全局配置文件:application.properties和application.yml
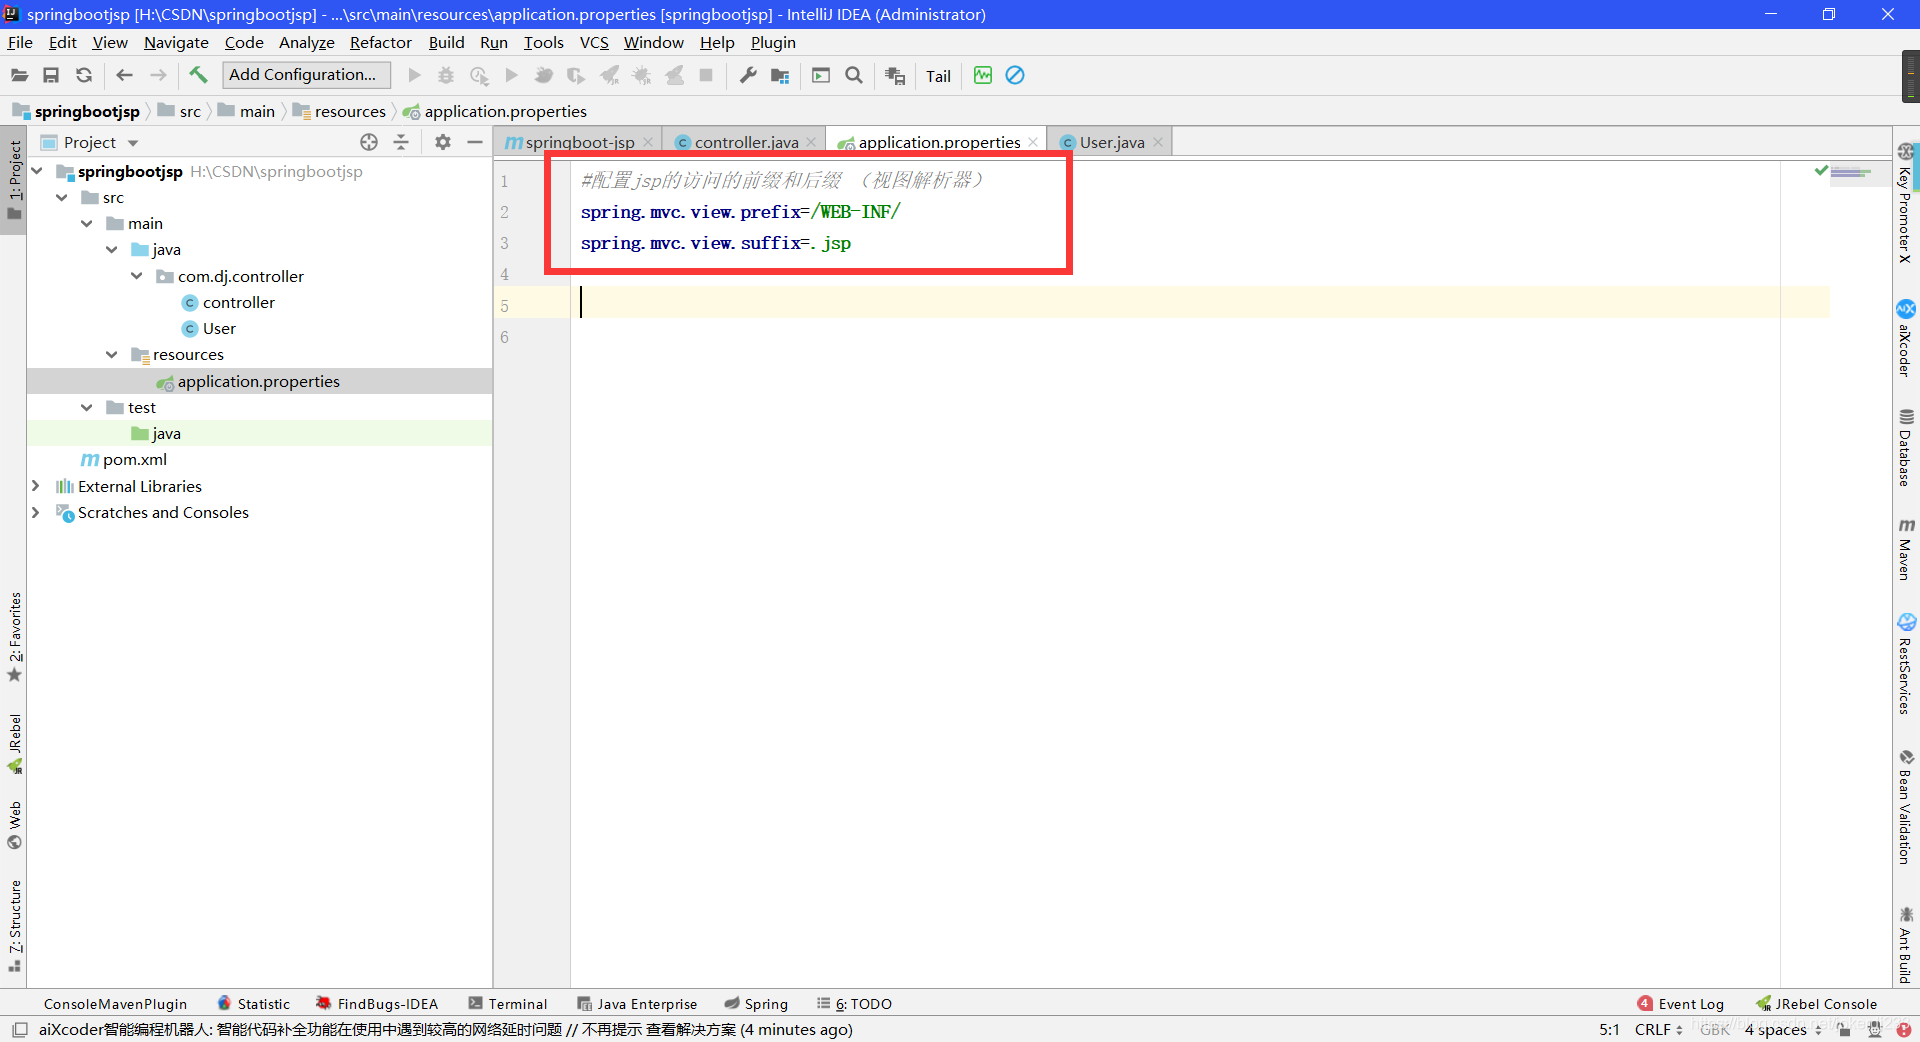
代码:
#配置jsp的访问的前缀和后缀 (视图解析器)

spring.mvc.view.prefix=/WEB-INF/

spring.mvc.view.suffix=.jsp
- 视图层 jsp
src/main-->webapp-->WEB-INF-->index.jsp
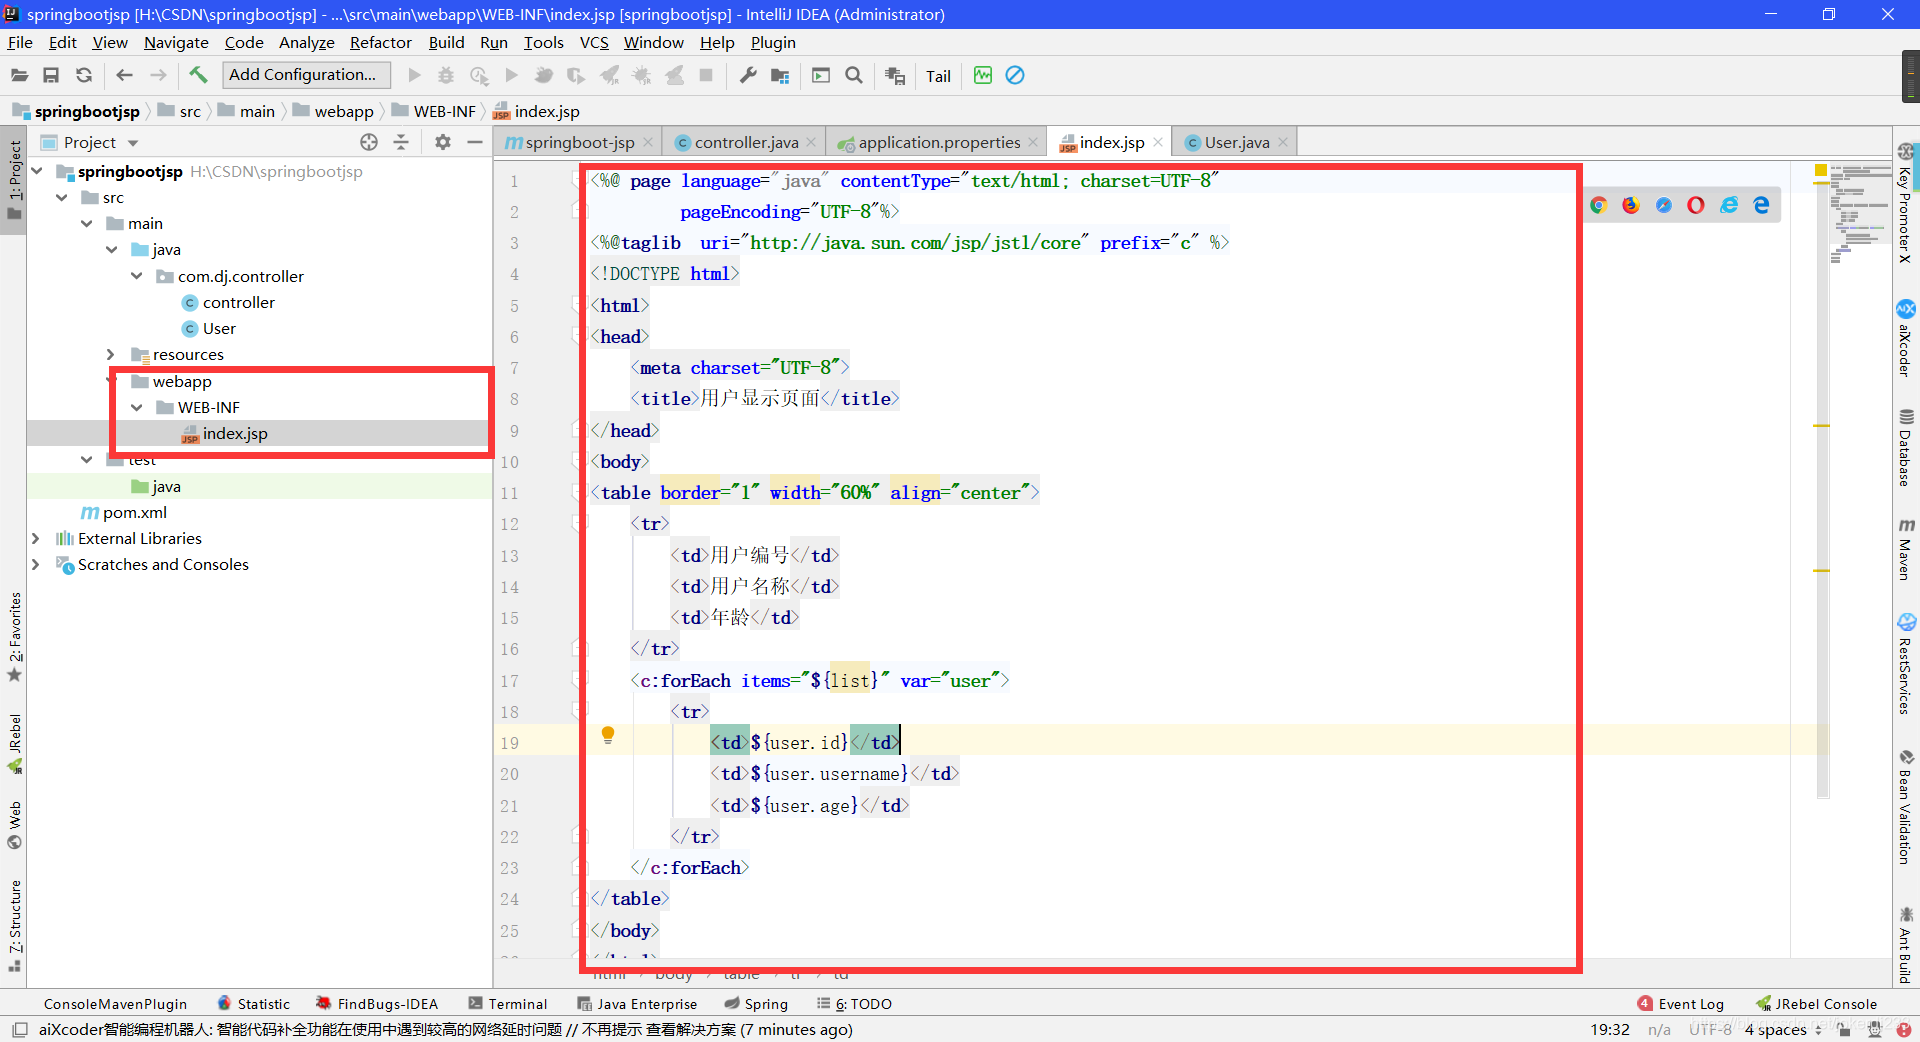
代码:
<%@ page language="java" contentType="text/html; charset=UTF-8"

         pageEncoding="UTF-8"%>

<%@taglib  uri="http://java.sun.com/jsp/jstl/core" prefix="c" %>

<!DOCTYPE html>

<html>

<head>

    <meta charset="UTF-8">

    <title>用户显示页面</title>

</head>

<body>

<table border="1" width="60%" align="center">

    <tr>

        <td>用户编号</td>

        <td>用户名称</td>

        <td>年龄</td>

    </tr>

    <c:forEach items="${list}" var="user">

        <tr>

            <td>${user.id}</td>

            <td>${user.username}</td>

            <td>${user.age}</td>

        </tr>

    </c:forEach>

</table>

</body>

</html>
- 启动类
@SpringBootApplication

public class App {

    public static void main(String[] args) {

        SpringApplication.run(App.class, args);

    }

}
- 运行 浏览器输入 localhost:8080/userList

Spring Boot 整合freemarker
- 创建maven project 的jar 的spring boot 项目 (步骤一样省略)
- 打开pom.xml,加入freemarker相关依赖
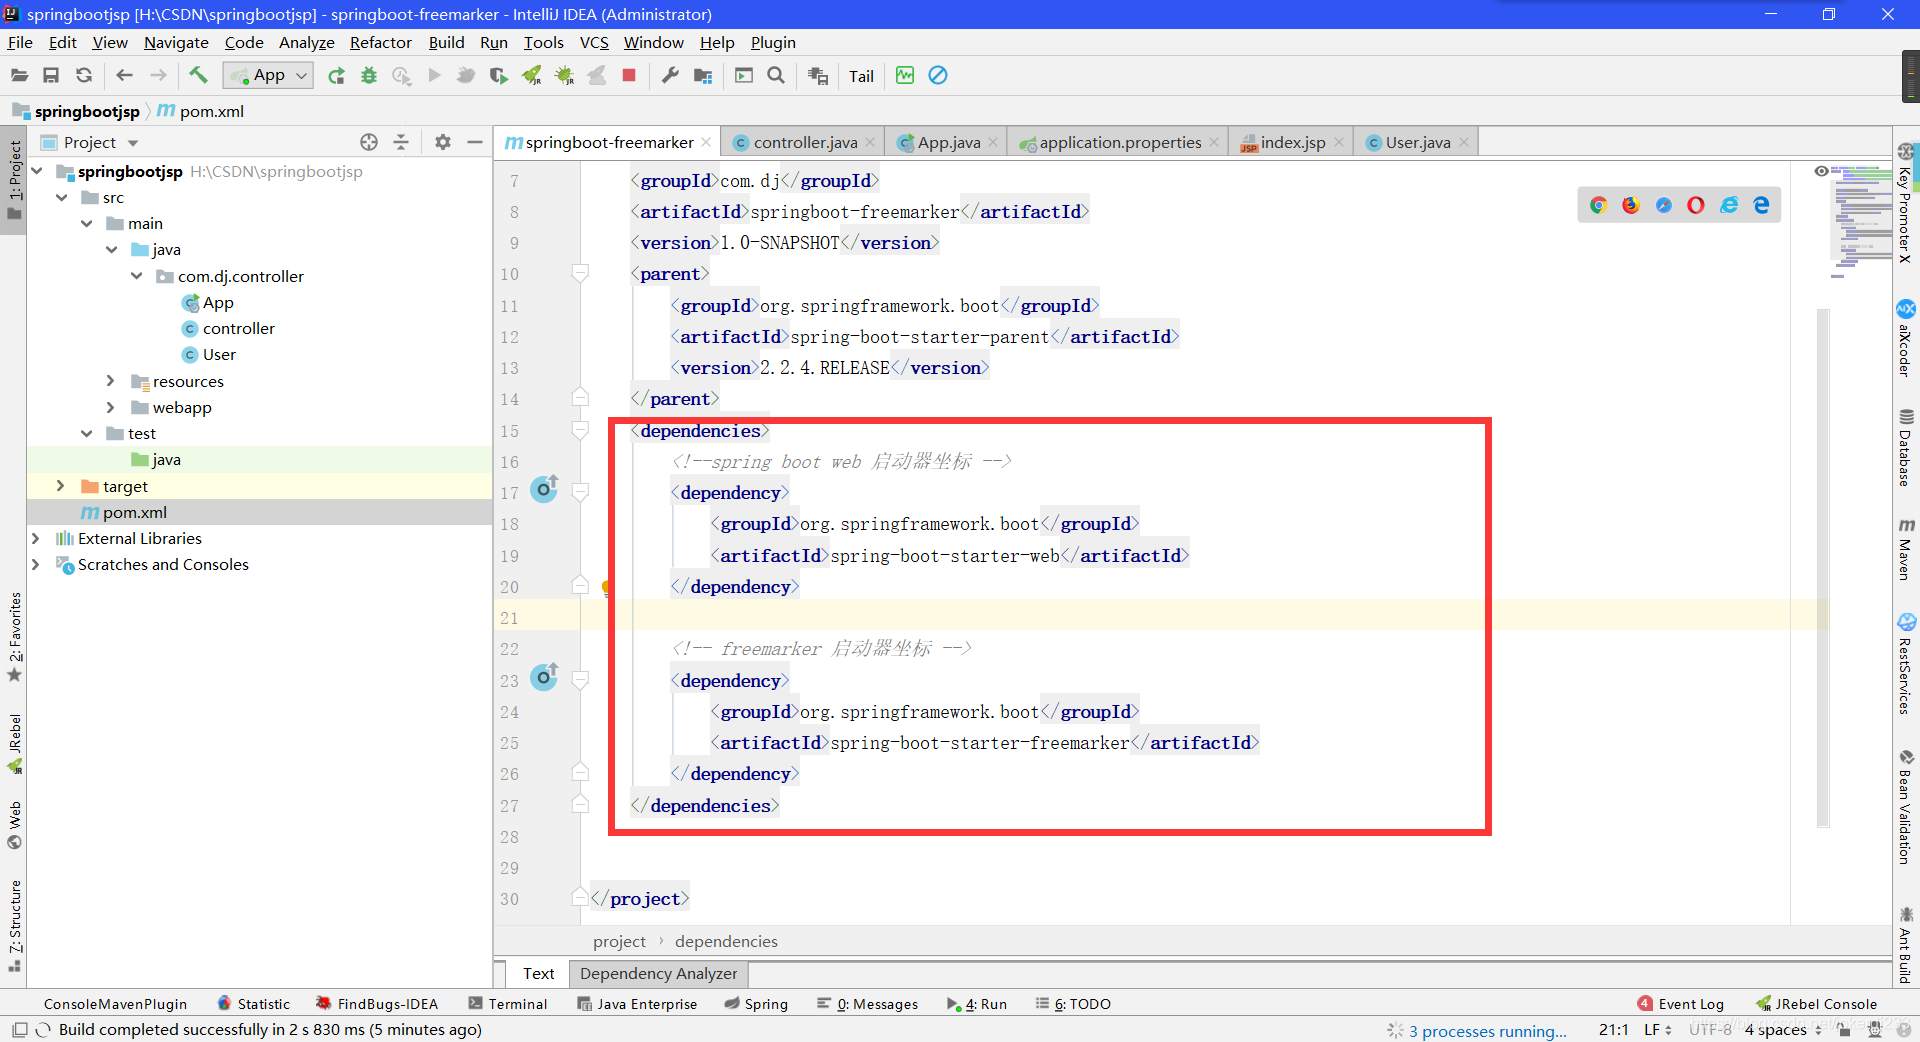
代码:
<dependencies>

     <!--spring boot web 启动器坐标 -->

     <dependency>

     	<groupId>org.springframework.boot</groupId>

    	<artifactId>spring-boot-starter-web</artifactId>

     </dependency>

     <!-- freemarker 启动器坐标 -->

     <dependency>

     	<groupId>org.springframework.boot</groupId>

    	<artifactId>spring-boot-starter-freemarker</artifactId>

     </dependency>

  </dependencies>
- 编写控制器Controller

- 视图层 freemarker
freemarker 页面必须放入src/main/resources下的templates目录下,并且页面的扩展名为:ftl

代码:
<!DOCTYPE html>

<html>

<head>

<meta charset="UTF-8">

<title>用户显示页面</title>

</head>

<body>

   <table border="1" width="60%" align="center">

       <tr>

       	  <td>用户编号</td>

       	  <td>用户名称</td>

       	  <td>年龄</td>

       </tr>

	   <!--freemarker获取request传过来的数据  <#数据类型  key类型 as 遍历元素名称>-->

	   <#list list as user>

	       <tr>

	       	  <td>${user.id}</td>

	       	  <td>${user.username}</td>

	       	  <td>${user.age}</td>

	       </tr>

	   </#list>

   </table>

</body>

<html>
- 创建Spring Boot的全局配置文件 application.properties
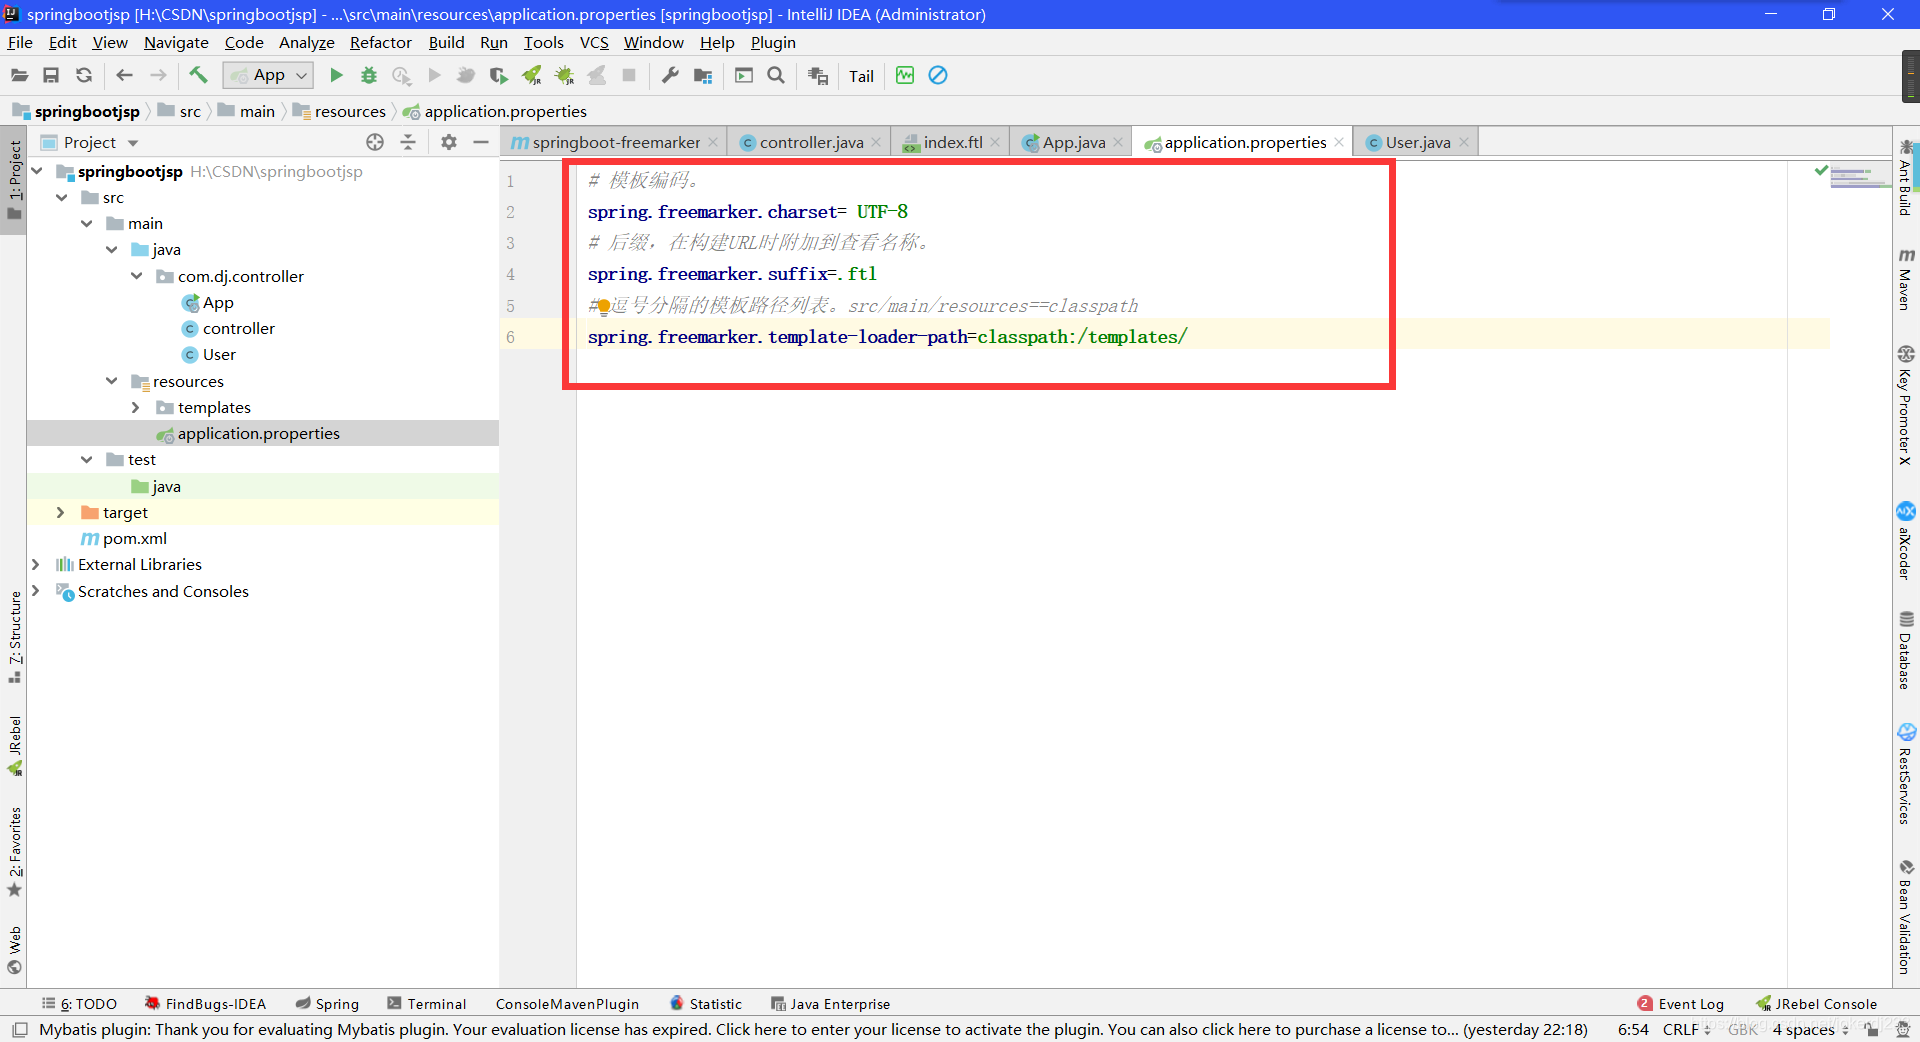
代码:
# 模板编码。

spring.freemarker.charset= UTF-8

# 后缀,在构建URL时附加到查看名称。

spring.freemarker.suffix=.ftl

# 逗号分隔的模板路径列表。src/main/resources==classpath

spring.freemarker.template-loader-path=classpath:/templates/

server.port=8081
- 启动类
@SpringBootApplication

public class App {

	public static void main(String[] args) {

		SpringApplication.run(App.class, args);

	}

}
运行

最新文章
- [Python核心编程] 第1章 欢迎来到Python世界
- yii 操作session和cookie
- 最受Web前端开发者欢迎的五大开发工具
- LINUX进程优先级实现
- dedecms网站文章标题与简标题的调用问题
- Jsp中response对象的所有属性
- c# 委托 delegate
- PHP常见错误
- 【NOIP2009】Hankson 的趣味题
- Gradle连接Maven仓库直接从仓库 更新JAR包
- 设计模式的征途—17.模板方法(Template Method)模式
- 如何在WSL下使用VS Code
- 封装自定义服务$http
- jQuery 事件绑定
- java学习--Iterable 和 Iterator
- 基于Ubuntu系统XAMPP环境安装以及DVWA渗透测试系统安装(详解的不能再详解了)
- PL/SQL学习笔记之集合
- javascript:变量的作用域
- 【leetcode】443. String Compression
- u-boot 内核 启动参数