初探nginx
nginx
nginx是俄罗斯人写的轻量级http服务器,Nginx 以事件驱动的方式编写,有非常好的性能,同时也是一个非常高效的反向代理、负载均衡。
nginx 稳定性高,模块库丰富,配置灵活,系统资源的消耗低。响应静态页面的速度非常快
nginx 做什么
- 处理静态文件
- 反向代理,负载均衡和容错
- 大并发
- 易配置,易拓展
nginx 处理过程
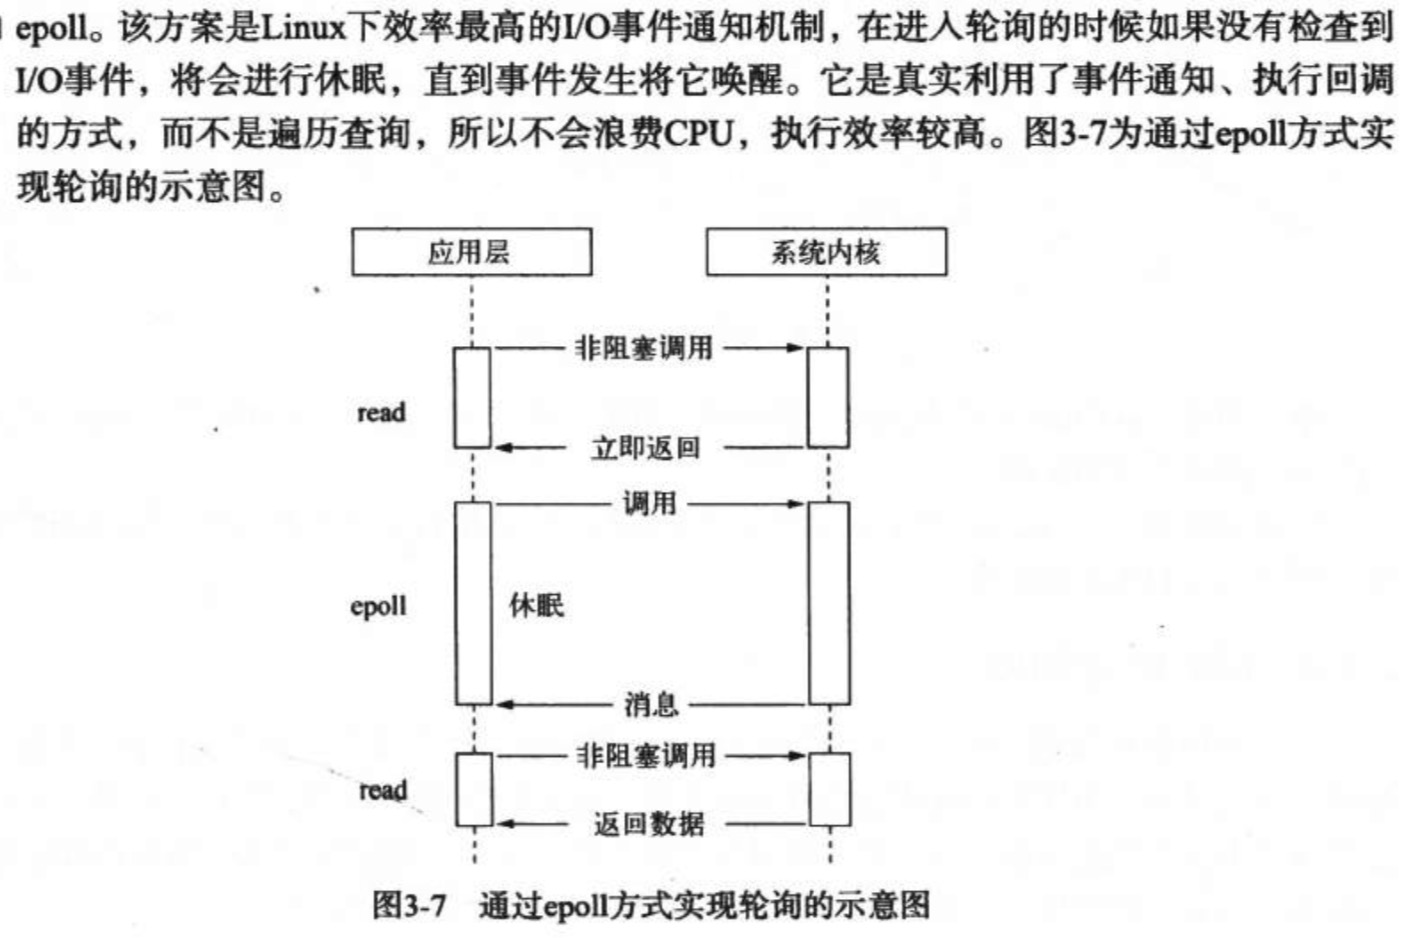
nginx 是异步非阻塞的方式处理请求。采用epoll事件循环,多个独立worker处理请求,并不是并发,避免加锁和上下文切换带来的性能问题。
深入浅出nodejs对事件循环讲的很详细

具体请求的处理
- 解析配置文件, 得到需要监听的端口与 ip 地址,然后在 Nginx 的 master 进程里面,先初始化好这个监控的 socket
- 然后再 fork 出多个子进程出来,然后子进程会竞争 accept 新的连接
- 与客户端三次握手得到这个建立好的连接的 socket,然后创建 Nginx 对连接的封装
- Nginx 或客户端来主动关掉连接
nginx的配置
分为几个模块:
- main: Nginx 在运行时与具体业务功能(比如http服务或者email服务代理)无关的一些参数,比如工作进程数,运行的身份等。
- http: 与提供 http 服务相关的一些配置参数。例如:是否使用 keepalive 啊,是否使用gzip进行压缩等。
- server: http 服务上支持若干虚拟主机。每个虚拟主机一个对应的 server 配置项,配置项里面包含该虚拟主机相关的配置。
- location: http 服务中,某些特定的URL对应的一系列配置项。
默认情况下,这个配置文件通常命名为 nginx.conf 并且会放置在 /usr/local/nginx/conf,/etc/nginx,或者 /usr/local/etc/nginx
示例配置
    user  nobody;

    worker_processes  1;

    error_log  logs/error.log  info;

    events {

        worker_connections  1024;

    }

    http {

        include       mime.types;

        default_type  application/octet-stream;

        sendfile        on;

        keepalive_timeout  65;

        gzip  on;

        server {

            listen          80;

            server_name     localhost;

            access_log  /var/log/nginx/host.access.log  main;

            location / {

                index index.html;

                root  /usr/local/openresty/nginx/html;

            }

        }

    }
nginx 的使用
开启nginx
nginx -c /usr/local/nginx/conf/nginx.conf
nginx -s signal
signal 可以为下列命令之一:
- stop — 直接关闭 nginx
- quit — 会在处理完当前正在的请求后退出,也叫优雅关闭
- reload — 重新加载配置文件,相当于重启 // 滚动升级
- reopen — 重新打开日志文件
nginx with lua -- openresty
OpenResty® 是一个基于 Nginx 与 Lua 的高性能 Web 平台,其内部集成了大量精良的 Lua 库、第三方模块以及大多数的依赖项。用于方便地搭建能够处理超高并发、扩展性极高的动态 Web 应用、Web 服务和动态网关。
通过融合lua,可以将 Nginx 有效地变成一个强大的web服务器!
环境搭建
直接搭建openresty, nginx + lua 套餐
brew tap homebrew/nginx

brew install homebrew/nginx/openresty
如果一切顺利,OpenResty 应该已经安装好了。
为了方便,这边直接用docker装OpenResty(《前端到docker入门》):
新建一个Dockerfile,写入:
  #Dockerfile

 FROM openresty/openresty:trusty

 RUN apt-get update && apt-get install -y vim
可以直接装openresty的,但是容器的bash里面没有vim,在里面改代码很麻烦,所以就自己构建了一个image。
然后构建image
docker build -t openresty .
docker container run -itd -p 80:80 --name test openresty
构建一个名叫test的容器。
ok,现在已经跑起来了,访问http://localhost,已经出现了openresty的欢迎页
运行
docker ps -a
可以看到:
CONTAINER ID        IMAGE               COMMAND                  CREATED             STATUS                      PORTS                NAMES

06c9a63607eb        openresty           "/usr/local/openrest…"   4 hours ago         Up 25 minutes               0.0.0.0:80->80/tcp   test
已经起了服务。
我们进入容器看一下:
docker exec -it test bash
里面就是nginx的目录。
我们的配置在
vi usr/local/openresty/nginx/conf/nginx.conf
#user  nobody;

worker_processes  1;

#error_log  logs/error.log;

#error_log  logs/error.log  notice;

#error_log  logs/error.log  info;

#pid        logs/nginx.pid;

events {

    worker_connections  1024;

}

http {

    include       mime.types;

    default_type  application/octet-stream;

    #log_format  main  '$remote_addr - $remote_user [$time_local] "$request" '

    #                  '$status $body_bytes_sent "$http_referer" '

    #                  '"$http_user_agent" "$http_x_forwarded_for"';

    #access_log  logs/access.log  main;

    sendfile        on;

    #tcp_nopush     on;

    #keepalive_timeout  0;

    keepalive_timeout  65;

    #gzip  on;

    include /etc/nginx/conf.d/*.conf;

}
其中引入了/etc/nginx/conf.d/*.conf;我们的server配置就在这里。
现在该这个etc/nginx/conf.d/default.conf就可以愉快的进行nginx配置了。
 location / {

        root   /usr/local/openresty/nginx/html;

        index  index.html index.htm;

    }
我们访问的主页目录就在root指定下的index.html,root是指定根目录,index指定默认访问文件。
访问控制
通过lua来控制是否进入处理逻辑。其中ngx.var.remote_addr,ngx.HTTP_FORBIDDEN都是nginx的内置变量
access_by_lua_block {

                local black_ips = {["127.0.0.1"]=true}

                local ip = ngx.var.remote_addr

                if true == black_ips[ip] then

                    ngx.exit(ngx.HTTP_FORBIDDEN)

                end

            };

// 业务逻辑处理...
nginx 反向代理和负载均衡
nginx反向代理和负载均衡配置比较简单。
反向代理
# 1. 用户访问 http://ip:port,则反向代理到 https://github.com

location / {

    proxy_pass  https://github.com;

    proxy_redirect     off;

    proxy_set_header   Host             $host;

    proxy_set_header   X-Real-IP        $remote_addr;

    proxy_set_header   X-Forwarded-For  $proxy_add_x_forwarded_for;

}
- proxy_pass: proxy_pass 后面跟着一个 URL,用来将请求反向代理到 URL 参数指定的服务器上。例如我们上面例子中的 proxy_pass https://github.com,则将匹配的请求反向代理到 https://github.com
- proxy_set_header 反向代理不会转发原始请求中的 Host 头部,如果需要转发,就需要加上这句:proxy_set_header Host $host;
负载均衡
nginx通过upstream字段配置负载均衡。
upstream test.net{

    ip_hash;

    server 192.168.10.13:80;

    server 192.168.10.14:80  down;

    server 192.168.10.15:8009  max_fails=3  fail_timeout=20s;

    server 192.168.10.16:8080;

}

server {

    location / {

        proxy_pass  http://test.net;

    }

}
upstream 是 Nginx 的 HTTP Upstream 模块,这个模块通过一个简单的调度算法来实现客户端 IP 到后端服务器的负载均衡。
Nginx 的负载均衡模块目前支持 6 种调度算法:
- 轮询(默认)
- ip_hash
- fair
- url_hash
- least_conn
- hash
例子用的是ip_hash,是每个请求按访问 IP 的 hash 结果分配。
采用轮询时可以指定每个server的权重:
upstream webservers {

    server 192.168.18.201 weight=1 max_fails=2 fail_timeout=2;

    server 192.168.18.202 weight=1 max_fails=2 fail_timeout=2;

}
利用 max_fails、fail_timeout 参数,控制异常情况。
max_fails:允许请求失败的次数,默认为 1 。当超过最大次数时,返回 proxy_next_upstream 模块定义的错误。
fail_timeout:在经历了 max_fails 次失败后,暂停服务的时间。max_fails 可以和 fail_timeout 一起使用。
还有:
down:表示当前的 server 暂时不参与负载均衡。
backup:预留的备份机器。当其他所有的非 backup 机器出现故障或者忙的时候,才会请求 backup 机器,因此这台机器的压力最轻。
backup一般用做降级处理。
日志log
nginx 的日志路径是写在nginx.conf里的。
看一下 usr/local/openresty/nginx/conf/nginx.conf,把里面注释的这几行放出来。
  error_log  logs/error.log;

  log_format  main  '$remote_addr - $remote_user [$time_local] "$request" '

                     '$status $body_bytes_sent "$http_referer" '

                     '"$http_user_agent" "$http_x_forwarded_for"';

   access_log  logs/access.log  main;
error_log是错误日志,access_log是访问日志,log_format是根据格式format日志消息。
日志文件在:usr/local/openresty/nginx/logs/access.log
可以看到访问的log。error.log是错误信息。
172.17.0.1 - - [24/Apr/2018:09:46:24 +0000] "GET /res HTTP/1.1" 200 68 "-" "Mozilla/5.0 (Macintosh; Intel Mac OS X 10_13_3) AppleWebKit/537.36 (KHTML, like Gecko) Chrome/66.0.3359.117 Safari/537.36" "-"

172.17.0.1 - - [24/Apr/2018:09:46:34 +0000] "GET / HTTP/1.1" 304 0 "-" "Mozilla/5.0 (Macintosh; Intel Mac OS X 10_13_3) AppleWebKit/537.36 (KHTML, like Gecko) Chrome/66.0.3359.117 Safari/537.36" "-"
如果看不到,先删除已存在的access.log和error.log再重启nginx应该就可以了。
退出容器docker logs test 也可以看到nginx的log。
如何结合lua
lua提供了好多个指令,比如:
 content_by_lua_file 直接加lua file的路径,接受请求,并处理响应。

 lua_package_path 设置用lua代码写的扩展库路径,lua文件里require要用到。

set_by_lua_file $var <path-to-lua-script-file> [$arg1 $arg2 ...]; 设置一个Nginx变量,变量值从lua脚本里运算由return返回,可以实现复杂的赋值逻辑;此处是阻塞的,Lua代码要做到非常快.

 rewrite_by_lua_file lua文件的重定向操作

 access_by_lua_file lua文件的访问控制

 header_filter_by_lua_file 设置header 和 cookie

 init_by_lua_file ginx Master进程加载配置时执行;通常用于初始化全局配置/预加载Lua模块

 ...
lua常用的方法和常量:
ngx.arg[index]  #ngx指令参数,当这个变量在set_by_lua或者set_by_lua_file内使用的时候是只读的,指的是在配置指令输入的参数

ngx.var.varname #读写NGINX变量的值,最好在lua脚本里缓存变量值,避免在当前请求的生命周期内内存的泄漏

ngx.config.ngx_lua_version  #当前ngx_lua模块版本号

ngx.config.nginx_version    #nginx版本

ngx.worker.pid              #当前worker进程的PID

...

print()    #与 ngx.print()方法有区别,print() 相当于ngx.log()

ngx.ctx    #这是一个lua的table,用于保存ngx上下文的变量,在整个请求的生命周期内都有效,详细参考官方

ngx.location.capture()          #发出一个子请求

ngx.location.capture_multi()    #发出多个子请求

ngx.status                      #读或者写当前请求的相应状态. 必须在输出相应头之前被调用

ngx.header.HEADER               #访问或设置http header头信息

ngx.req.set_uri()               #设置当前请求的URI

ngx.set_uri_args(args)          #根据args参数重新定义当前请求的URI参数

ngx.req.get_uri_args()          #返回一个lua table,包含当前请求的全部的URL参数

ngx.req.get_post_args()         #返回一个LUA TABLE,包括所有当前请求的POST参数

ngx.req.get_headers()           #返回一个包含当前请求头信息的lua table

ngx.req.set_header()            #设置当前请求头header某字段值.当前请求的子请求不会受到影响

ngx.req.read_body()             #在不阻塞ngnix其他事件的情况下同步读取客户端的body信息

ngx.time()                      #返回当前时间戳

ngx.re.match(subject,regex,options,ctx)     #ngx正则表达式匹配

...
开始openresty
在etc/nginx/conf.d/default.conf的location下面加一句
 location /test {

        default_type text/html;

        content_by_lua_block {

            ngx.say("HelloWorld")

        }

    }
重启nginx nginx -s reload
访问http://localhost/test可以看到我们写的helloworld。
再比如
location = /sum {

    # 只允许内部调用

    internal;

    # 这里做了一个求和运算只是一个例子,可以在这里完成一些数据库、

    # 缓存服务器的操作,达到基础模块和业务逻辑分离目的

    content_by_lua_block {

        local args = ngx.req.get_uri_args()

        ngx.say(tonumber(args.a) + tonumber(args.b))

    }

}

location = /app/test {

    content_by_lua_block {

        local res = ngx.location.capture(

                        "/sum", {args={a=3, b=8}}

                        )

        ngx.say("status:", res.status, " response:", res.body)

    }

}
请求内部接口,返回结果。
比如:
lua可以帮我们做跳转。重写url等等。
location = /stream {

    rewrite_by_lua_block {

        return ngx.redirect('http://open.toutiao.com');

    }

}
比如
location /print_param {

        default_type text/html;

        content_by_lua_block {

           local arg = ngx.req.get_uri_args()

           for k,v in pairs(arg) do

               ngx.say("[GET ] key:", k, " v:", v)

           end

           ngx.req.read_body() #解析 body 参数之前一定要先读取 body

           local arg = ngx.req.get_post_args()

           for k,v in pairs(arg) do

               ngx.say("[POST] key:", k, " v:", v)

           end

       }

   }
访问http://localhost/print_param?a=1&b=2&c=3
可以看到[GET ] key:b v:2 [GET ] key:a v:1 [GET ] key:c v:3
location /res {

    default_type text/html;

    local table = {

        "hello, ",

        {"world: ", true, " or ", false,

            {": ", nil}}

    }

    ngx.print(table)

}
ngx.print吐出碎片化字符串。hello, world: true or false:
location /res {

     content_by_lua_block {

        ngx.header['Content-Type'] = 'application/json; charset=UTF-8'

        local str = '{"a":1,"b":"ss","c":{"c1":1,"c2":2},"d":[10,11],"1":100}'

        ngx.say(str)

    }

}
返回json
nginx
读到这里大致就应该会搞几个小demo了,好多api没有介绍,看一下文档就会用了。大概后续会补充一些nginx安全,负载均衡算法,等等一些高级应用。
最新文章
- RadioButton(单选按钮)文字在按钮的左边
- java并发控制:lock
- Oracle 游标使用全解(转)
- [Java拾遗一] XML的书写规范与解析.
- linux(以ubuntu为例)下Android利用ant自动编译、修改配置文件、批量多渠道,打包生成apk文件
- java正则表达式练习
- Project: Individual Project - Word frequency program----11061192zmx
- (转) 关于成为linux运维工程师需要掌握的技能
- System.Web.HttpContext.Current.Session获取值出错
- SQLServer数据类型优先级对性能的影响
- 《TCP/IP具体解释》读书笔记(18章)-TCP连接的建立与中止
- Web Storage:浏览器端数据储存机制
- System.IO.Pipelines: .NET上高性能IO
- centos7 安装mysql5.7
- Dynamics 365—脚本
- 内联汇编中的asm和__asm__
- 运用visual studio进行简单的单元测试
- html5 audio组件禁止下载
- [转]学习笔记_springmvc注解形式的开发参数接收
- cmake编译android平台的libPoco