Laravel Vuejs 实战:开发知乎 (8)美化编辑器
2024-10-08 13:31:38
1.使用UEditor增量包:
执行下载:
1 git clone https://github.com/JellyBool/simple-ueditor.git
2.用此项目的 ueditor 目录替换原来的 public/vendor/ueditor 目录;
可以先删除原来的目录,移动simple-ueditor文件夹下ueditor整个文件夹的到public/vendor/目录里面,然后删除simple-ueditor目录即可;
3.实例化编辑器的时候配置 toolbar ,主要是 toolbar 的配置
  1 var ue = UE.getEditor('editor', {

  2     toolbars: [

  3             ['bold', 'italic', 'underline', 'strikethrough', 'blockquote', 'insertunorderedlist', 'insertorderedlist', 'justifyleft','justifycenter', 'justifyright',  'link', 'insertimage', 'fullscreen']

  4         ],

  5     elementPathEnabled: false,

  6     enableContextMenu: false,

  7      autoClearEmptyNode:true,

  8      wordCount:false,

  9      imagePopup:false,

 10      autotypeset:{ indent: true,imageBlockLine: 'center' }

 11  });
就是将create.blade.php文件做如下修改:
  1 @extends('layouts.app')

  2 @section('content')

  3     @include('vendor.ueditor.assets')

  4     <div class="container">

  5         <div class="row">

  6             <div class="col-md-8 col-md-offset-2">

  7                 <div class="card">

  8                     <div class="card-header">

  9                         发布问题

 10                     </div>

 11                     <div class="card-body">

 12                         <form action="{{ route('questions.store') }}" method="post">

 13                             {{--注意要有csrftoken--}}

 14                             @csrf

 15                             <div class="form-group">

 16                                 <label for="title">标题</label>

 17                                 <input type="text" name="title" class="form-control" placeholder="标题" id="title"

 18                                        value="{{ old('title') }}">

 19                                 <p class="text text-danger"> @error('title') {{ $message }} @enderror </p>

 20                             </div>

 21                             <!-- 编辑器容器 -->

 22                             <script id="container" name="content" type="text/plain"

 23                                     style="width: 100%">{!! old('content') !!}</script>

 24                             <p class="text text-danger"> @error('content') {{ $message }} @enderror </p>

 25                             <!--发布按钮-->

 26                             <button type="submit" class="btn btn-primary mt-2 float-md-right">发布问题</button>

 27                         </form>

 28                     </div>

 29                 </div>

 30             </div>

 31         </div>

 32     </div>

 33

 34     <!-- 实例化编辑器 -->

 35     <script type="text/javascript">

 36         var ue = UE.getEditor('container', {

 37             toolbars: [

 38                 ['bold', 'italic', 'underline', 'strikethrough', 'blockquote', 'insertunorderedlist', 'insertorderedlist', 'justifyleft', 'justifycenter', 'justifyright', 'link', 'insertimage', 'fullscreen']

 39             ],

 40             elementPathEnabled: false,

 41             enableContextMenu: false,

 42             autoClearEmptyNode: true,

 43             wordCount: false,

 44             imagePopup: false,

 45             autotypeset: {indent: true, imageBlockLine: 'center'}

 46         });

 47         ue.ready(function () {

 48             ue.execCommand('serverparam', '_token', '{{ csrf_token() }}'); // 设置 CSRF token.

 49         });

 50     </script>

 51 @endsection
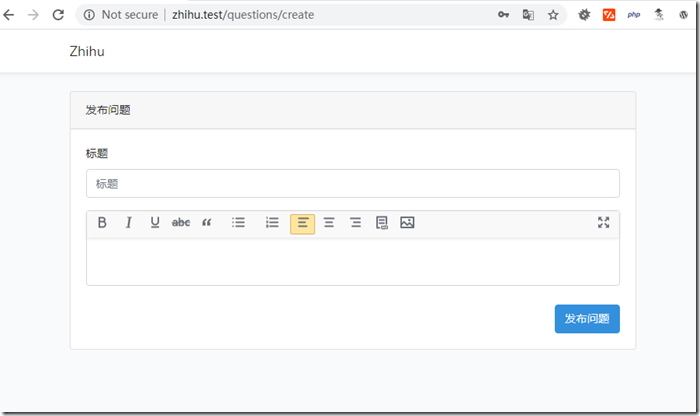
如果刷新浏览器看到的富文本编辑器如图:
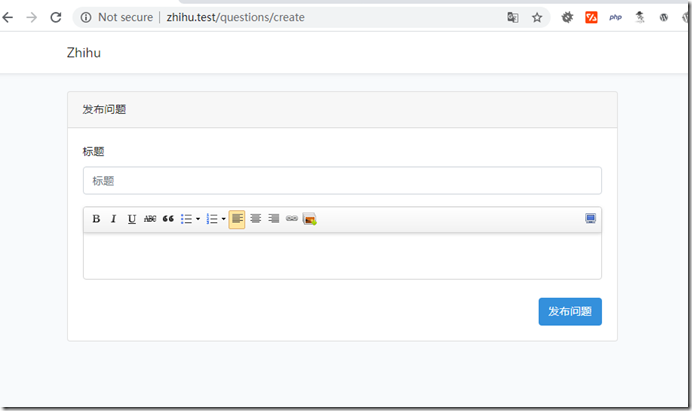
则清一下浏览器缓存登录后再刷新:
如果由自定义需求,可以查看vendor/ueditor/ueditor.config.js文件;
2.补充扩展:
给一个比较流行的富文本编辑器列表:
扩展包:
https://packalyst.com/packages/tag/editor
我这里选择了 Trix Editor:
安装及配置:
执行命令安装Trix Editor扩展包:
1 composer require te7a-houdini/laravel-trix
然后发布配置和迁移:
1 php artisan vendor:publish --provider="Te7aHoudini\LaravelTrix\LaravelTrixServiceProvider"
迁移文件发布成功后,执行命令通过迁移文件创建数据表:
1 php artisan migrate
然后在head标签内添加@trixassets 导航指令:
  1 <html>

  2     <head>

  3         @trixassets

  4     </head>

  5 </html>
使用示例:参考Trix Editor
最新文章
- Jquery双向select控件Bootstrap Dual Listbox
- 如何注册微信小程序
- 基于Spring + Spring MVC + Mybatis + shiro 高性能web构建
- Python之文件读写
- lua操作常用函数学习一
- go的优缺点
- DevExpress LookUpEdit 下拉框基本操作
- Android Configuration change引发的问题及解决方法
- md笔记——正则学习
- Nginx 之二: nginx.conf 配置及基本优化
- 怎样才能充分利用SQL索引
- DOM和BOM
- Pyhton 学习笔记1
- Visual Studio 2017 for Mac 连接Git的奇怪问题
- python之科学函数课——Numpy
- 用于Azure功能的Visual Studio 2017工具
- Python- - -函数目录
- Arch Linux 独特的包管理器相关名词解释及用法对照
- 2018牛客27---D---愤怒: (有关子序列的dp问题)
- Eclipse给安卓应用签名