实验: spring-boot 整合 fluent-mybatis 实验过程!!!!
1.参考:
简单整合,会报错误
https://segmentfault.com/a/1190000040467885?utm_source=sf-similar-article
利用maven编译,
https://blog.csdn.net/zhiweihongyan1/article/details/120848199?ops_request_misc=%257B%2522request%255Fid%2522%253A%2522164592123216780274162555%2522%252C%2522scm%2522%253A%252220140713.130102334.pc%255Fall.%2522%257D&request_id=164592123216780274162555&biz_id=0&utm_medium=distribute.pc_search_result.none-task-blog-2~all~first_rank_ecpm_v1~rank_v31_ecpm-5-120848199.pc_search_result_cache&utm_term=fluent+mybatis&spm=1018.2226.3001.4187
打开目标显示才不会错误。
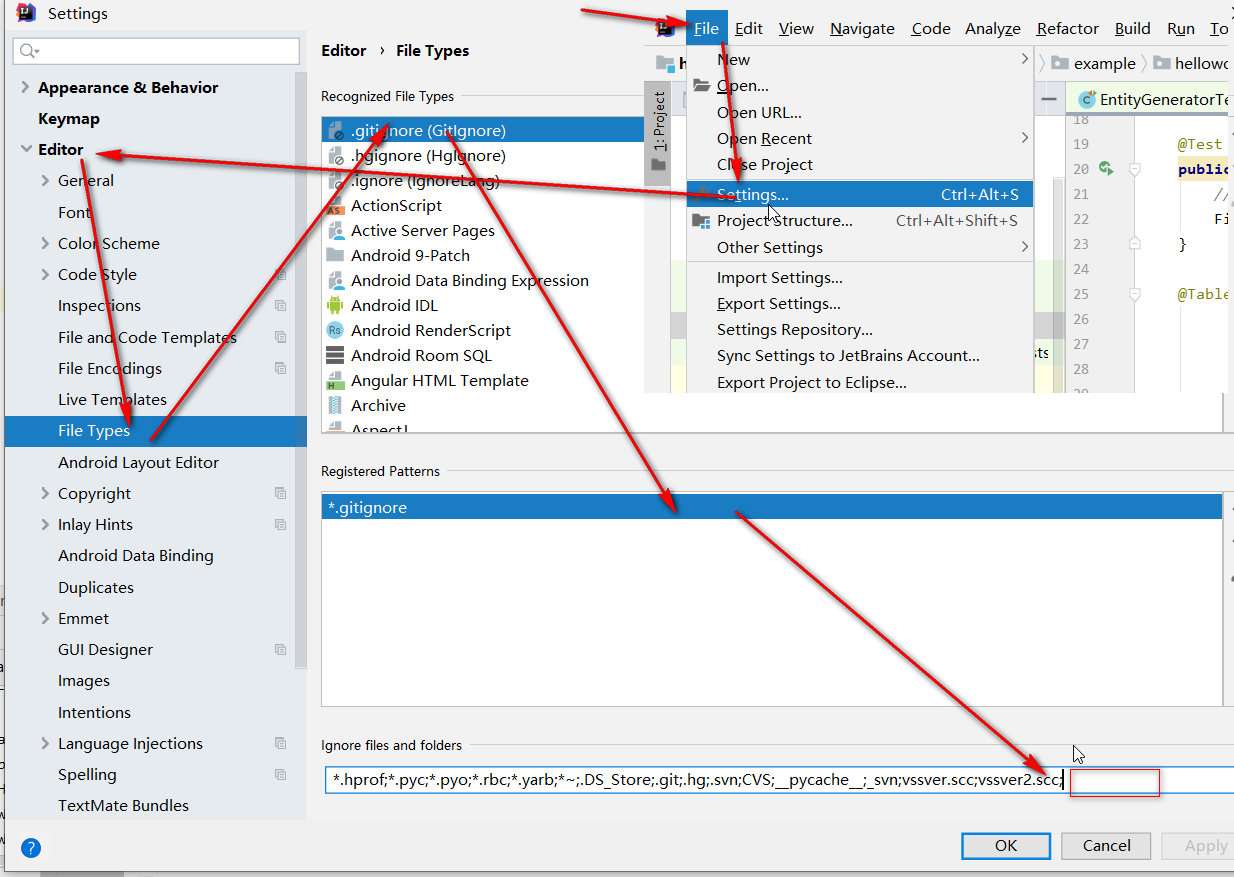
2. 新建工程
附:idea 建立spring-boot程序抓图:参考连接。 https://www.cnblogs.com/cqmcu/p/15926462.html
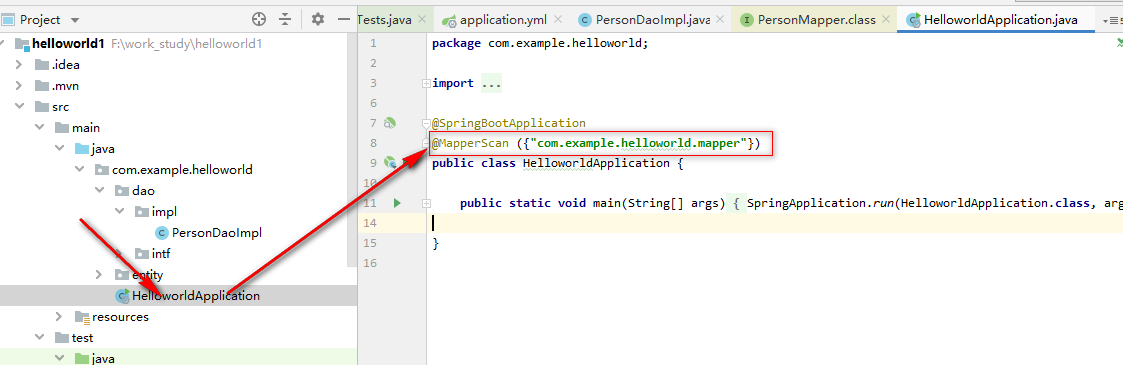
添加pom


<properties>
<java.version>1.8</java.version>
<fluent-mybatis.version>1.6.13</fluent-mybatis.version>
</properties> <dependencies> <dependency>
<groupId>org.springframework.boot</groupId>
<artifactId>spring-boot-starter-web</artifactId>
</dependency> <dependency>
<groupId>org.springframework.boot</groupId>
<artifactId>spring-boot-starter-test</artifactId>
<scope>test</scope>
</dependency> <dependency>
<groupId>mysql</groupId>
<artifactId>mysql-connector-java</artifactId>
<scope>runtime</scope>
</dependency> <dependency>
<groupId>org.projectlombok</groupId>
<artifactId>lombok</artifactId>
<optional>true</optional>
</dependency> <!-- 引入fluent-mybatis 运行依赖包, scope为compile -->
<dependency>
<groupId>com.github.atool</groupId>
<artifactId>fluent-mybatis</artifactId>
<version>${fluent-mybatis.version}</version>
</dependency>
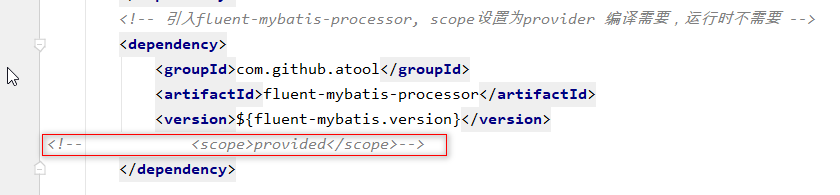
<!-- 引入fluent-mybatis-processor, scope设置为provider 编译需要,运行时不需要 -->
<dependency>
<groupId>com.github.atool</groupId>
<artifactId>fluent-mybatis-processor</artifactId>
<version>${fluent-mybatis.version}</version>
<!-- <scope>provided</scope>-->
</dependency> <dependency>
<groupId>org.mybatis.spring.boot</groupId>
<artifactId>mybatis-spring-boot-starter</artifactId>
<version>2.2.2</version>
</dependency> </dependencies> <build>
<plugins>
<plugin>
<groupId>org.apache.maven.plugins</groupId>
<artifactId>maven-resources-plugin</artifactId>
<version>3.1.0</version>
</plugin> <plugin>
<groupId>org.springframework.boot</groupId>
<artifactId>spring-boot-maven-plugin</artifactId>
</plugin>
</plugins>
</build>
注意,mawen编译插件,没有则有问题。
<plugin>
    <groupId>org.apache.maven.plugins</groupId>
    <artifactId>maven-resources-plugin</artifactId>
    <version>3.1.0</version>
</plugin>

3. application.yml配置
server:

  port: 8080 # 端口号

spring:

  datasource: # 数据库参数配置

    driver-class-name: com.mysql.cj.jdbc.Driver

    url: jdbc:mysql://127.0.0.1:3306/test_db?useUnicode=true&characterEncoding=utf8

    username: root

    password: 123456
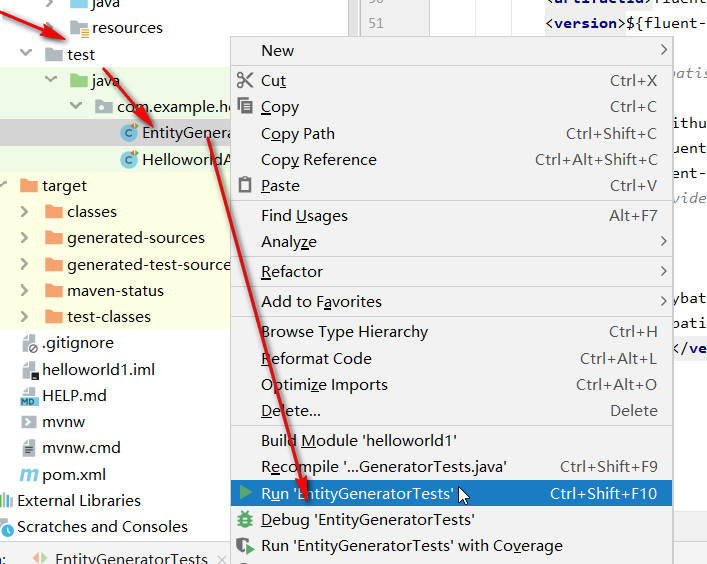
4. EntityGeneratorTests.java 自动代码生成

package com.example.helloworld;

import cn.org.atool.generator.FileGenerator;

import cn.org.atool.generator.annotation.Table;

import cn.org.atool.generator.annotation.Tables;

import org.junit.jupiter.api.Test;

import org.springframework.boot.test.context.SpringBootTest;

@SpringBootTest

public class EntityGeneratorTests {

    // 数据源 url

    static final String url = "jdbc:mysql://127.0.0.1:3306/test_db?useUnicode=true&characterEncoding=utf8";

    // 数据库用户名

    static final String username = "root";

    // 数据库密码

    static final String password = "123456";

    @Test

    public void generate() {

        // 引用配置类,build方法允许有多个配置类

        FileGenerator.build(Empty.class);

    }

    @Tables(

            // 设置数据库连接信息

            url = url, username = username, password = password,

            // 设置entity类生成src目录, 相对于 user.dir

            srcDir = "src/main/java",

            // 设置entity类的package值

            basePack = "com.example.helloworld",

            // 设置dao接口和实现的src目录, 相对于 user.dir

            daoDir = "src/main/java",

            // 设置哪些表要生成Entity文件

            tables = {@Table(value = {"person"})}

    )

    static class Empty { //类名随便取, 只是配置定义的一个载体

    }

}
5. 利用maven编译

6.显示target
7.编译产生代码
8. 产生目标代码
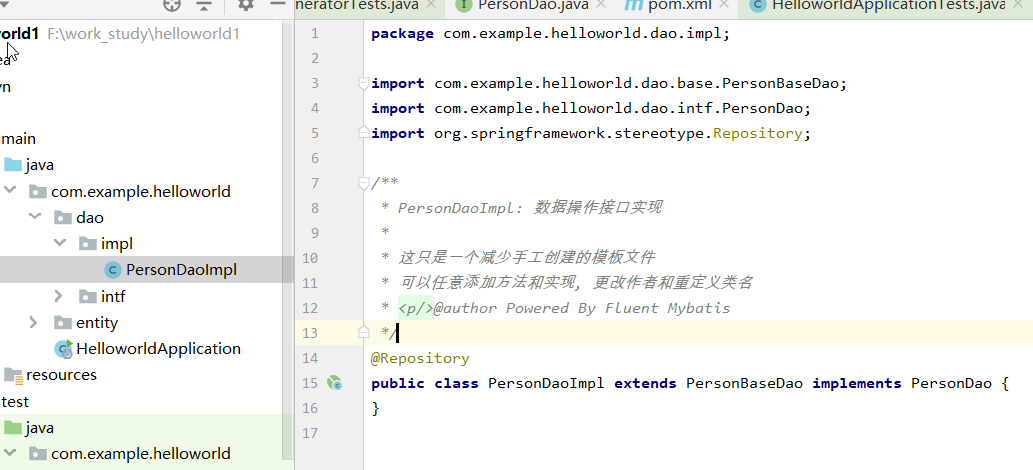

9.添加映射扫描
10.Controller测试代码编写
@RestController
@RequestMapping("/person")
public class PersonController {
@Resource
PersonDao personDao; @Resource
PersonMapper personMapper; //数据库的操作:增删改查
/**
* 根据ID查询数据1
* @param id
* @return
*/
@GetMapping("/getById")
public PersonEntity getById(Integer id){
return personDao.selectById(id);
} /**
* 根据ID删除
* @param id
*/
@GetMapping("/deleteById")
public void deleteById(Integer id){
personDao.deleteById(id);
} /**
* 根据ID进行更新
* @param personEntity
* @return
*/
@PostMapping("/updateById")
public PersonEntity updateById(@RequestBody PersonEntity personEntity){
boolean b = personDao.updateById(personEntity);
if (b){
return personDao.selectById(personEntity.getId());
}
return null;
} /**
* 新增
* @param personEntity
* @return
*/
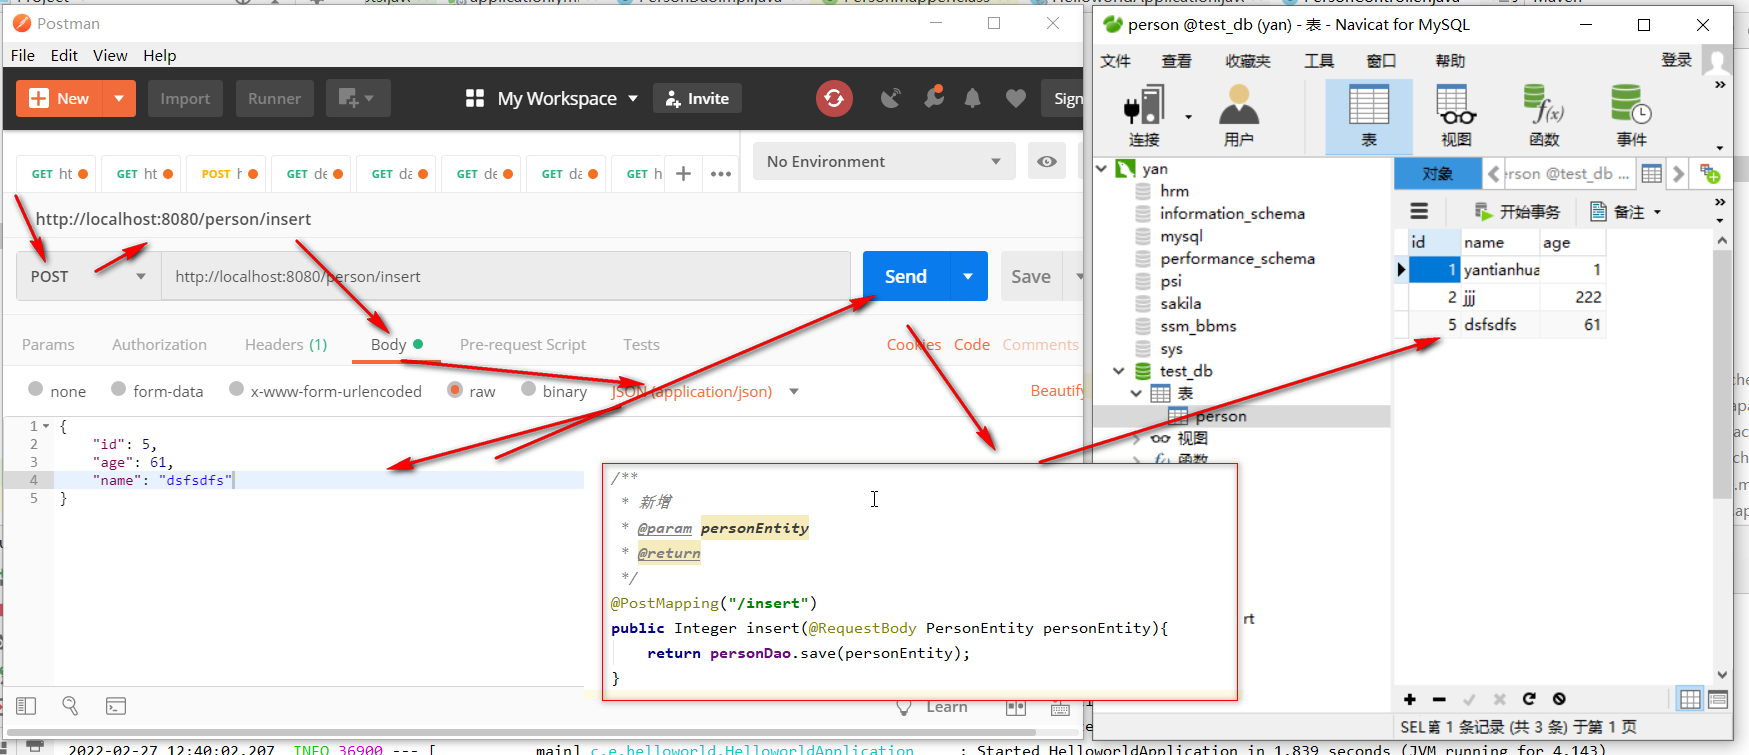
@PostMapping("/insert")
public Integer insert(@RequestBody PersonEntity personEntity){
return personDao.save(personEntity);
} }
11.利用postman工具测试

12-完整代码下载地址:
链接:https://pan.baidu.com/s/1YCuKfQHFyCmIVxkYFnHIOw
提取码:ca61
--来自百度网盘超级会员V5的分享
最新文章
- MySql: show databases/tables use database desc table
- CryptoJS DES加密
- 【SQL Sever】实现SQL Sever的发布。订阅。 双机热备
- python+pygame游戏开发之使用Py2exe打包游戏
- ViewGroup 和 View 事件传递及处理小谈
- Python输入输出(IO)
- 用hdfs存储海量的视频数据的设计思路
- time返回当前的 Unix 时间戳而$_SERVER["REQUEST_TIME"]得到请求开始时的时间戳
- ios模拟器安装.app
- WinRT Toolkit 介绍--Control篇
- NOIP2011-普及组复赛模拟试题-第一题-NBA总冠军
- Adobe XD 介绍
- DAY8 文件操作(二)
- ORB-SLAM2(4) 离线双目数据测试
- MAC安装最新datagrip之后无法非官方激活,而且启动过慢
- 内网集群准同步shell脚本
- bzoj3938 Robot
- C++方式解析时间字符串和计算时间
- Loki之ThreadPool
- 《Java程序设计》 第2周学习总结