zabbix-2.4.8-1添加MySQL状态监控
1、安装zabbix-agent
yum -y install zabbix-2.4.8-1.el6.x86_64.rpm zabbix-agent-2.4.8-1.el6.x86_64.rpm
安装以上两个包以后会在/etc/zabbix/zabbix_agentd.d目录下生成userparameter_mysql.conf这个配置文件我们只需要简单修改即可:
修改内容如下:
就是将里面的配置HOME=/var/lib/zabbix修改成HOME=/etc/zabbix
内容如下:
# For all the following commands HOME should be set to the directory that has .my.cnf file with password information.

# Flexible parameter to grab global variables. On the frontend side, use keys like mysql.status[Com_insert].

# Key syntax is mysql.status[variable].

UserParameter=mysql.status[*],echo "show global status where Variable_name='$1';" | HOME=/etc/zabbix mysql -N | awk '{print $$2}'

# Flexible parameter to determine database or table size. On the frontend side, use keys like mysql.size[zabbix,history,data].

# Key syntax is mysql.size[<database>,<table>,<type>].

# Database may be a database name or "all". Default is "all".

# Table may be a table name or "all". Default is "all".

# Type may be "data", "index", "free" or "both". Both is a sum of data and index. Default is "both".

# Database is mandatory if a table is specified. Type may be specified always.

# Returns value in bytes.

# 'sum' on data_length or index_length alone needed when we are getting this information for whole database instead of a single table

UserParameter=mysql.size[*],echo "select sum($(case "$" in both|"") echo "data_length+index_length";; data|index) echo "$3_length";; free) echo "data_free";; esac)) from information_schema.tables$([[ "$" = "all" || ! "$" ]] || echo " where table_schema='$1'")$([[ "$" = "all" || ! "$" ]] || echo "and table_name='$2'");" | HOME=/etc/zabbix mysql -N

UserParameter=mysql.ping,HOME=/etc/zabbix mysqladmin ping | grep -c alive

UserParameter=mysql.version,mysql -V
2、编辑agent端的/etc/zabbix/zabbix_agentd.conf文件修改如下内容:
Server=127.0.0.1
换成:(红色字体是你自己的Server端的ip)
Server=Zabbix-Server-IP
3、添加mysql连接信息(这里的socket文件一定要是你自己指定的MySQL的socket文件的路径)
vim /etc/zabbix/.my.cnf
[mysql]

host=localhost

user=zabbix

password=zabbix

socket=/tmp/mysql.sock

[mysqladmin]

host=localhost

user=zabbix

password=zabbix

socket=/tmp/mysql.sock
4、添加监控用户
mysql> grant all privileges on *.* to 'zabbix'@'localhost' identified by 'zabbix';
mysql> flush privileges;
5、启动zabbix-agent服务
/etc/init.d/zabbix-agent start
之前的配置中忘记说了,在我们配置好准备添加模板之前可以先在zabbix-server端通过zabbix-get命令来测试一下是否可以获取zabbix-agent端的key值:
例如使用许下命令获取MySQL的版本信息:(这个key可以到item中去查看)
zabbix_get -s 10.10.80.43 -k mysql.version
mysql Ver 14.14 Distrib 5.1.73, for redhat-linux-gnu (x86_64) using readline 5.1
如果无法获取key值要先检查配置是否正确,否则添加监控后也是无法获取数据的哦
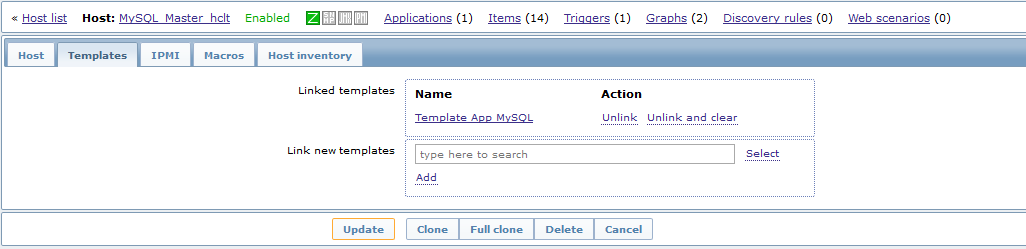
6、去zabbix的管理界面添加MySQL的监控(为主机添加MySQL监控模板)
7、监控效果图(此模板有两个graph,一个是MySQL的流量,一个是MySQL的查询量,qps每秒查询次数)
MySQL的流量图

MySQL的查询量

最新文章
- Coursera上一个不错的Java课
- zzuliOJ 1904小火山的股票交易;
- ASP.NET验证控件一
- On-board diagnostics -- Standards documents
- 【Jenkins】linux下Jenkins集成ant进行编译并发送结果
- Django 1.10中文文档—第一个Django应用Part1
- gulp脚本编写方法
- 修改 Mac 默认 PHP 运行环境,给 MAMP 配置全局 Composer
- 《火球——UML大战需求分析》(第2章 耗尽脑汁的需求分析工作)——2.1 需求分析面面观
- priority_queue 优先队列
- bzoj4766 文艺计算姬
- 【BZOJ3527】力(FFT)
- ASP.NET MVC 中 View 的设计
- 详解 Symbol 类型
- 转载 修改oracle用户密码永不过期
- #224 Profile Lookup (for in & if )
- gitlab 500 服务器错误 重启解决了
- PHP如何支持CURL字符串证书传输
- Pythonic版二分查找
- Streaming 101