优化 Ubuntu
2024-08-28 03:03:57
优化Ubuntu
1. 更换 apt 源
echo 'deb http://mirrors.aliyun.com/ubuntu/ bionic main restricted universe multiverse

deb-src http://mirrors.aliyun.com/ubuntu/ bionic main restricted universe multiverse

deb http://mirrors.aliyun.com/ubuntu/ bionic-security main restricted universe multiverse

deb-src http://mirrors.aliyun.com/ubuntu/ bionic-security main restricted universe multiverse

deb http://mirrors.aliyun.com/ubuntu/ bionic-updates main restricted universe multiverse

deb-src http://mirrors.aliyun.com/ubuntu/ bionic-updates main restricted universe multiverse

deb http://mirrors.aliyun.com/ubuntu/ bionic-backports main restricted universe multiverse

deb-src http://mirrors.aliyun.com/ubuntu/ bionic-backports main restricted universe multiverse

deb http://mirrors.aliyun.com/ubuntu/ bionic-proposed main restricted universe multiverse

deb-src http://mirrors.aliyun.com/ubuntu/ bionic-proposed main restricted universe multiverse' >/etc/apt/sources.list
2. 系统更新
sudo apt update

sudo apt upgrade
3. 安装搜狗输入法
3.1 安装 fcitx 输入框架
sudo apt install fcitx
3.2 下载 linux 版本搜狗输入法
wget http://cdn2.ime.sogou.com/dl/index/1524572264/sogoupinyin_2.2.0.0108_amd64.deb
3.3 安装
sudo dpkg -i sogoupinyin_2.2.0.0108_amd64.deb
如果出现依赖包的问题执行
sudo apt --fix-broken install
3.4 进入设置
- 根据提示安装输入法
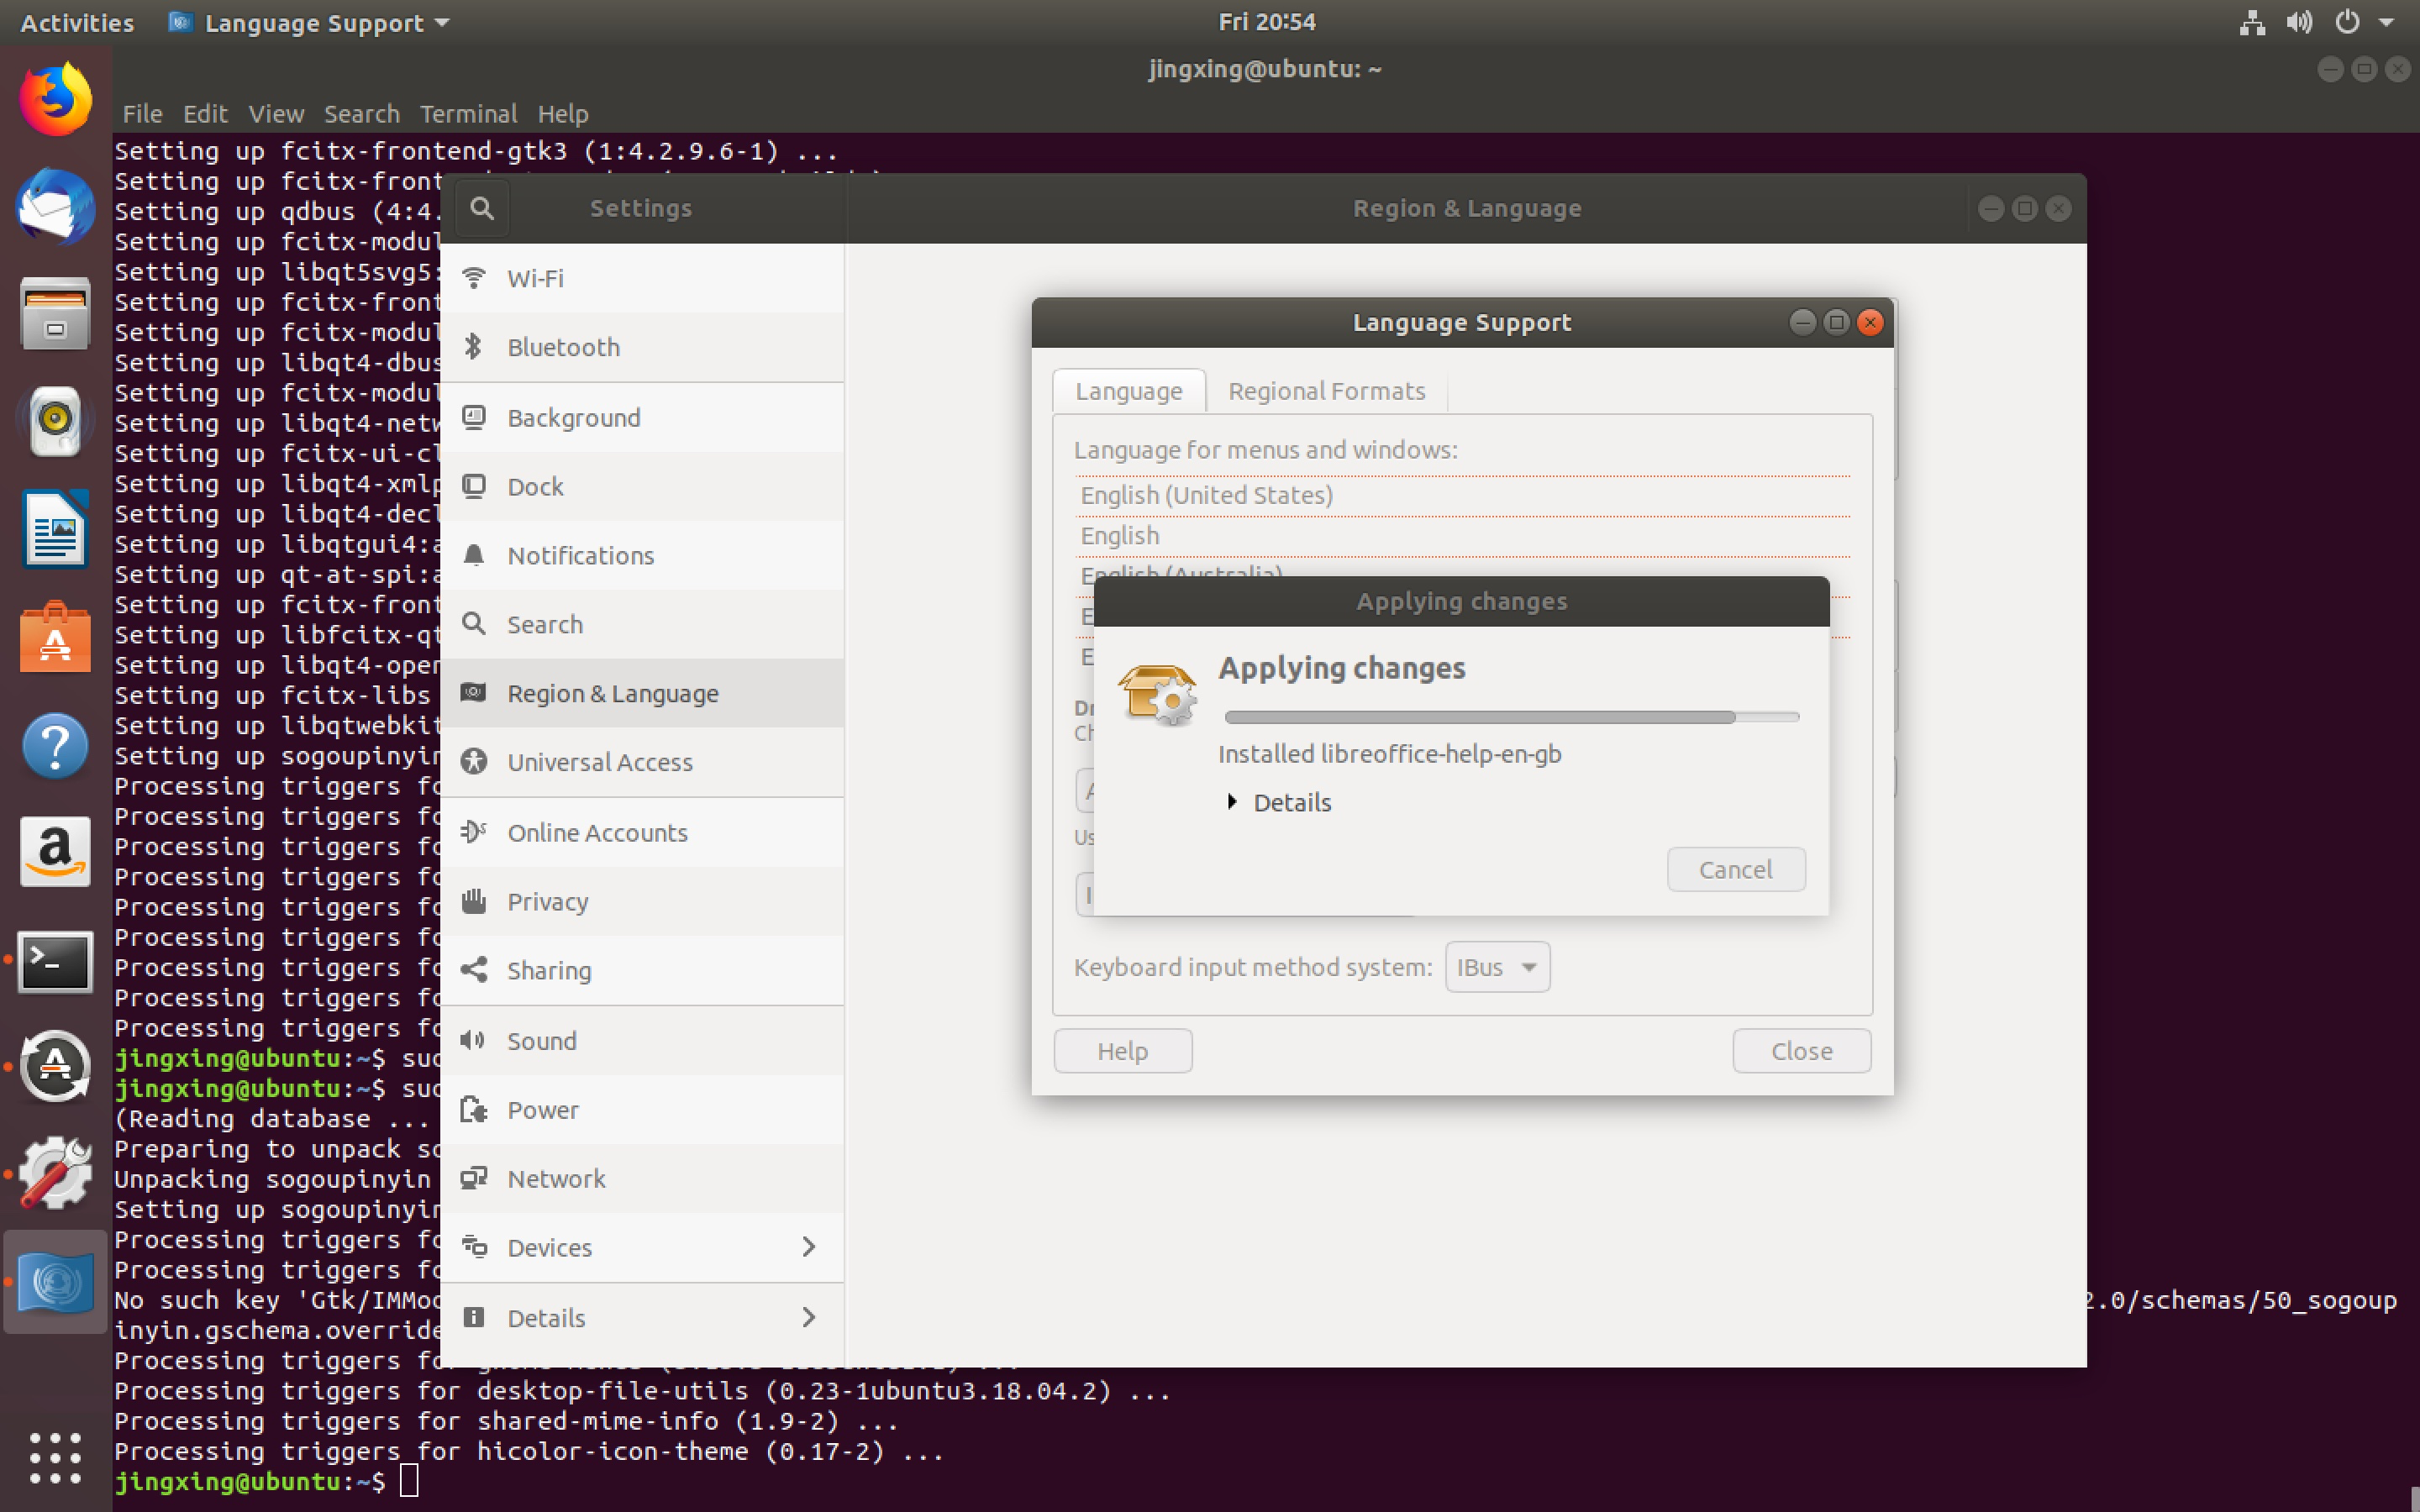
- 将输入框架改为 fcitx
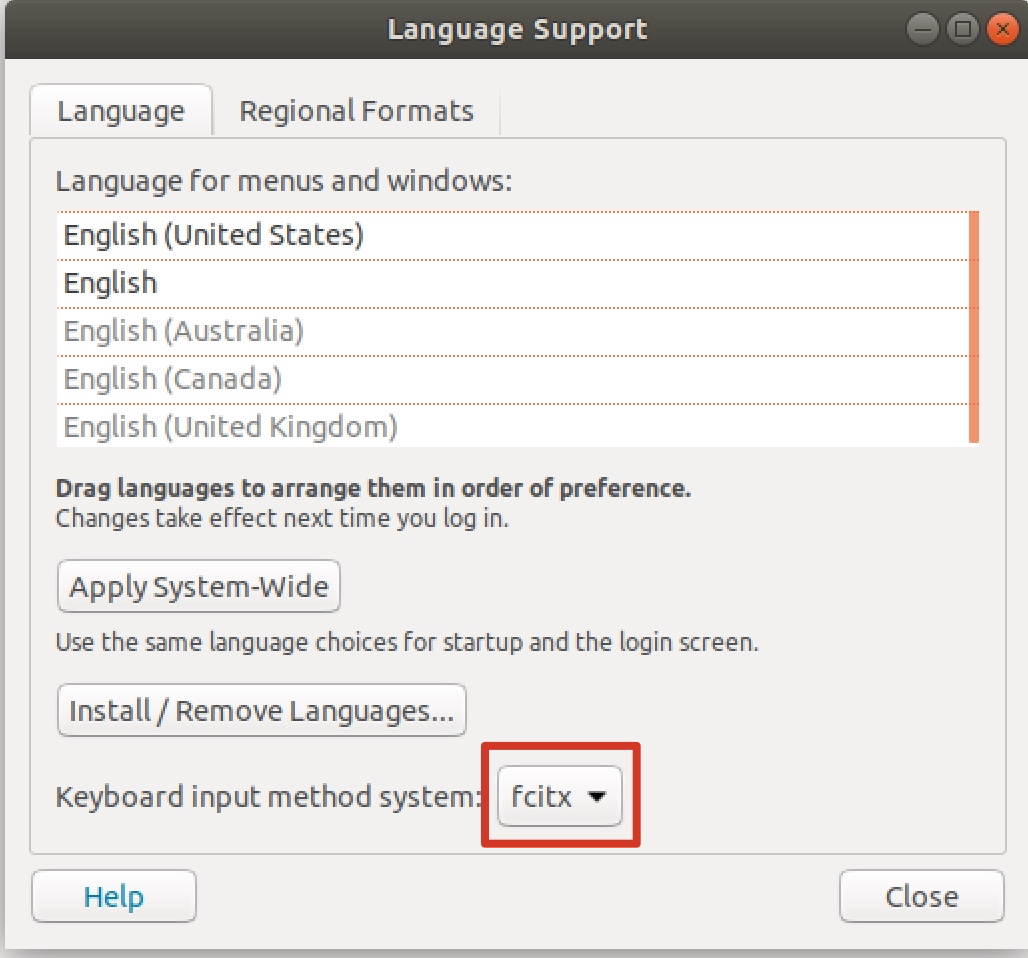
点击Apply System-Wide后将用户注销,如果注销没有效果那么就重启吧。
- 登陆后右上角出现小键盘
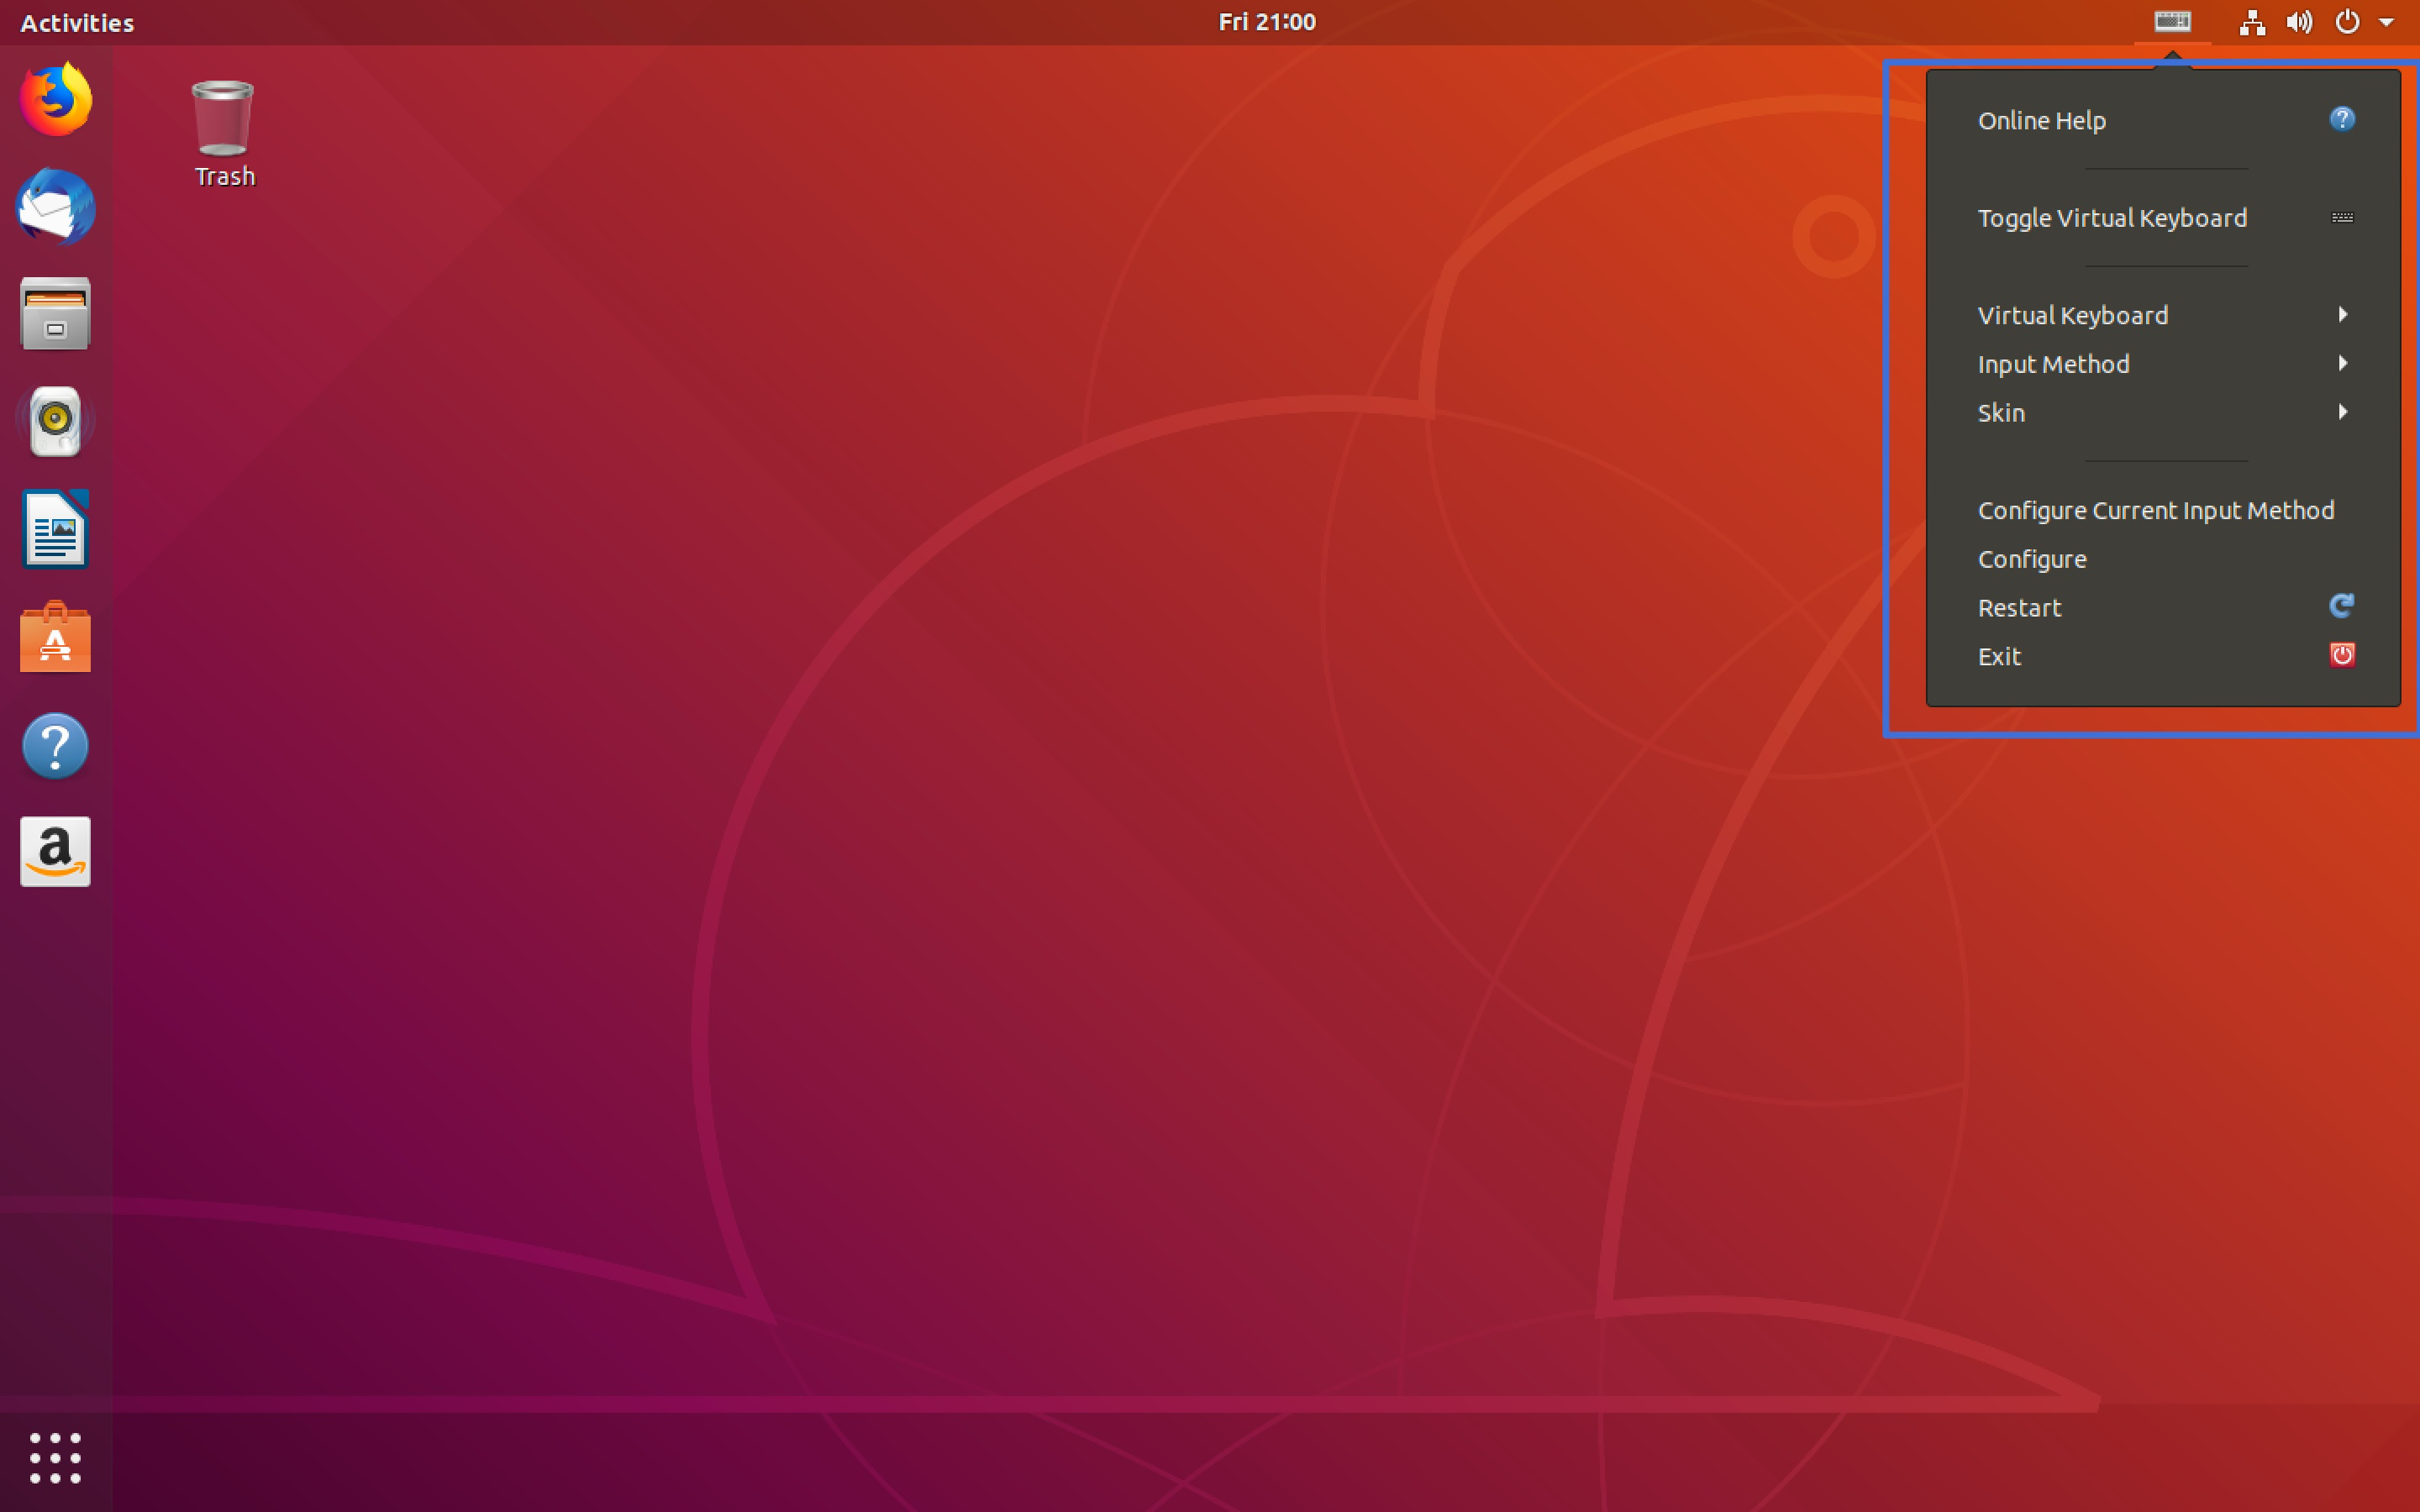
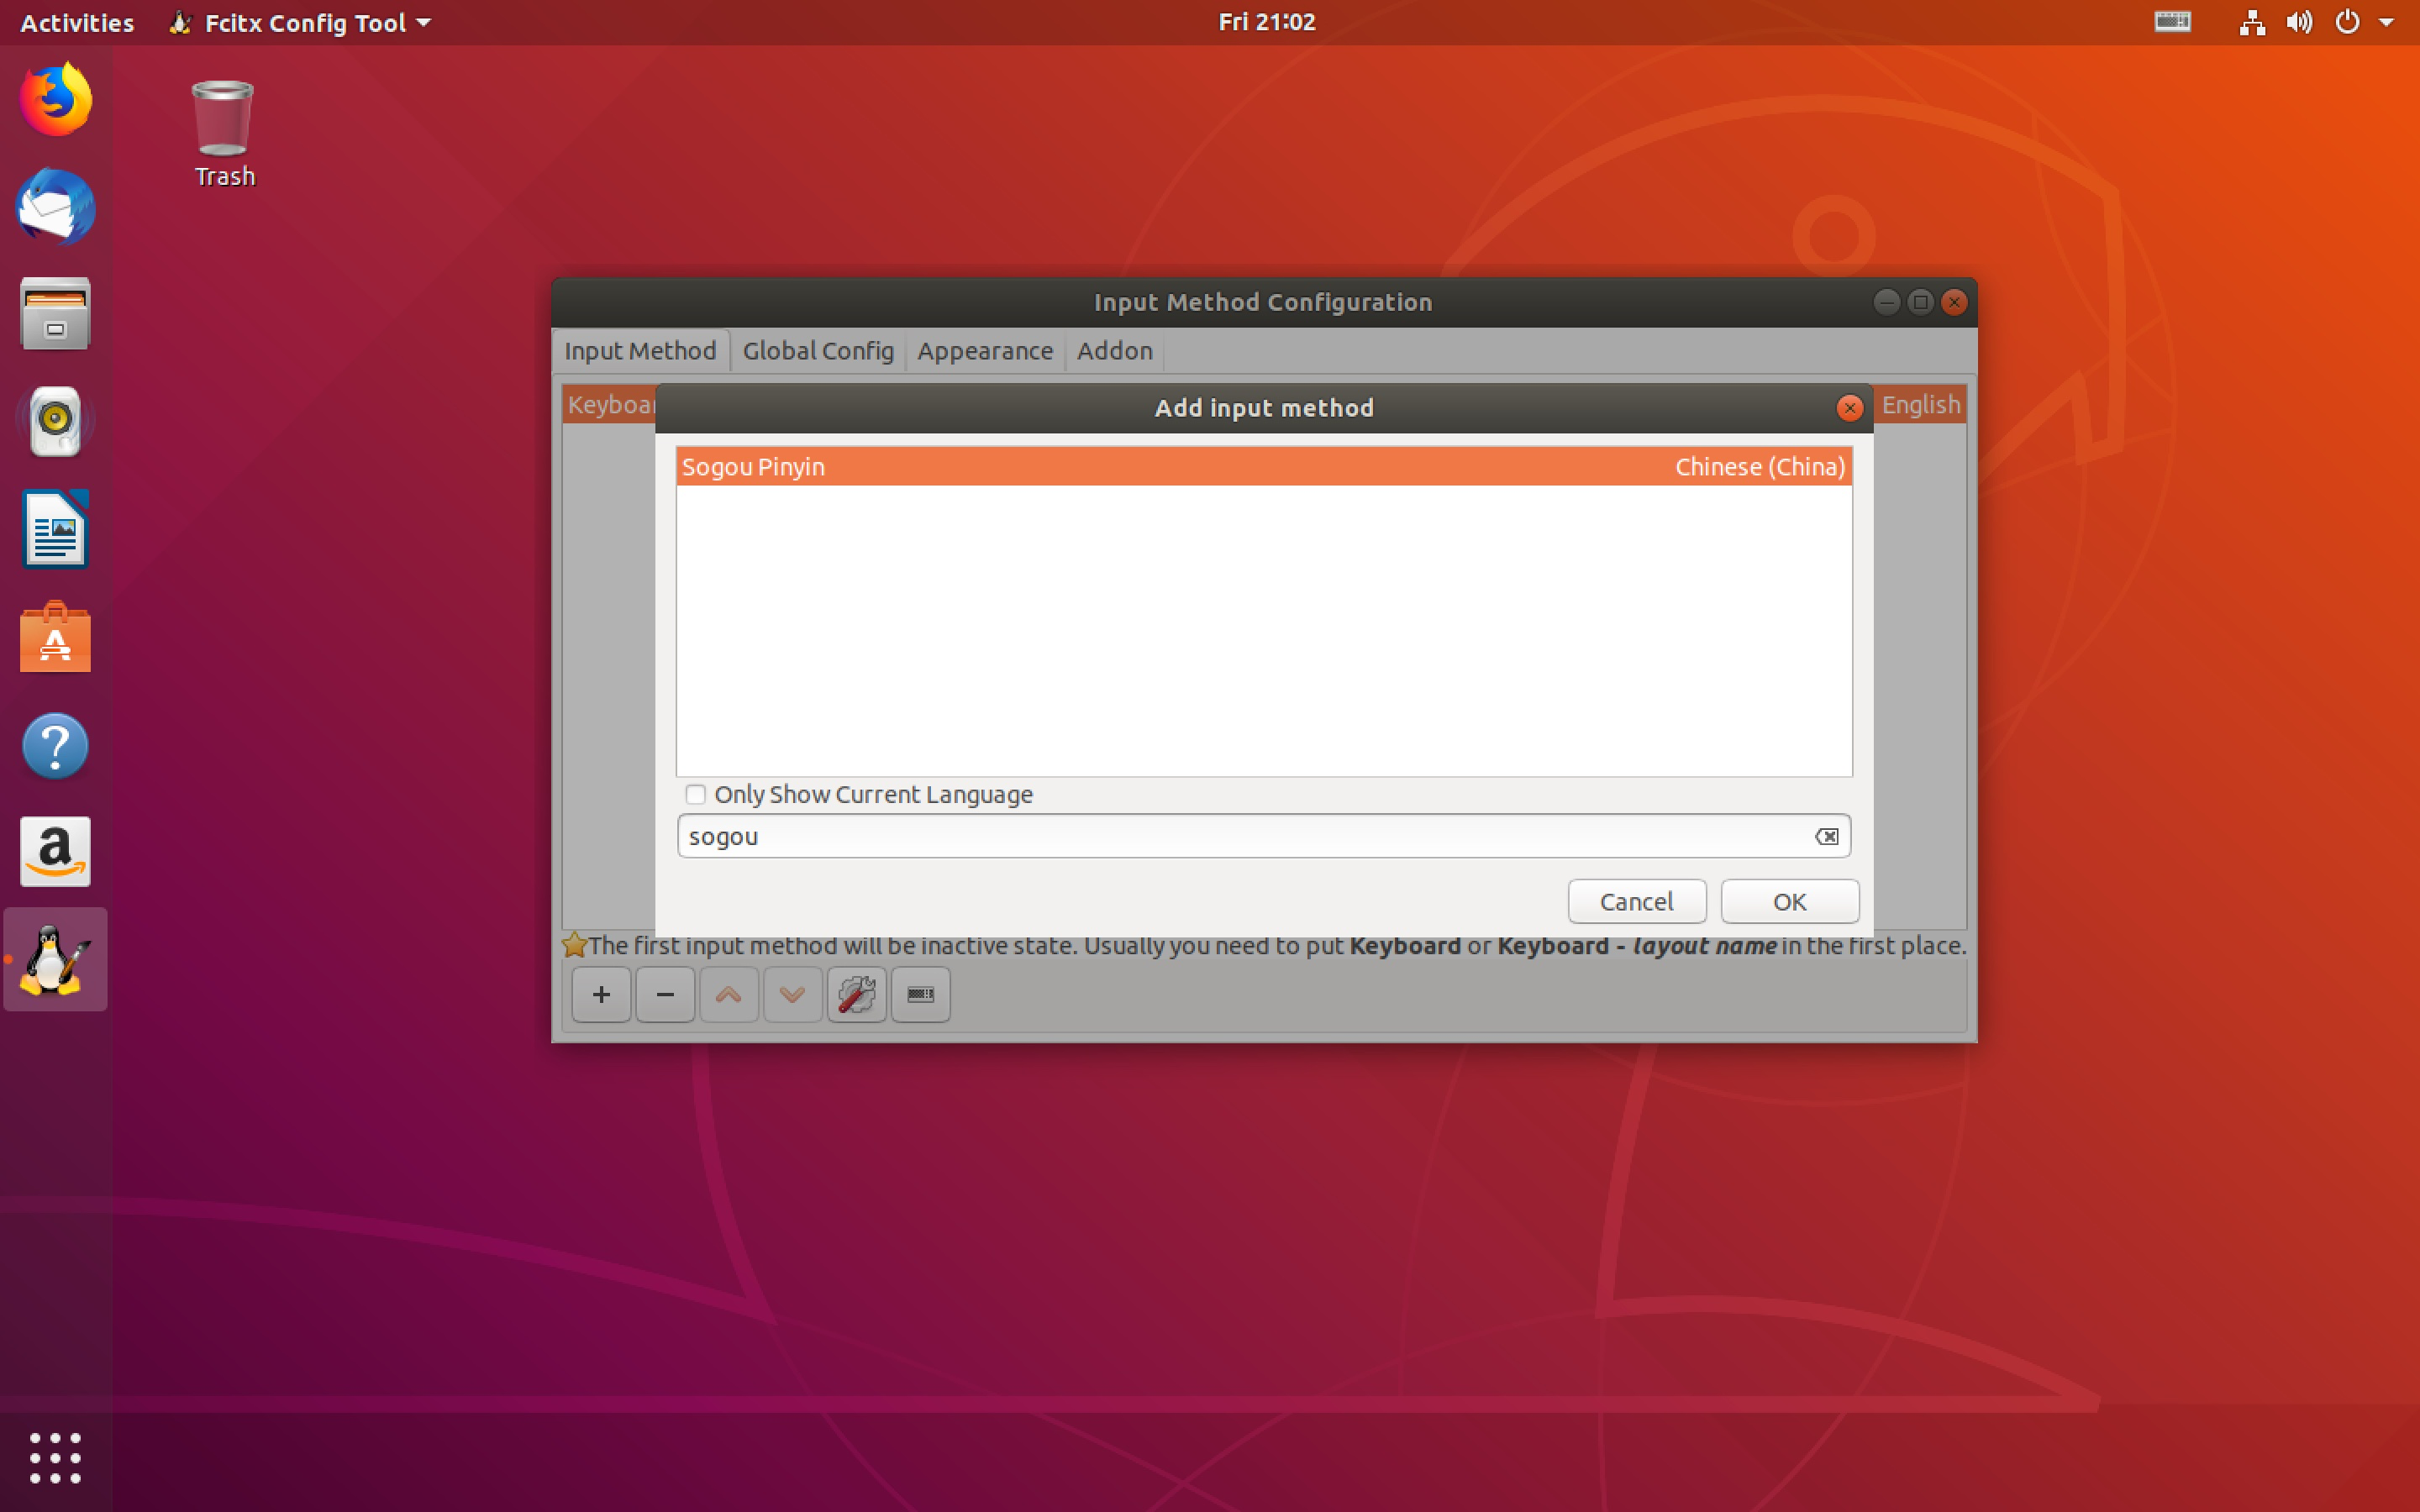
点击Configure Current Input Method,进入Input Method界面,选择加号添加搜狗输入法。
4. 软件卸载、安装
4.1 卸载 libreOffice 安装 wps
sudo apt remove libreoffice-common
4.2 安装 wps
wget https://wdl1.cache.wps.cn/wps/download/ep/Linux2019/8722/wps-office_11.1.0.8722_amd64.deb

sudo dpkg -i wps-office_11.1.0.8722_amd64.deb
4.3 卸载 firefox 安装 chrome
sudp apt remove firefox

wget https://dl.google.com/linux/direct/google-chrome-stable_current_amd64.deb

sudo dpkg -i google-chrome-stable_current_amd64.deb
5. vim 配置
5.1 下载 vim
sudo apt install vim
5.2 编辑 vim 配置文件
sudo vim /etc/vim/vimrc
添加如下代码:
配置还在更新
6. 美化 ubuntu
6.1 安装 unity-tweak-tool
sudo apt intall unity-tweak-tool
6.2 下载 flatabulous 主题
# 按照官方教程使用 add-apt-repository 方法定位不到 flatabulous 包,改用手动安装

sudo add-apt-repository ppa://noobslab/themes

sudo apt update

sudo apt install flatabulous-theme
wget https://github.com/anmoljagetia/Flatabulous/archive/master.zip

mkdir .theme

mv ./master.zip ~/.theme

unzip master.zip
6.3 下载 flat icons
sudo add-apt-repository ppa://noobslab/icons

sudo apt update

sudo apt install ultra-flat-icons
6.4 打开 unity-tweak-tool
再打开 unity-tweak-tool 时出现:
 Gtk was imported without specifying a version first. Use gi.require_version('Gtk', '3.0') before import to ensure that the right version gets loaded.

  from gi.repository import Gtk

Error: schema com.canonical.notify-osd not installed
解决办法如下:
sudo apt install notify-osd

sudo apt install overlay-scrollbar
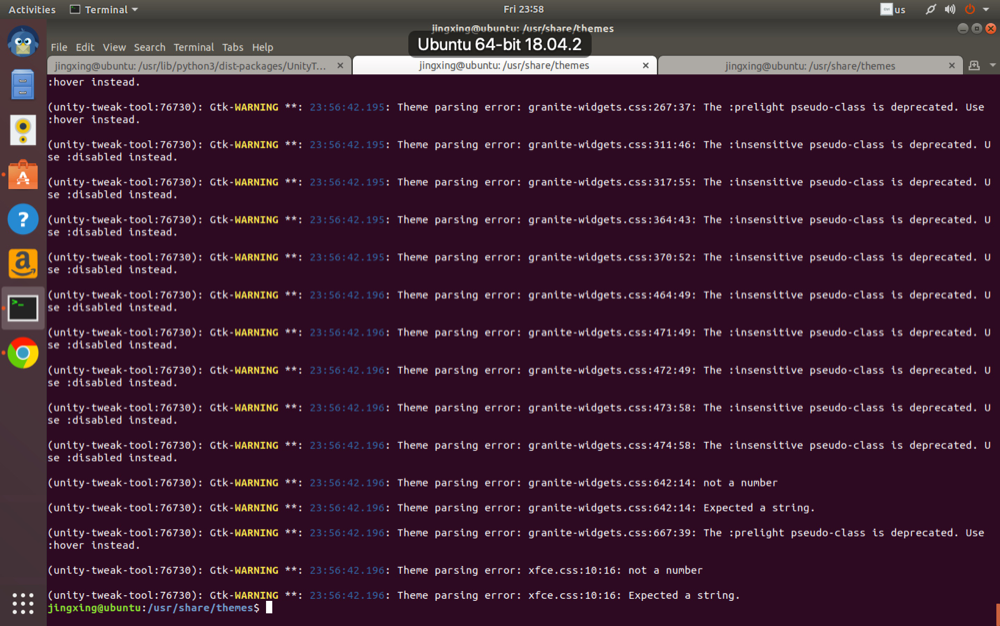
图标配置好了,但是主题因为 GTK 的原因没有成功,记录如下:
6.5 下载字体
在 monaco-font 库中下载 zip 包
unzip monaco-font-master.zip

sudo ./install-font-ubuntu.sh https://github.com/todylu/monaco.ttf/blob/master/monaco.ttf?raw=true
下载完成后使用unity-tweak-tool设置字体。
7. 终端
这个才是重头戏。
因为很多 linux 默认的终端 shell 都是 bash,但是不太好用,所以改为 zsh。
7.1 下载 zsh
sudo apt install zsh
7.2 下载 oh-my-zsh
sh -c "$(wget -O- https://raw.githubusercontent.com/robbyrussell/oh-my-zsh/master/tools/install.sh)"
7.3 修改默认 shell
sudo usermod --shell /bin/zsh $USERNAME
修改后记得 log_out 重新登录用户。
7.4 修改皮肤
vim ~/.zshrc

# 修改皮肤

ZSH_THEME="robbyrussell"
8. 插件安装
8.1 autojump
- 下载
sudo apt install aotujump
- 配置 autojump
vim /usr/share/doc/autojump/README.Debian

echo '. /usr/share/autojump/autojump.sh' >> ~/.zshrc

source ~/.zshrc
8.2 zsh-syntax-highlighting
- 安装
git clone https://github.com/zsh-users/zsh-syntax-highlighting.git ${ZSH_CUSTOM:-~/.oh-my-zsh/custom}/plugins/zsh-syntax-highlighting
- 配置
plugins=(zsh-syntax-highlighting)

source ~/.zshrc
8.3 zsh-autosuggestions
- 安装
git clone git://github.com/zsh-users/zsh-autosuggestions $ZSH_CUSTOM/plugins/zsh-autosuggestions
- 配置
plugins=(zsh-autosuggestions)

source ~/.zshrc
8.4 git-open
- 下载
git clone https://github.com/paulirish/git-open.git $ZSH_CUSTOM/plugins/git-open
- 配置
plugins=(git-open)

source ~/.zshrc
8.5 修改查看 history 格式
HIST_STAMPS="yyyy-mm-dd"
最新文章
- 【经验之谈】Git使用之TortoiseGit配置VS详解
- TJpgDec—轻量级JPEG解码器
- Guava学习笔记:复写的Object常用方法
- eclipse 高亮配对的括号
- android 定位的四种方式
- Java集合——Map接口
- C# asp Aspose.Cells 教程,包含增加勾选框,单元格,字体设置
- git设置过滤忽略的文件或文件夹
- 基于NIOS-II的示波器:PART2 界面动态显示功能
- 201521123081《Java程序设计》 第8周学习总结
- Windows内核函数
- centos 7 破解密码
- ModBus功能码速记
- Mac上webstorm与git仓库建立连接
- Python如何将整数转化成二进制字符串
- mac & ip
- Vim 入门:基础
- 剑指offer 第十一天
- [ZZ] 麻省理工( MIT)大神解说数学体系
- Android开发实战(申明:来源于网络)