Nginx多域名负载均衡配置
Nginx负载均衡设置
环境:
负载均衡:192.168.188.128:80
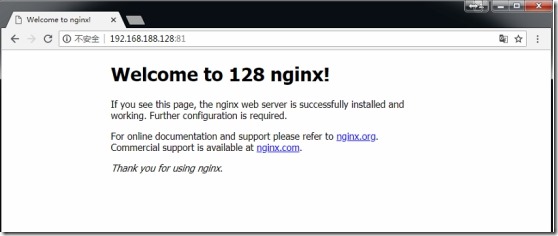
Web1:192.168.188.128:81
Web2:192.168.188.129:80
正式环境中,需要解析域名www.doubles.cn、abc.dd.cn到负载均衡机器192.168.188.128,我们现在测试,就直接在本地windows下的hosts里面绑定域名:
192.168.188.128 www.doubles.cn
192.168.188.128 abc.dd.cn
1、单个域名的负载均衡
1.1、在web1(192.168.188.128)上搭好web环境:
[root@localhost conf]# vim /usr/local/nginx/conf/nginx.conf

...

include vhost/*.conf;

...

}
在http{}最下面添加include vhost/*.conf;每个域名对应一个conf文件。
新建vhost目录。
[root@localhost conf]# mkdir /usr/local/nginx/conf/vhost/
新建www.doubles.cn.conf文件:
[root@localhost conf]# vim /usr/local/nginx/conf/vhost/www.doubles.cn.conf

server {

        listen       81;

        server_name  www.doubles.cn localhost 192.168.188.128;

        location / {

            root    /usr/local/nginx/html/;

            index  index.html index.php index.htm TempLoginPanel.html;

        }

        location ~ \.php$ {

            root           /usr/local/nginx/html/;

            fastcgi_pass   127.0.0.1:9000;

            fastcgi_index  index.php;

            fastcgi_param  SCRIPT_FILENAME  $document_root$fastcgi_script_name;

            include        fastcgi_params;

        }

}
在/usr/local/nginx/html/里面写好html文件:
[root@localhost conf]# vim /usr/local/nginx/html/index.html

#测试内容自定义

……
重新加载nginx配置文件
[root@localhost conf]# /usr/local/nginx/sbin/nginx -t

nginx: the configuration file /usr/local/nginx/conf/nginx.conf syntax is ok

nginx: configuration file /usr/local/nginx/conf/nginx.conf test is successful

[root@localhost conf]# /usr/local/nginx/sbin/nginx -s reload
测试web1:
1.2、在web2(192.168.188.129)上搭好web环境:
按照1.1的方法同样搭建web2的环境,
新建虚拟主机:
[root@localhost conf]# vim /usr/local/nginx/conf/nginx.conf

...

include vhost/*.conf;

...

}
[root@localhost conf]# mkdir /usr/local/nginx/conf/vhost/

[root@localhost conf]# vim /usr/local/nginx/conf/vhost/www.doubles.cn.conf

server {

        listen       80;

        server_name  www.doubles.cn localhost 192.168.188.129;

        location / {

            root    /usr/local/nginx/html/;

            index  index.html index.php index.htm TempLoginPanel.html;

        }

        location ~ \.php$ {

            root           /usr/local/nginx/html/;

            fastcgi_pass   127.0.0.1:9000;

            fastcgi_index  index.php;

            fastcgi_param  SCRIPT_FILENAME  $document_root$fastcgi_script_name;

            include        fastcgi_params;

        }

}
在/usr/local/nginx/html/里面写好html文件:
[root@localhost conf]# vim /usr/local/nginx/html/index.html

#测试内容自定义

……
重新加载nginx配置文件
[root@localhost conf]# /usr/local/nginx/sbin/nginx -t

nginx: the configuration file /usr/local/nginx/conf/nginx.conf syntax is ok

nginx: configuration file /usr/local/nginx/conf/nginx.conf test is successful

[root@localhost conf]# /usr/local/nginx/sbin/nginx -s reload
测试如下:
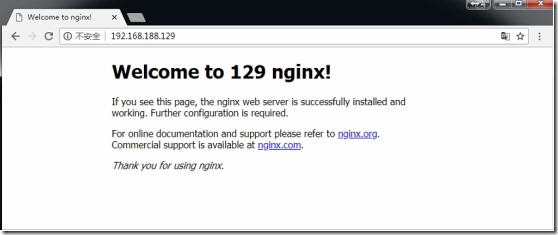
注意:正式环境当中,web1和web2机器上面的网页内容应该是一致的,才能做负载均衡。这里为了区分两台机,所以在网页内容中区分了下。
1.3、在负载均衡机器(192.168.188.128)上:
[root@localhost conf]# vim /usr/local/nginx/conf/nginx.conf

...上面的省略...

upstream  doublesweb {

        #ip_hash;

        server   192.168.188.128:81;

        server   192.168.188.129:80;

    }

server {

        listen       80;

        server_name  localhost;

        location / {

            #root   html;

            #index  index.html index.htm;

            proxy_pass http://doublesweb;

            proxy_connect_timeout 2s;

        }

....略...
(注意):这里upstream与proxy_pass的名字必须一致,这里都是doublesweb。
重新加载nginx配置文件
[root@localhost conf]# /usr/local/nginx/sbin/nginx -t

nginx: the configuration file /usr/local/nginx/conf/nginx.conf syntax is ok

nginx: configuration file /usr/local/nginx/conf/nginx.conf test is successful

[root@localhost conf]# /usr/local/nginx/sbin/nginx -s reload
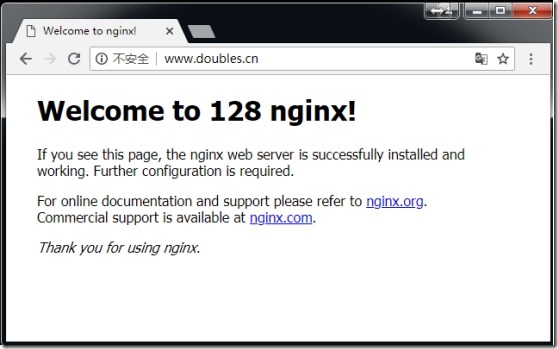
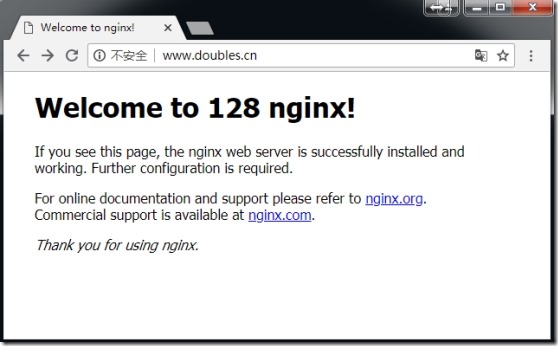
测试:
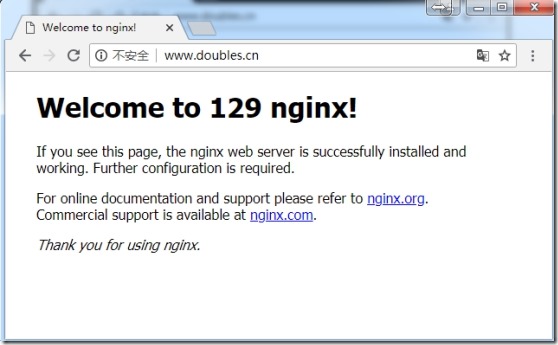
在windows上打开浏览器:输入网址www.doubles.cn,发现已经可以轮询web1和web2了
再刷新:
2、多个域名的负载均衡
在1中我们只对www.doubles.cn做了负载均衡,实际环境中我们可能需要对多个域名进行负载均衡。这里我们添加一个abc.dd.cn。
2.1、web1上面新建虚拟主机abc.dd.cn
增加网页目录/usr/local/nginx/html/dd/:
[root@localhost html]# mkdir /usr/local/nginx/html/dd/

[root@localhost html]# vim /usr/local/nginx/html/dd/index.html
添加一个abc.dd.cn.conf的虚拟主机:
[root@localhost html]# vim /usr/local/nginx/conf/vhost/abc.dd.cn.conf

server {

        listen       81;

        server_name  abc.dd.cn;

        location / {

            root    /usr/local/nginx/html/dd/;

            index  index.html index.php index.htm TempLoginPanel.html;

        }

        location ~ \.php$ {

            root           /usr/local/nginx/html/dd/;

            fastcgi_pass   127.0.0.1:9000;

            fastcgi_index  index.php;

            fastcgi_param  SCRIPT_FILENAME  $document_root$fastcgi_script_name;

            include        fastcgi_params;

        }

}
重新加载nginx配置文件
[root@localhost conf]# /usr/local/nginx/sbin/nginx -t

nginx: the configuration file /usr/local/nginx/conf/nginx.conf syntax is ok

nginx: configuration file /usr/local/nginx/conf/nginx.conf test is successful

[root@localhost conf]# /usr/local/nginx/sbin/nginx -s reload
2.2、在web2上新建虚拟主机abc.dd.cn
跟web1同样的操作:
增加网页目录/usr/local/nginx/html/dd/:
[root@localhost html]# mkdir /usr/local/nginx/html/dd/

[root@localhost html]# vim /usr/local/nginx/html/dd/index.html
添加一个abc.dd.cn.conf的虚拟主机:
[root@localhost html]# vim /usr/local/nginx/conf/vhost/abc.dd.cn.conf

server {

        listen       80;

        server_name  abc.dd.cn;

        location / {

            root    /usr/local/nginx/html/dd/;

            index  index.html index.php index.htm TempLoginPanel.html;

        }

        location ~ \.php$ {

            root           /usr/local/nginx/html/dd/;

            fastcgi_pass   127.0.0.1:9000;

            fastcgi_index  index.php;

            fastcgi_param  SCRIPT_FILENAME  $document_root$fastcgi_script_name;

            include        fastcgi_params;

        }

}
重新加载nginx配置文件
[root@localhost conf]# /usr/local/nginx/sbin/nginx -t

nginx: the configuration file /usr/local/nginx/conf/nginx.conf syntax is ok

nginx: configuration file /usr/local/nginx/conf/nginx.conf test is successful

[root@localhost conf]# /usr/local/nginx/sbin/nginx -s reload
2.3、配置负载均衡
在负载均衡机器(192.168.188.128)上:
[root@localhost html]# vim /usr/local/nginx/conf/nginx.conf

...

    upstream  www.doubles.cn {

        #ip_hash;

        server   192.168.188.128:81;

        server   192.168.188.129:80;

    }

   upstream  abc.dd.cn {

       #ip_hash;

       server   192.168.188.128:81;

       server   192.168.188.129:80;

   }

    server {

        listen       80;

        server_name  localhost;

        location / {

            #root   html;

            #index  index.html index.htm;

            proxy_pass http://$host;

            proxy_connect_timeout 2s;

            proxy_set_header Host $host;

            proxy_set_header X-Real-IP $remote_addr;

            proxy_set_header X-Forwarded-For $proxy_add_x_forwarded_for;

        }

.....
(注意):这里upstream后面的名字必须跟你访问的域名保持完全一致,否则将无法代理。因为proxy_pass是根据$host来匹配的。
重新加载nginx配置文件
[root@localhost conf]# /usr/local/nginx/sbin/nginx -t

nginx: the configuration file /usr/local/nginx/conf/nginx.conf syntax is ok

nginx: configuration file /usr/local/nginx/conf/nginx.conf test is successful

[root@localhost conf]# /usr/local/nginx/sbin/nginx -s reload
测试:

再刷新:
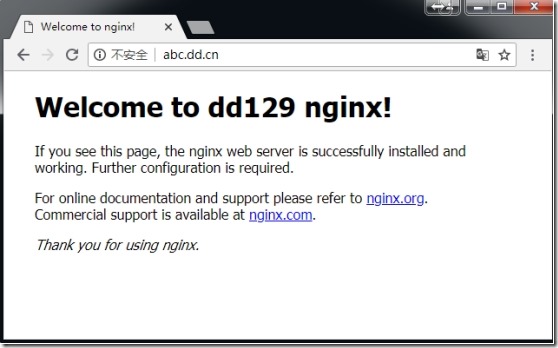
测试之前的域名:

仍然可以进行负载均衡,所以生效。
最新文章
- 递归 CTE
- linux环境 c 中如何执行shell命令
- HDU 5775 Bubble Sort(冒泡排序)
- phpStorm如何在Console控制台执行php文本,而不是浏览器中
- Android 抽屉类SlidingDrawer的使用
- ubuntu server获取并自动设置最快镜像的方法
- 科学家有了钱以后,真是挺吓人的——D.E.Shaw的牛逼人生
- Codeforces Round #337 (Div. 2) D. Vika and Segments 线段树扫描线
- 欧拉工程第64题:Odd period square roots
- ecshop后台添加菜单项,权限问题
- windows版的node.js简单示例
- Dark Side of Cloud Storage —— 数据对像的分块消重
- MySQL的字符编码设置
- 功能强大的swagger-editor的介绍与使用
- January 12th, 2018 Week 02nd Friday
- java类型生命周期
- [转载] npm 一些操作
- mysql存储过程学习第一天
- eclipse 和 javaClass
- win10系统打开自带的画图软件的步骤