Matplotlib 轴标签和标题
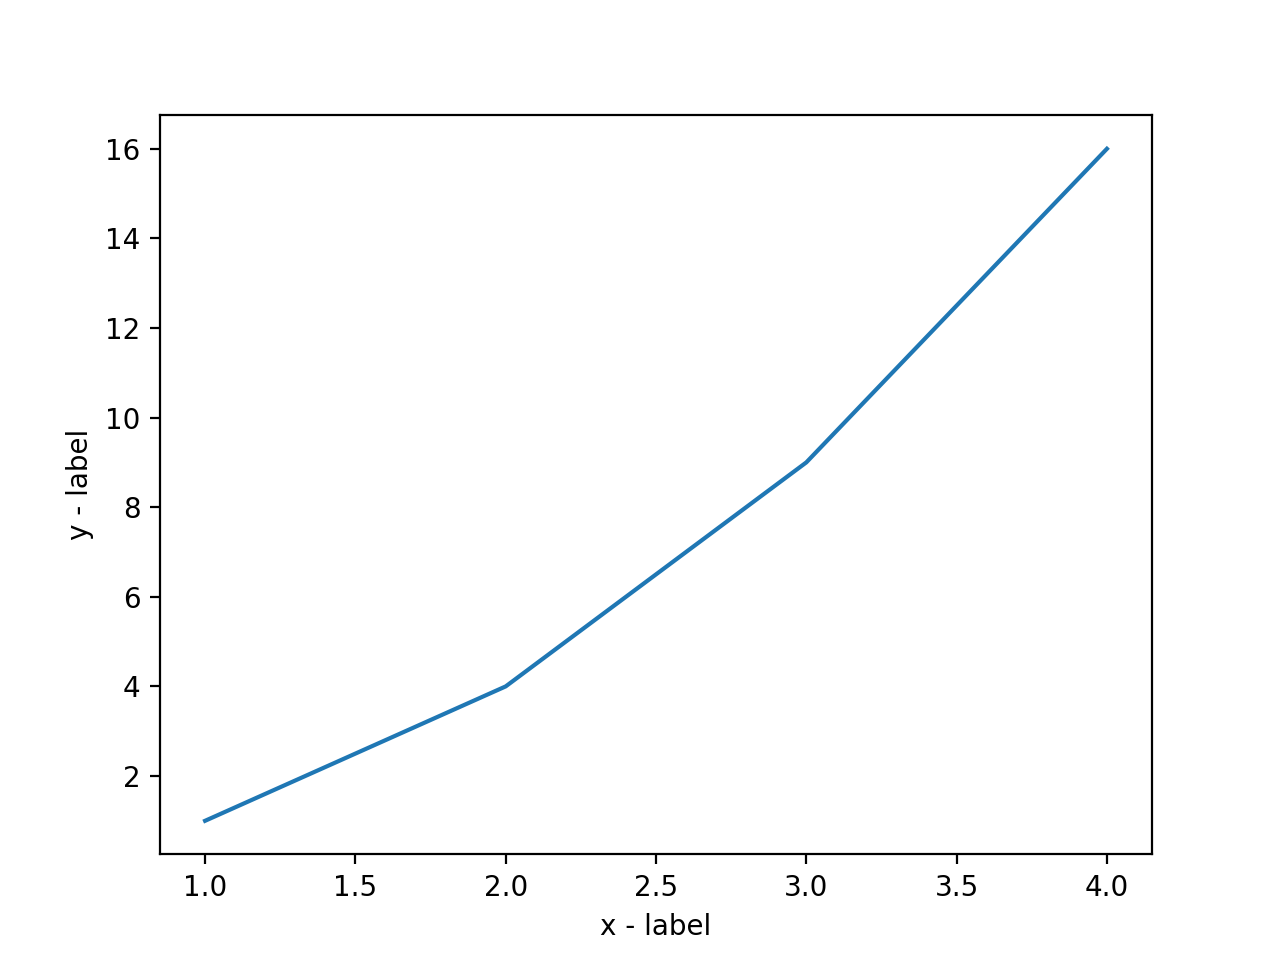
我们可以使用 xlabel() 和 ylabel() 方法来设置 x 轴和 y 轴的标签。
实例
import matplotlib.pyplot as plt
x = np.array([1, 2, 3, 4])
y = np.array([1, 4, 9, 16])
plt.plot(x, y)
plt.xlabel("x - label")
plt.ylabel("y - label")
plt.show()
显示结果如下:
标题
我们可以使用 title() 方法来设置标题。
实例
import matplotlib.pyplot as plt
x = np.array([1, 2, 3, 4])
y = np.array([1, 4, 9, 16])
plt.plot(x, y)
plt.title("RUNOOB TEST TITLE")
plt.xlabel("x - label")
plt.ylabel("y - label")
plt.show()
显示结果如下:

图形中文显示
Matplotlib 默认情况不支持中文,我们可以使用以下简单的方法来解决。
这里我们使用思源黑体,思源黑体是 Adobe 与 Google 推出的一款开源字体。
官网:https://source.typekit.com/source-han-serif/cn/
GitHub 地址:https://github.com/adobe-fonts/source-han-sans/tree/release/OTF/SimplifiedChinese
打开链接后,在里面选一个就好了:
你也可以在网盘下载: https://pan.baidu.com/s/10-w1JbXZSnx3Tm6uGpPGOw,提取码:yxqu。
可以下载个 OTF 字体,比如 SourceHanSansSC-Bold.otf,将该文件文件放在当前执行的代码文件中:
SourceHanSansSC-Bold.otf 文件放在当前执行的代码文件中:
实例
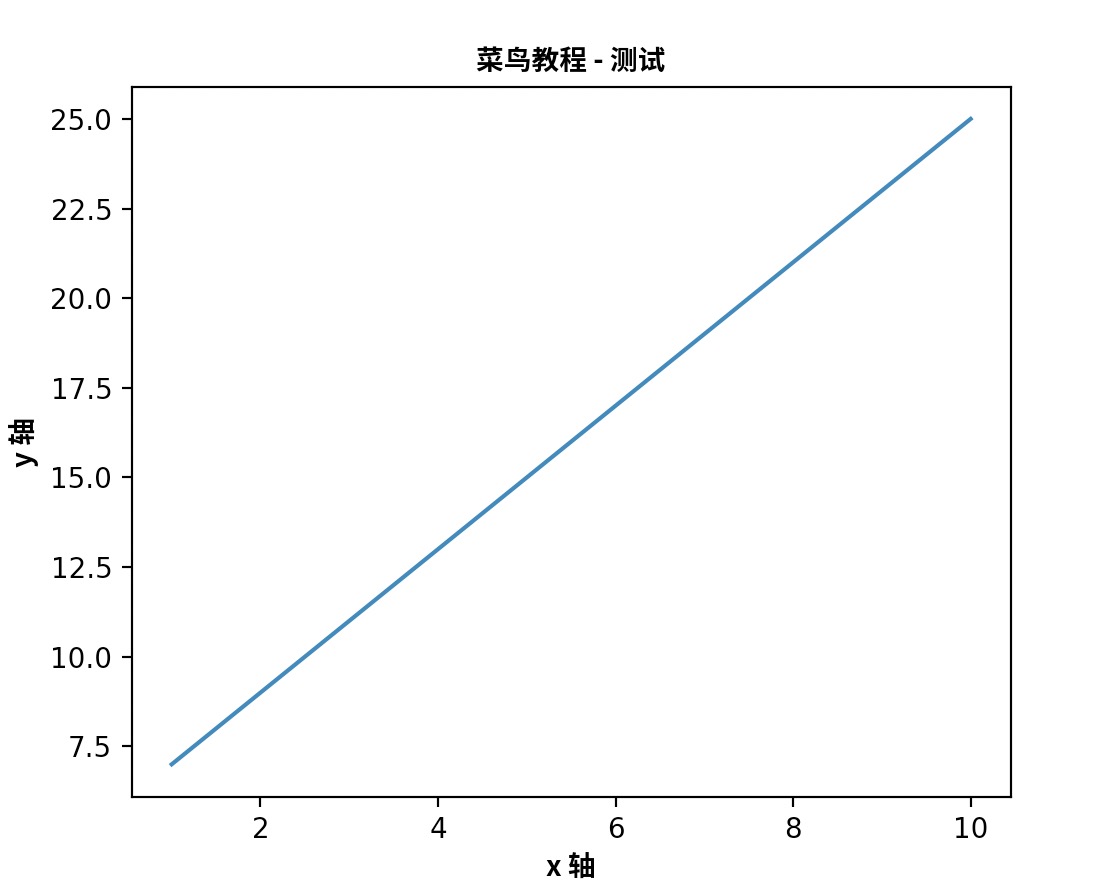
from matplotlib import pyplot as plt
import matplotlib
# fname 为 你下载的字体库路径,注意 SourceHanSansSC-Bold.otf 字体的路径
zhfont1 = matplotlib.font_manager.FontProperties(fname="SourceHanSansSC-Bold.otf")
x = np.arange(1,11)
y = 2 * x + 5
plt.title("菜鸟教程 - 测试", fontproperties=zhfont1)
# fontproperties 设置中文显示,fontsize 设置字体大小
plt.xlabel("x 轴", fontproperties=zhfont1)
plt.ylabel("y 轴", fontproperties=zhfont1)
plt.plot(x,y)
plt.show()
执行输出结果如下图:
此外,我们还可以使用系统的字体:
from matplotlib import pyplot as plt

import matplotlib

a=sorted([f.name for f in matplotlib.font_manager.fontManager.ttflist])

for i in a:

    print(i)
打印出你的 font_manager 的 ttflist 中所有注册的名字,找一个看中文字体例如:STFangsong(仿宋),然后添加以下代码即可:
plt.rcParams['font.family']=['STFangsong']
此外我们还可以自定义字体的样式:
实例
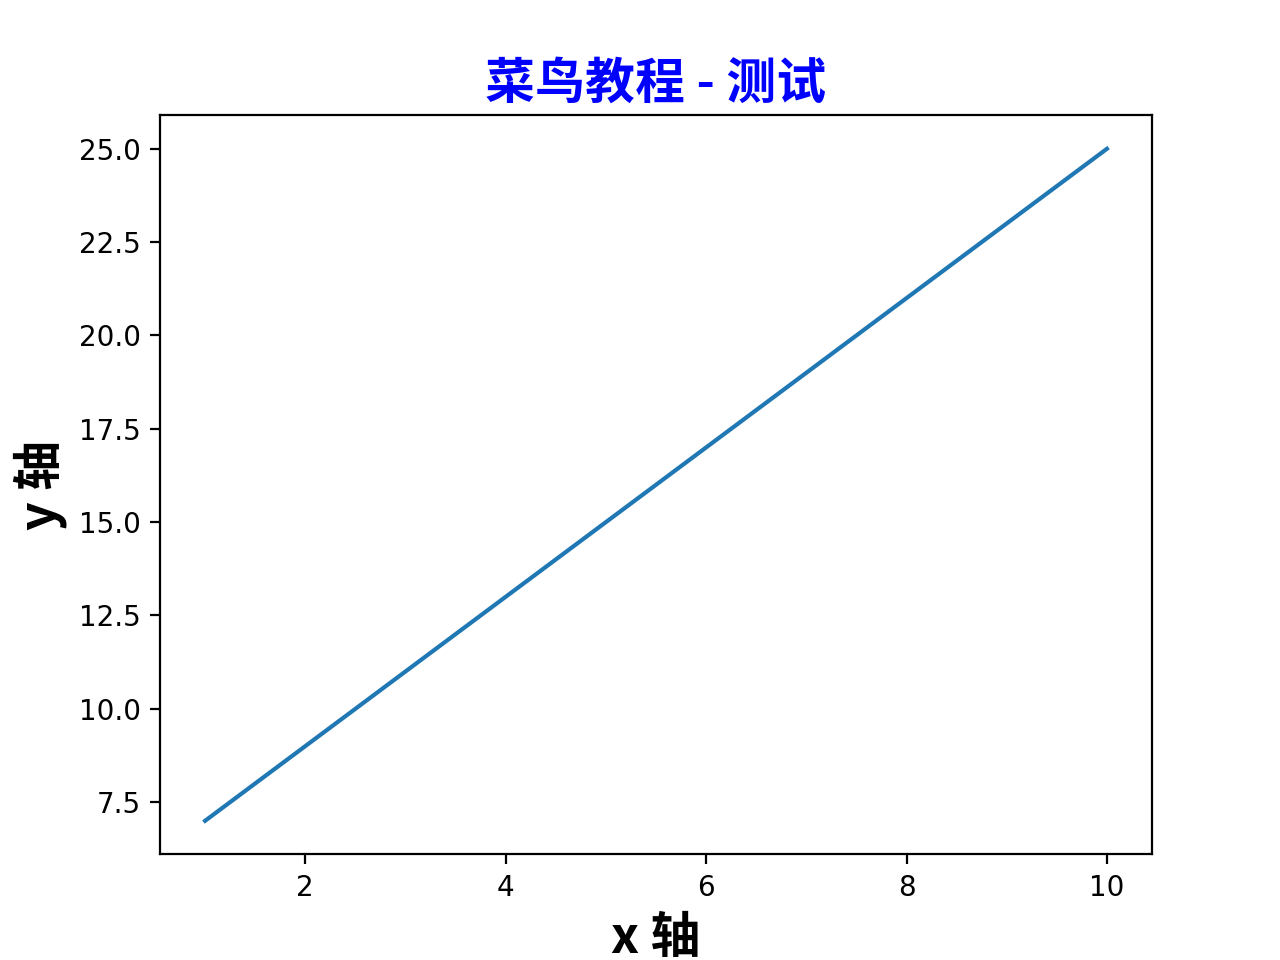
from matplotlib import pyplot as plt
import matplotlib
# fname 为 你下载的字体库路径,注意 SourceHanSansSC-Bold.otf 字体的路径,size 参数设置字体大小
zhfont1 = matplotlib.font_manager.FontProperties(fname="SourceHanSansSC-Bold.otf", size=18)
font1 = {'color':'blue','size':20}
font2 = {'color':'darkred','size':15}
x = np.arange(1,11)
y = 2 * x + 5
# fontdict 可以使用 css 来设置字体样式
plt.title("菜鸟教程 - 测试", fontproperties=zhfont1, fontdict = font1)
# fontproperties 设置中文显示,fontsize 设置字体大小
plt.xlabel("x 轴", fontproperties=zhfont1)
plt.ylabel("y 轴", fontproperties=zhfont1)
plt.plot(x,y)
plt.show()
输出结果如下:
标题与标签的定位
title() 方法提供了 loc 参数来设置标题显示的位置,可以设置为: 'left', 'right', 和 'center', 默认值为 'center'。
xlabel() 方法提供了 loc 参数来设置 x 轴显示的位置,可以设置为: 'left', 'right', 和 'center', 默认值为 'center'。
ylabel() 方法提供了 loc 参数来设置 y 轴显示的位置,可以设置为: 'bottom', 'top', 和 'center', 默认值为 'center'。
实例
from matplotlib import pyplot as plt
import matplotlib
# fname 为 你下载的字体库路径,注意 SourceHanSansSC-Bold.otf 字体的路径,size 参数设置字体大小
zhfont1 = matplotlib.font_manager.FontProperties(fname="SourceHanSansSC-Bold.otf", size=18)
font1 = {'color':'blue','size':20}
font2 = {'color':'darkred','size':15}
x = np.arange(1,11)
y = 2 * x + 5
# fontdict 可以使用 css 来设置字体样式
plt.title("菜鸟教程 - 测试", fontproperties=zhfont1, fontdict = font1, loc="left")
# fontproperties 设置中文显示,fontsize 设置字体大小
plt.xlabel("x 轴", fontproperties=zhfont1, loc="left")
plt.ylabel("y 轴", fontproperties=zhfont1, loc="top")
plt.plot(x,y)
plt.show()
输出结果如下:

最新文章
- MongoDB【第三篇】MongoDB基本操作
- android 发送短信功能
- IE10中session失效取不到值的问题
- Elasticsearch聚合 之 Terms
- 三种JS方法确定元素在数组中的索引值
- 9. Linux远程登录
- codeforces 486C. Palindrome Transformation 解题报告
- 资源 之 4.4 Resource通配符路径 ——跟我学spring3
- 关联式容器(associative containers)
- HDOJ/HDU 1073 Online Judge(字符串处理~)
- select poll epoll三者之间的比较
- JavaScript经典魔力代码
- WEB 移动网站 手机点击 打电话 发短信
- 使用Common.Logging与log4net的组件版本兼容问题
- Centos5.5系统备份
- Mac 上Python多版本切换
- app控件唯一相对Xpath自动生成(增强版uiautomatorviewer)
- [ZJOI2016]大森林(LCT)
- linux cudnn安装
- C# 执行bat批处理文件