nginx-rtmp之直播视频流的推送
一、RTMP是Real Time Messaging Protocol(实时消息传输协议)的首字母缩写。该协议基于TCP,是一个协议族,包括RTMP基本协议及RTMPT/RTMPS/RTMPE等多种变种。RTMP是一种设计用来进行实时数据通信的网络协议,主要用来在Flash/AIR平台和支持RTMP协议的流媒体/交互服务器之间进行音视频和数据通信。支持该协议的软件包括Adobe Media Server/Ultrant Media Server/red5等。
RTMP(Real Time Messaging Protocol)实时消息传送协议是Adobe Systems公司为Flash播放器和服务器之间音频、视频和数据传输 开发的开放协议。
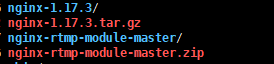
  nginx下载地址:http://nginx.org/download/nginx-1.17.3.tar.gz

  nginx-rtmp-module下载地址:https://github.com/arut/nginx-rtmp-module(直接使用git下载然后解压即可)

# tar -zxf nginx-1.17.3.tar.gz

# unzip nginx-rtmp-module-master.zip
修改nginx-rtmp-module-master为nginx-rtmp-module
# mv nginx-rtmp-module-master nginx-rtmp-module
cd nginx-1.17.3
./configure --add-module=/usr/local/nginx-rtmp-module

make

make install
少依赖的错误解决:

apt-get install libpcre3 libpcre3-dev

apt-get install openssl libssl-dev
成功过后我们看见nginx依赖包有
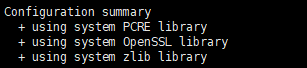
sudo apt-get install zlib1g-dev
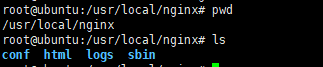
接下来就是执行上面的安装步骤,完成时在/usr/local/下面会产生一个nginx目录
2)在nginx中配置rtmp服务
worker_processes  1;

events {

    worker_connections  1024;

}

rtmp {

    server {

        listen 1935;

        chunk_size 4000;

    application play {

            play /usr/local/nginx/html/play;

        }

    application hls {

            live on;

            hls on;

            hls_path /usr/local/nginx/html/hls;

        hls_fragment 1s;

        hls_playlist_length 4s;

        }

    application live {

            live on;

        }

    }

}

http {

    include       mime.types;

    default_type  application/octet-stream;

    sendfile        on;

    keepalive_timeout  65;

    server {

        listen       8000;

        server_name  localhost;

    location /stat {

            rtmp_stat all;

            rtmp_stat_stylesheet stat.xsl;

        }

        location /stat.xsl {

            # XML stylesheet to view RTMP stats.

            # Copy stat.xsl wherever you want

            # and put the full directory path here

            root /usr/local/nginx-rtmp-module;

        }

        location /hls {

            # Serve HLS fragments

            types {

                application/vnd.apple.mpegurl m3u8;

                video/mp2t ts;

            }

            root /usr/local/nginx/html;

            add_header Cache-Control no-cache;

        }

    }

}
说明:
a、rtmp配置:
play为视频播放配置,静态文件播放。
hls为通过推送的方式,保存视频片段ts文件,通过m3u8来播放。
live就只是单纯的视频流推送。
其中hls的配置相对复杂,主要涉及延时优化的功能,一般采用如下配置:
hls_fragment 1s;

hls_playlist_length 4s;
b、http配置:
stat和stat.xsl主要访问视频推送概况,注意目录指向
hls主要是配置视频流的访问(m3u8格式视频)
3)启动:
# ./sbin/nginx -c conf/nginx.conf
4)测试(测试工具VLC):
a、第一种,play

链接:
rtmp://192.168.5.23:1935/play/test.mp4

b、第二种、hls这里我们需要一个推流软件obs来测试,obs下载

根据推送的地址,我们有两种测试方式,一种为rtmp,一种为m3u8
rtmp地址:
rtmp://192.168.5.23:1935/hls/test
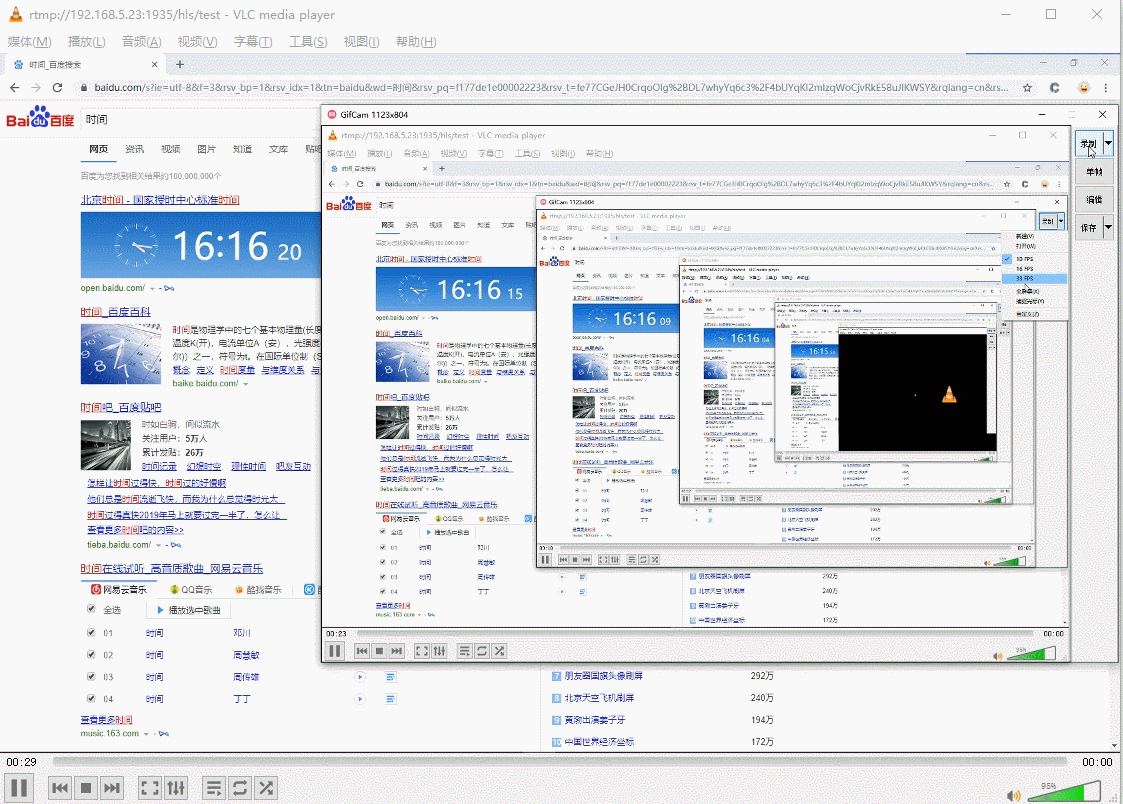
可以看出现在是存在一些延迟,但是延迟不是很大可以接受。
m3u8地址:
http://192.168.5.23:8000/hls/test.m3u8
这里可以看出延迟就很高了,如果对于延迟较小的方式这种方式就不是很适合了
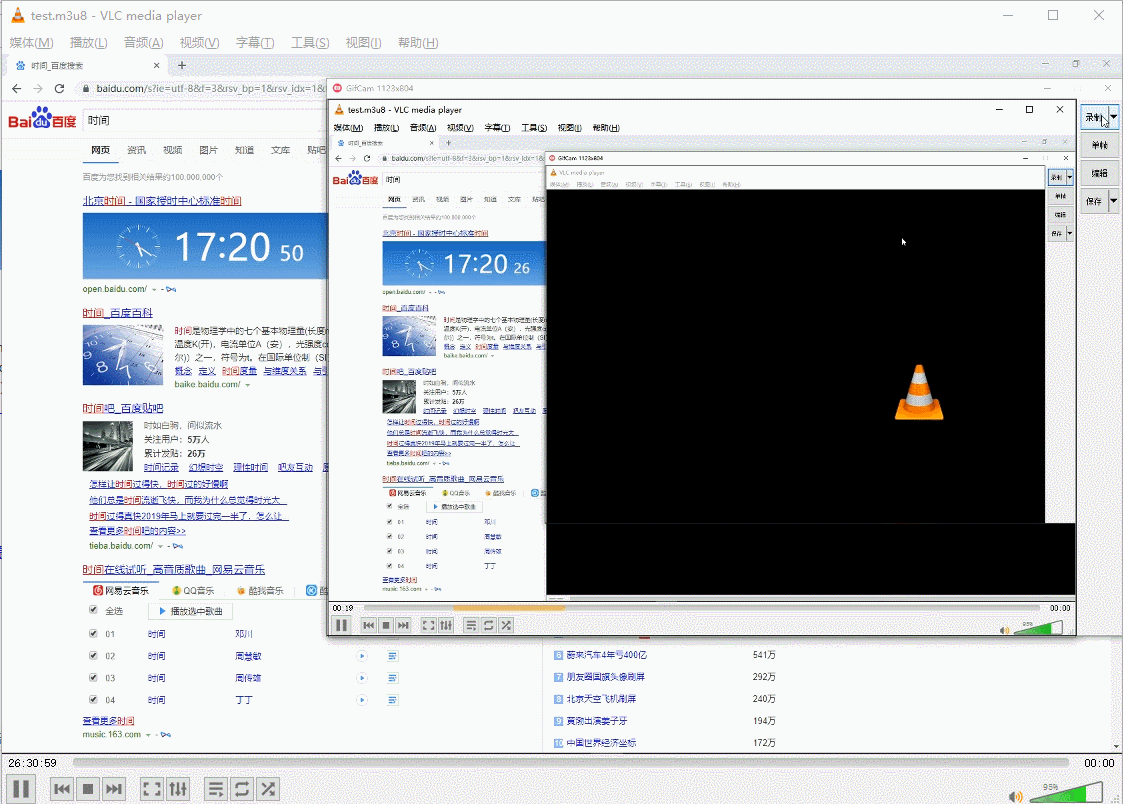
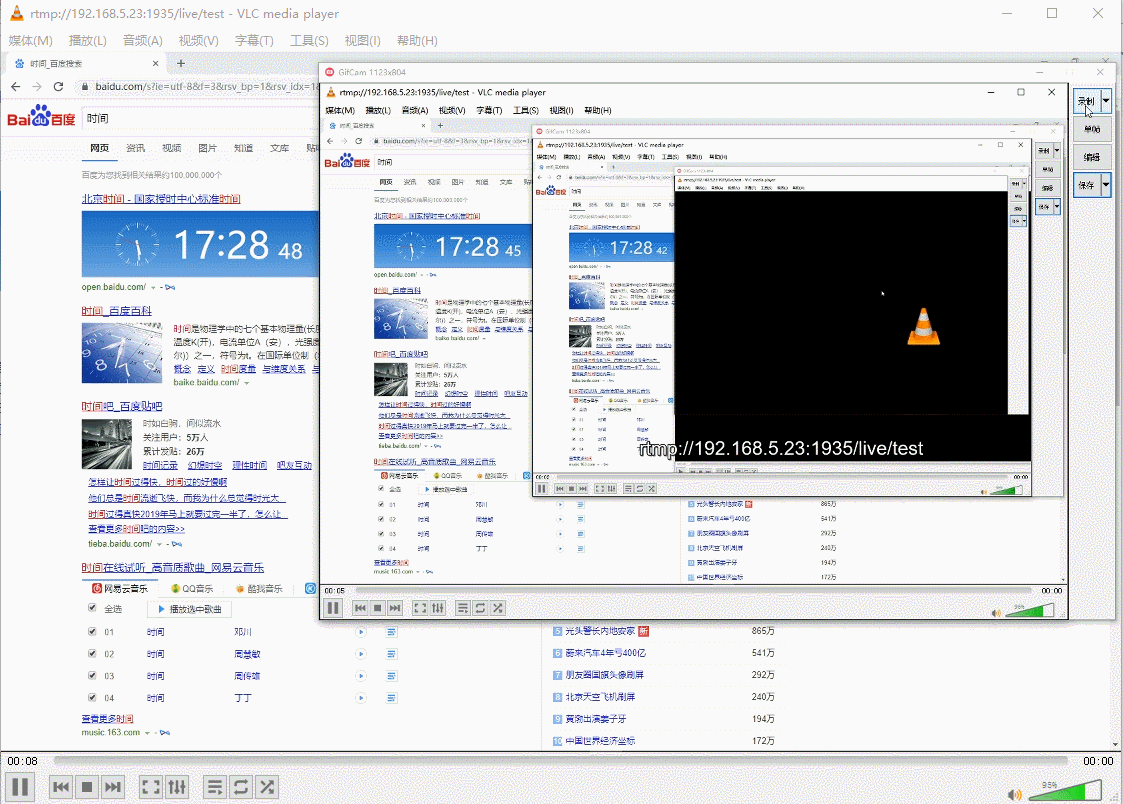
c、第三种方式,live(这种方式和rtmp的第一种是一样的,只是没有了hls的方式来缓存)
链接:
rtmp://192.168.5.23:1935/live/test
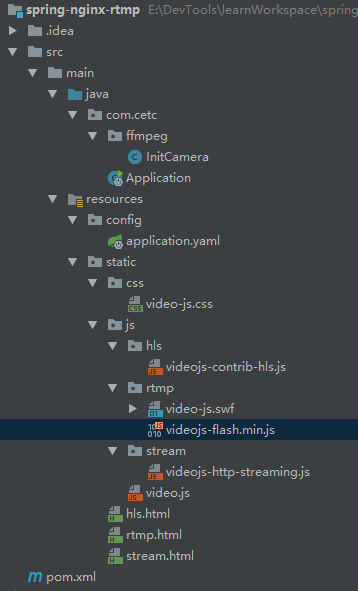
2)springboot的配置基本没啥,主要是通过videojs提供的方式去实现流的读取
m3u8(hls.html)
<!DOCTYPE html>

<html lang="en">

<head>

    <meta charset="UTF-8">

    <title>hls</title>

    <link href="css/video-js.css" rel="stylesheet">

    <script src="js/video.js"></script>

    <script src="js/hls/videojs-contrib-hls.js"></script>

</head>

<body>

<h1>hls</h1>

<!--常用-->

<video class="video-js vjs-default-skin vjs-big-play-centered"

       controls preload="auto"

       width="460" height="256"

       data-setup='{}'>

    <source src="http://192.168.5.23:8000/hls/test.m3u8" type="application/x-mpegURL">

</video>

<!--video-js标签-->

<video-js class="vjs-default-skin vjs-big-play-centered"

       controls preload="auto"

       width="460" height="256"

       data-setup='{}'>

    <source src="http://192.168.5.23:8000/hls/test.m3u8" type="application/x-mpegURL">

</video-js>

<!--选择器-->

<video id="test"

       class="video-js vjs-default-skin vjs-big-play-centered"

       controls preload="auto"

       width="460" height="256">

    <source src="http://192.168.5.23:8000/hls/test.m3u8" type="application/x-mpegURL">

</video>

<script>

    // {}和data-setup一样,function为回调函数

    var player = videojs("test", {

        "autoplay":true

    }, function (res) {

        console.log(res)

    });

    player.play();

</script>

</body>

</html>
m3u8(stream.html)
<!DOCTYPE html>

<html>

<head>

    <meta charset=utf-8 />

    <title>stream</title>

    <link href="css/video-js.css" rel="stylesheet">

    <script src="js/video.js"></script>

    <script src="js/stream/videojs-http-streaming.js"></script>

</head>

<body>

<h1>stream</h1>

<video class="video-js vjs-default-skin vjs-big-play-centered"

       controls preload="auto"

       width="1366" height="768"

       data-setup='{}'>

    <source src="http://192.168.5.23:8000/hls/test.m3u8" type="application/x-mpegURL">

</video>

</body>

</html>
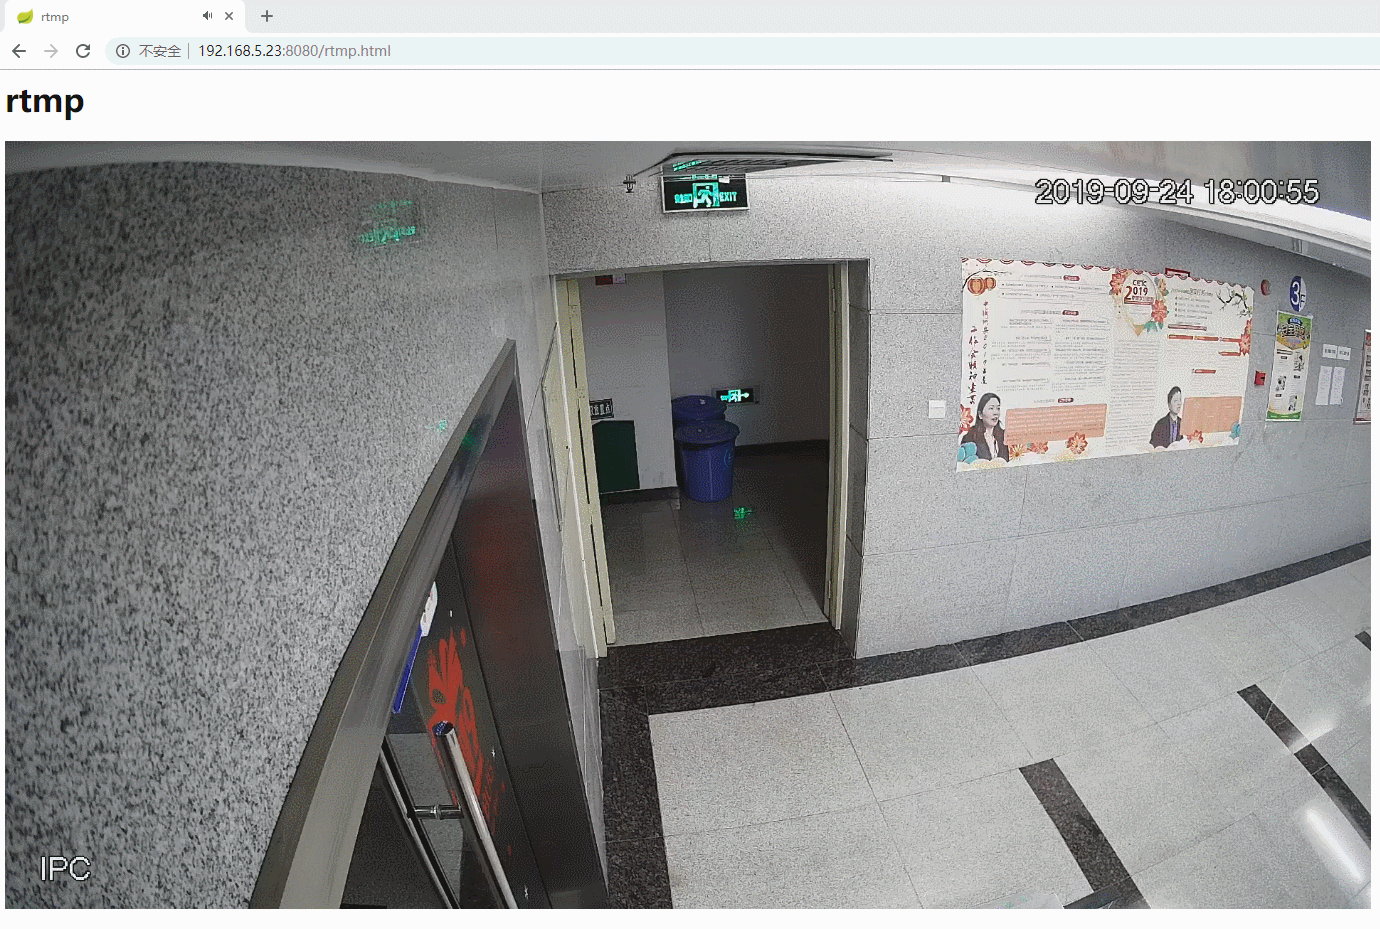
rtmp(rtmp.html)
<html lang="en">

<head>

    <meta charset="UTF-8">

    <title>rtmp</title>

    <link href="css/video-js.css" rel="stylesheet">

    <script src="js/video.js"></script>

    <script src="js/rtmp/videojs-flash.min.js"></script>

</head>

<body>

<h1>rtmp</h1>

<video class="video-js vjs-default-skin vjs-big-play-centered"

       width="1366" height="768"

       data-setup='{"techOrder":["flash"], "autoplay":true}'>

    <source src="rtmp://192.168.5.23:1935/hls/test" type="rtmp/flv">

</video>

<script>

    videojs.options.flash.swf="js/rtmp/video-js.swf";

</script>

</body>

</html>
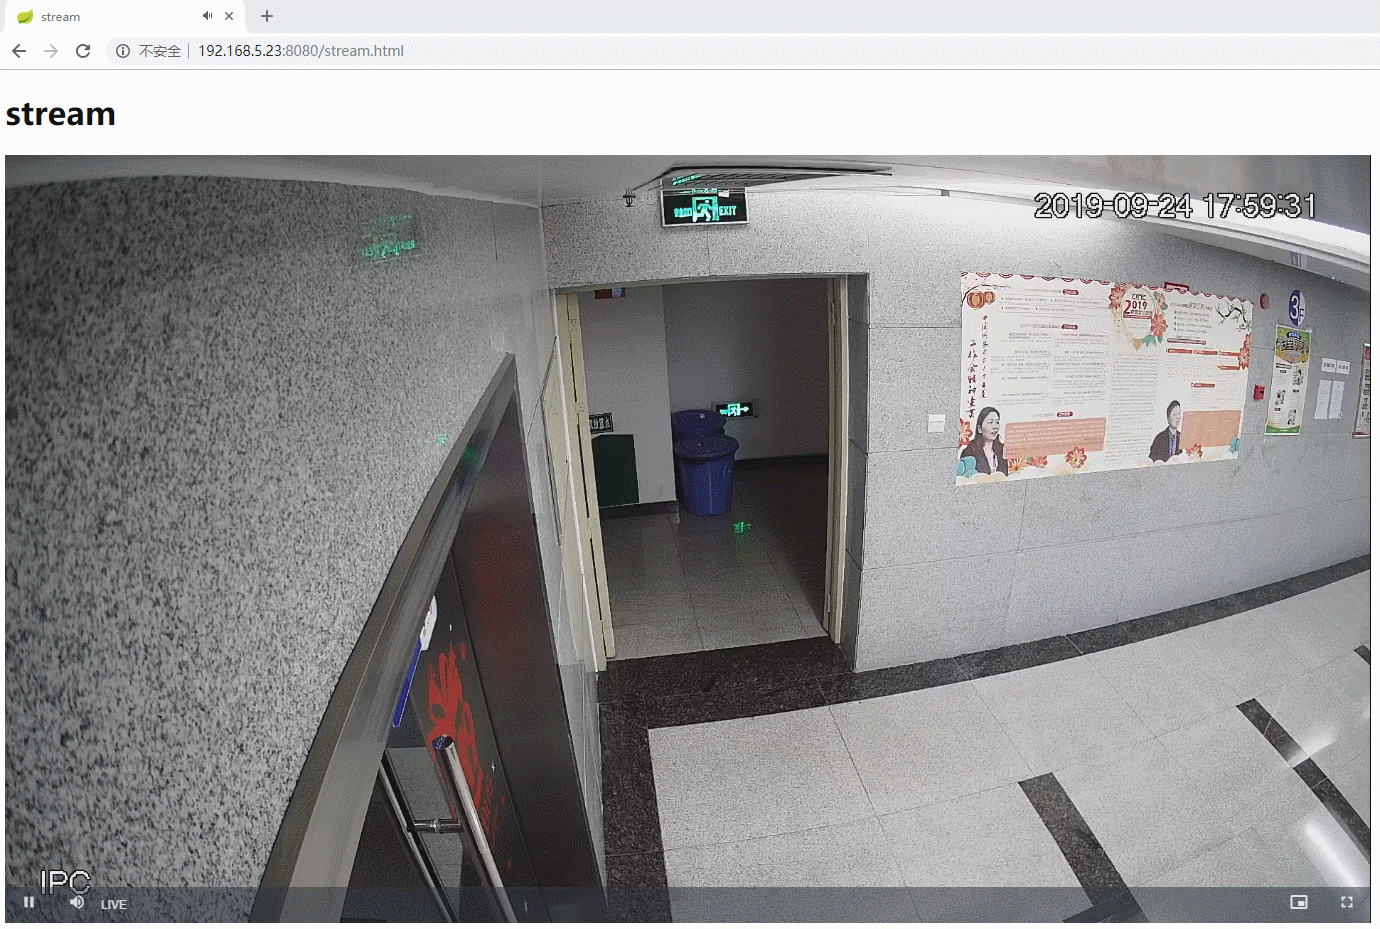
3)为了更加接近项目我这里使用了摄像头的来达到想过,实现方式通过ffmpeg进行摄像头流的推送
ffmpeg安装
# apt-get install ffmpeg
rtsp推送方式:
ffmpeg -rtsp_transport tcp -i 'rtsp://admin:admin1234@192.168.112.252:554/cam/realmonitor?channel=1&subtype=0' -stimeout '3000000' -vcodec copy -acodec copy -f flv -y 'rtmp://localhost:1935/hls/test'
package com.cetc.ffmpeg;

import org.slf4j.Logger;

import org.slf4j.LoggerFactory;

import org.springframework.boot.CommandLineRunner;

import org.springframework.stereotype.Component;

import java.io.BufferedReader;

import java.io.IOException;

import java.io.InputStreamReader;

@Component

public class InitCamera implements CommandLineRunner{

    private static Logger logger  = LoggerFactory.getLogger(InitCamera.class);

    @Override

    public void run(String... args) throws Exception {

        String shell =
         "ffmpeg -rtsp_transport tcp -i 'rtsp://admin:admin1234@192.168.112.252:554/cam/realmonitor?channel=1&subtype=0' -stimeout '3000000' -vcodec copy -acodec copy -f flv -y 'rtmp://localhost:1935/hls/test'";

        String[] cmd = new String[] {"sh", "-c", shell};
     ThreadLocal<String[]> threadLocal = new ThreadLocal<>();

        new Thread(new Runnable() {

            @Override

            public void run() {

                threadLocal.set(cmd);

                while (true) {

                    try {

                        Process process = Runtime.getRuntime().exec(threadLocal.get());

                        new Thread(() -> {

                            BufferedReader bufferedReader = new BufferedReader(new InputStreamReader(process.getErrorStream()));

                            String str;

                            try {

                                logger.info("start");

                                while ((str = bufferedReader.readLine()) != null) {

                                    logger.info(str);

                                }

                                logger.info("exit");

                                process.exitValue();

                            } catch (IOException e) {

                                e.printStackTrace();

                            }

                        }).start();

                        process.waitFor();

                        logger.info("ffmpeg restart");

                    } catch (Exception e) {

                        e.printStackTrace();

                    }

                }

            }

        }).start();

    }

}
4)通过springboot,maven插件打成jar包,运行
java -jar spring-nginx-rtmp-1.0-SNAPSHOT.jar &
5)测试结果

最新文章
- Android FM模块学习之四源码分析(3)
- 文本对象模型(Document Object Model)
- LINQ to SQL语句
- 安装 centos7 注意事项
- js 时间转成时间戳对比;My97DatePicker日历控件时间格式;Date.parse Firefox火狐浏览器返回Nan的解决办法
- CentOS 6.4 安装SecurectCRT并破解
- Can deep learning help you find the perfect girl?
- Linux上的设备管理器
- 【Chrome】如何在C++中增加给JavaScript调用的API
- glib实践篇:接口定义与实现
- 01-TypeScript概述
- java sql
- 初始css
- PS 滤镜——极坐标变换到平面坐标
- POJ 2446 Chessboard【二分图最大匹配】
- python day05--字典
- react-native android打包
- ACM-ICPC 2018 徐州赛区网络预赛 J Maze Designer(最大生成树,倍增lca)
- SignalR 设计理念(二)
- [cmake] Basic Tutorial