Mac系统中安装Nginx
一、前言
本文介绍一下,如何在Mac系统中安装Nginx,把详细过程记录下来,方便以后查看,也方便大家学习。
二、正文
1、安装 Homebrew
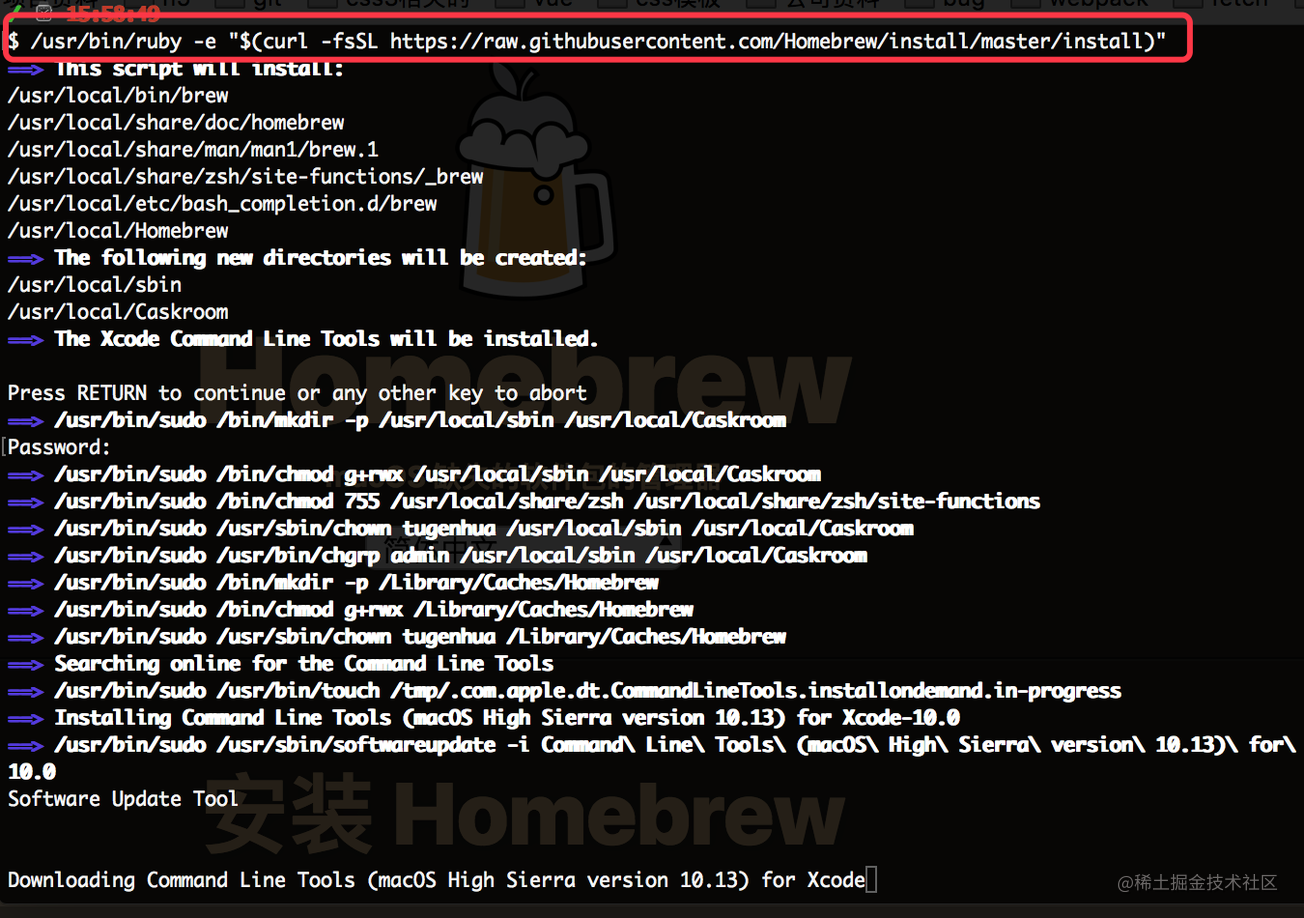
homebrew是什么?它是Mac中的一款软件包管理工具,通过brew可以很方便的在Mac中安装软件或者是卸载软件。不了解的同学看以看官网(brew.sh/index_zh-cn…), 然后在我们命令行中复制如下命令:
/usr/bin/ruby -e "$(curl -fsSL https://raw.githubusercontent.com/Homebrew/install/master/install)"

运行,如下所示:
编辑
安装成功后的话,我们可以使用命令 “brew update”更新下;如下命令:
brew update
编辑
有关brew常用的指令如下:
- brew搜索软件命令: brew search nginx\
- brew安装软件命令: brew install nginx\
- brew卸载软件命令: brew uninstall nginx\
- brew升级命令: sudo brew update\
- 查看安装信息(比如查看安装目录等) sudo brew info nginx\
- 查看已经安装的软件:brew list
2、brew安装nginx
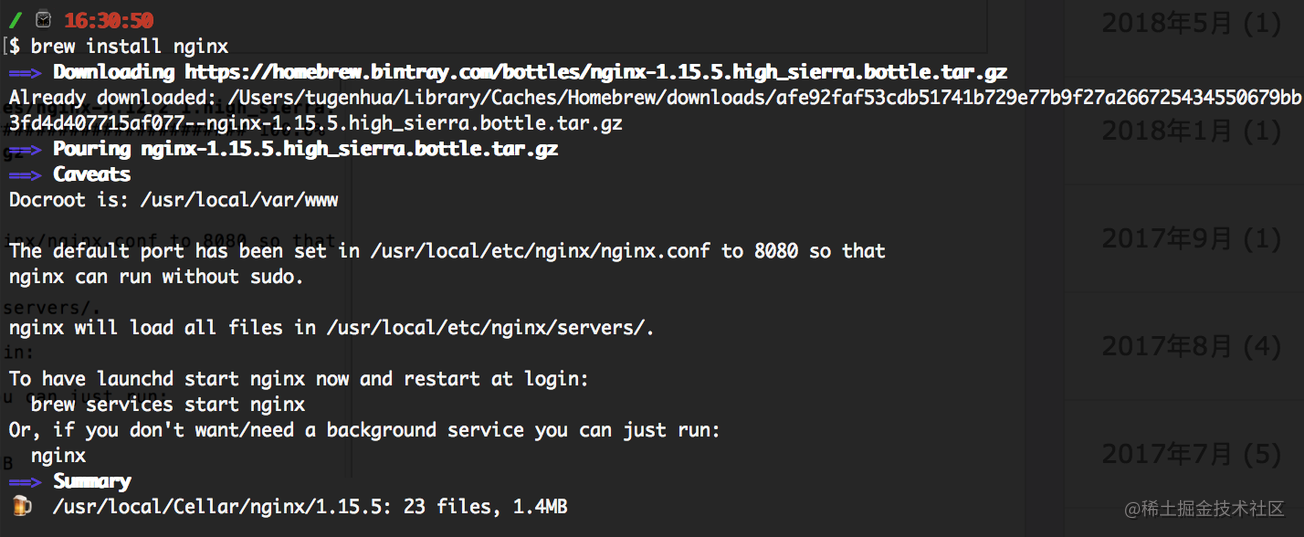
2.1、使用brew安装nginx,如下命令所示:
brew install nginx
如下图所示:
编辑
2.2、查看nginx的配置信息,如下命令:
brew info nginx

编辑
如上面的截图,From:xxx 这样的,是nginx的来源,Docroot默认为 /usr/local/var/www, 在/usr/local/etc/nginx/nginx.conf 配置文件中默认的端口为8080, 且nginx将在/usr/local/etc/nginx/servers 目录中加载所有文件。并且我们可以通过最简单的命令'nginx' 来启动nginx.
2.3、查看nginx安装目录, 如下命令:
open /usr/local/etc/nginx/如下图所示:
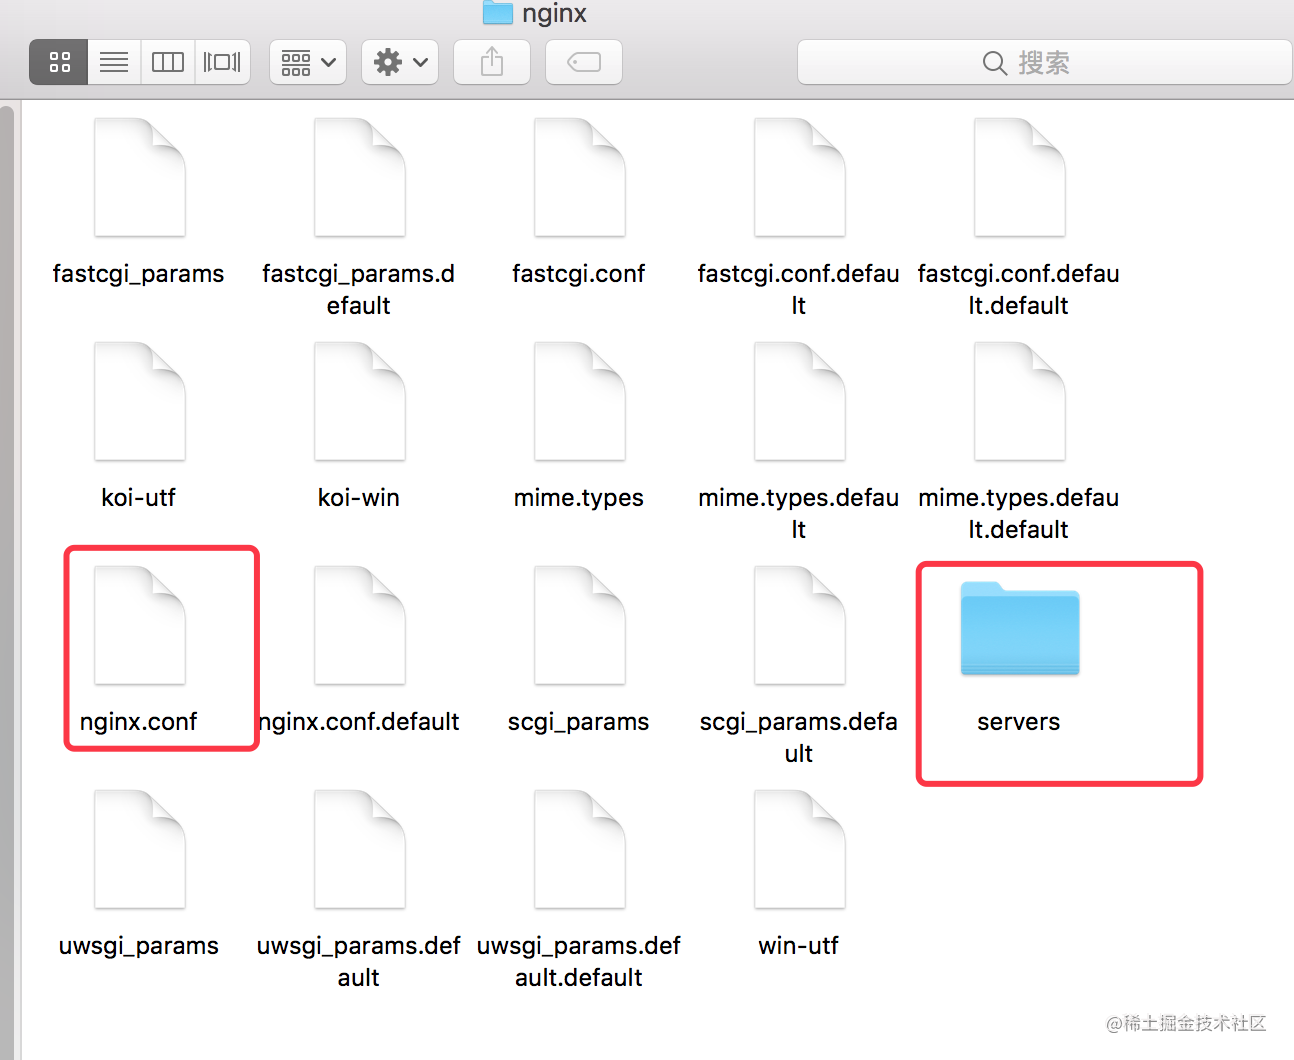
编辑
打开nginx目录后,可以看到我们上面的使用 brew info nginx 查看信息所说的 server目录以及nginx.conf的配置文件,那么我们的nginx被安装到什么地方呢?我们从上面的截图可以看到,是在 这个目录下 /usr/local/Cellar/nginx,执行如下命令可以查看到:
open /usr/local/Cellar/nginx
会打包目录,如下图所示:

编辑
进入上面的 1.15.5文件后,如下图所示:
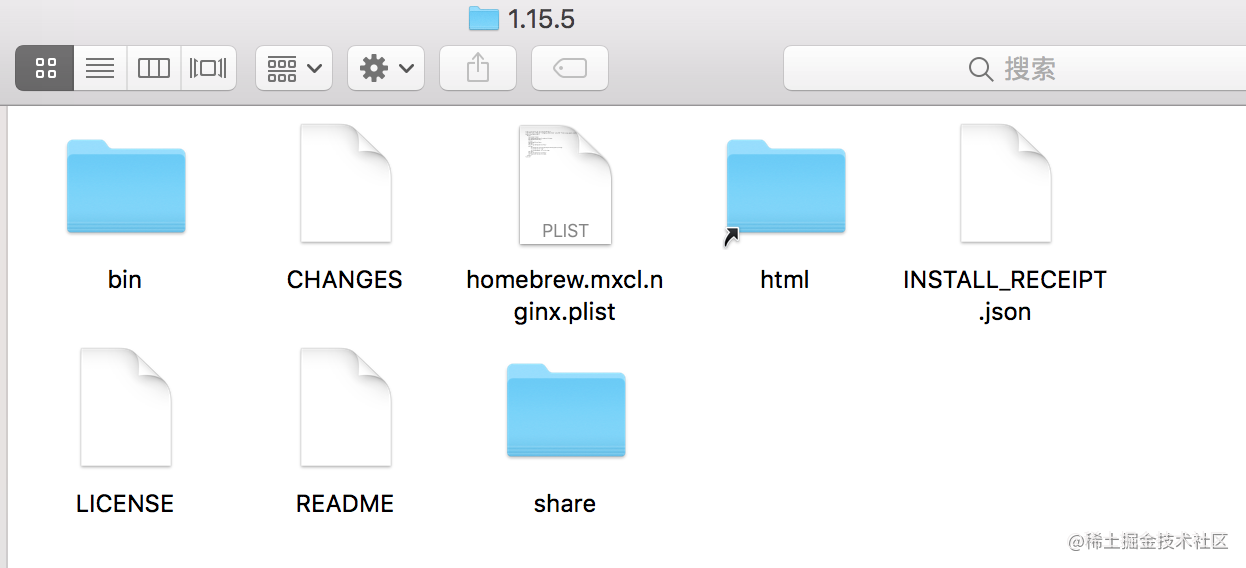
编辑
在该目录下可以看到一个名字为html的快捷方式的文件夹,进入该目录后,它有两个文件50.html和index.html,如下图所示:
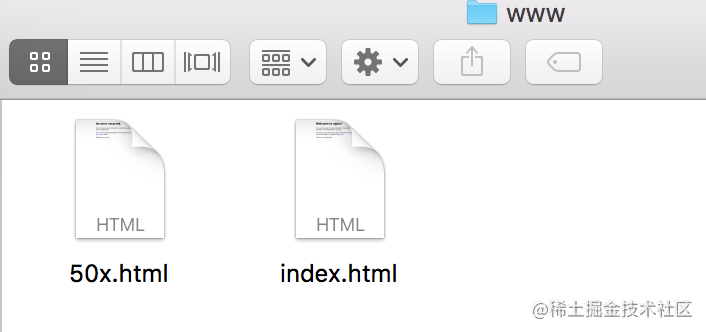
编辑
其实它是指向的就是 /usr/local/var/wwww目录的,为什么这么说,我们来看下进入该命令后,查看下面有哪些文件就可以看到,如下图:
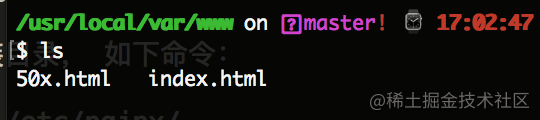
编辑
3、启动nginx服务,如下命令:
brew services start nginx // 重启的命令是: brew services restart nginx
如下图所示:

编辑
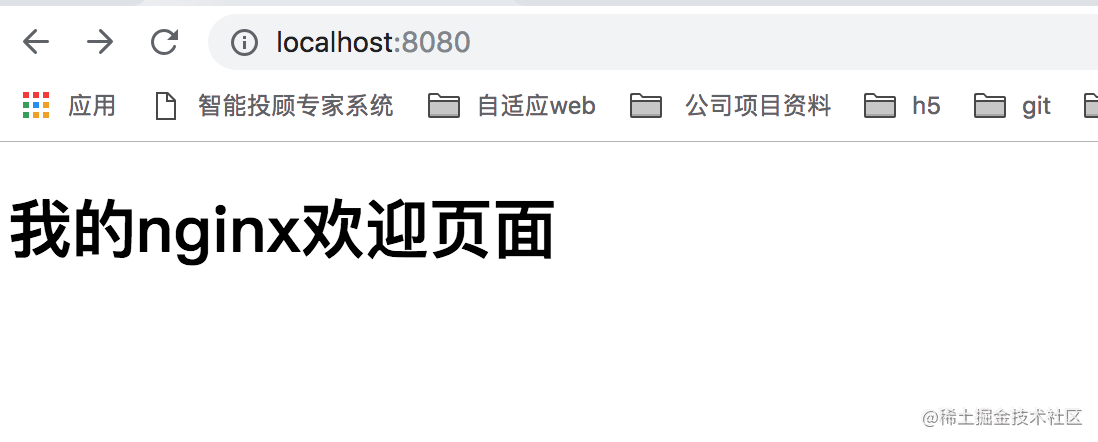
重启后,我们验证下,因为nginx默认的端口号是8080,因此我们页面访问 http://localhost:8080 即可,看到如下信息:
编辑
如果成功的话,一般都是 欢迎的界面(index.html页面我自己改过),下面我们继续查看下nginx.conf 配置信息,使用如下命令:
cat /usr/local/etc/nginx/nginx.conf // 或者使用 sudo open /usr/local/etc/nginx/nginx.conf -a 'sublime text' 使用编辑器sublime打开。如下配置信息:
#user  nginx;

worker_processes  1;

#error_log  logs/error.log;

#error_log  logs/error.log  notice;

#error_log  logs/error.log  info;

#pid        logs/nginx.pid;

events {

    worker_connections  1024;

}

http {

    include       mime.types;

    default_type  application/octet-stream;

    #log_format  main  '$remote_addr - $remote_user [$time_local] "$request" '

    #                  '$status $body_bytes_sent "$http_referer" '

    #                  '"$http_user_agent" "$http_x_forwarded_for"';

    #access_log  logs/access.log  main;

    sendfile        on;

    #tcp_nopush     on;

    #keepalive_timeout  0;

    keepalive_timeout  65;

    #gzip  on;

    server {

        listen       8080;

        server_name  localhost;

        #charset koi8-r;

        #access_log  logs/host.access.log  main;

        location / {

            root   html;

            index  index.html index.htm;

        }

        #error_page  404              /404.html;

        # redirect server error pages to the static page /50x.html

        #

        error_page   500 502 503 504  /50x.html;

        location = /50x.html {

            root   html;

        }

        # proxy the PHP scripts to Apache listening on 127.0.0.1:80

        #

        #location ~ .php$ {

        #    proxy_pass   http://127.0.0.1;

        #}

        # pass the PHP scripts to FastCGI server listening on 127.0.0.1:9000

        #

        #location ~ .php$ {

        #    root           html;

        #    fastcgi_pass   127.0.0.1:9000;

        #    fastcgi_index  index.php;

        #    fastcgi_param  SCRIPT_FILENAME  /scripts$fastcgi_script_name;

        #    include        fastcgi_params;

        #}

        # deny access to .htaccess files, if Apache's document root

        # concurs with nginx's one

        #

        #location ~ /.ht {

        #    deny  all;

        #}

    }

    # another virtual host using mix of IP-, name-, and port-based configuration

    #

    #server {

    #    listen       8000;

    #    listen       somename:8080;

    #    server_name  somename  alias  another.alias;

    #    location / {

    #        root   html;

    #        index  index.html index.htm;

    #    }

    #}

    # HTTPS server

    #

    #server {

    #    listen       443 ssl;

    #    server_name  localhost;

    #    ssl_certificate      cert.pem;

    #    ssl_certificate_key  cert.key;

    #    ssl_session_cache    shared:SSL:1m;

    #    ssl_session_timeout  5m;

    #    ssl_ciphers  HIGH:!aNULL:!MD5;

    #    ssl_prefer_server_ciphers  on;

    #    location / {

    #        root   html;

    #        index  index.html index.htm;

    #    }

    #}

    include servers/*;

}
如上,就可以使用nginx搭建本地服务了。
三、总结nginx常见的配置
nginx的配置文件路径:/usr/local/etc/nginx/nginx.conf
nginx的服务器默认路径:/usr/local/var/www
nginx的安装路径:/usr/local/Cellar/nginx/1.15.5
1、nginx启动:
1.1、在终端输入 ps -ef|grep nginx 命令看是否有启动,如下:

编辑
1.2、验证配置文件是否正确,因此在启动nginx之前,我们可以先运行下如下命令:
sudo /usr/local/Cellar/nginx/1.15.5/bin/nginx -t -c /usr/local/etc/nginx/nginx.conf
注意:一定要注意路径是否是自己的安装路径。这边我的nginx是1.15.5版本的。

编辑
如果出现如下信息,说明配置文件正确。
nginx: the configuration file /usr/local/etc/nginx/nginx.conf syntax is ok

nginx: configuration file /usr/local/etc/nginx/nginx.conf test is successful
重启nginx有如下几种方法:
1.3、通过brew,brew services start nginx(启动nginx) brew services restart nginx(重启命令), 如下所示:

编辑
1.4、先进入bin目录:cd /usr/local/Cellar/nginx/1.15.5/bin/, 然后再执行:./nginx -s reload, 如下所示:
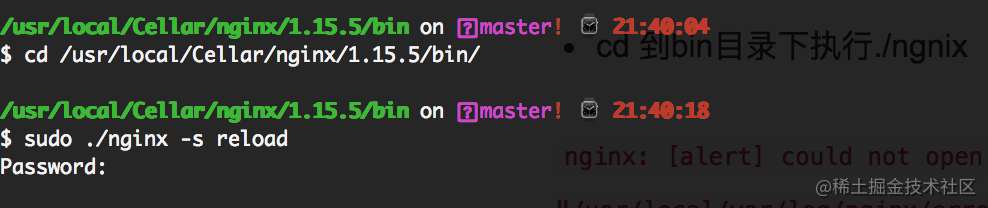
编辑
1.5、根据进程号重启,执行命令 kill -HUP 进程号 如下所示:

编辑
2、nginx停止
终端输入ps -ef|grep nginx获取到nginx的进程号, 注意是找到“nginx:master”的那个进程号

编辑
注意:
kill -QUIT 72 (从容的停止,即不会立刻停止)
Kill -TERM 72 (立刻停止)
Kill -INT 72 (和上面一样,也是立刻停止)
最新文章
- C++强制类型转换操作符 dynamic_cast
- php链接数据库
- 使用DotNetOpenAuth搭建OAuth2.0授权框架——Demo代码简单说明
- [Linux] 查看系统启动时间
- 容器---List和AbstractList
- 开始学习IOS
- SQLSERVER2012数据库还原
- 《高性能Javascript》读书笔记-4
- JavaScript是如何面向对象的
- 公设基础Generic
- Linux中给普通用户添加sudo权限
- 【Spark-core学习之四】 Spark任务提交
- Vue.set全局操作
- PHP 使用 GeoIP 进行不同国家 ip 测试
- 一个java实现的简单的4则运算器
- C# 获取本机的所有ip地址,并过滤内网ip
- Spring,Struts2,MyBatis,Activiti,Maven,H2,Tomcat集成(四)——Activiti集成
- 解决dos窗口乱码问题
- THINKPHP3.2.3增加阿里云短信接口思路整理
- MySQL设置某一字段默认为0,但是插入数据化却显示为null