React服务器端渲染值Next.js
昨天leader给分配了新任务,让熟悉一下ssr,刚开始有点懵,啥玩意?百度了一下,不就是服务器端渲染(server side render,简称: ssr)。
ssr简介
服务端渲染一个很常见的场景是当用户(或搜索引擎爬虫)第一次请求页面时,用它来做初始渲染。当服务器接收到请求后,它把需要的组件渲染成 HTML 字符串,然后把它返回给客户端(这里统指浏览器)。之后,客户端会接手渲染控制权。
当在服务器使用 Redux 渲染时,一定要在响应中包含应用的 state,这样客户端可以把它作为初始 state。这点至关重要,因为如果在生成 HTML 前预加载了数据,我们希望客户端也能访问这些数据。否则,客户端生成的 HTML 与服务器端返回的 HTML 就会不匹配,客户端还需要重新加载数据。
把数据发送到客户端,需要以下步骤:
为每次请求创建全新的 Redux store 实例;
按需 dispatch 一些 action;
从 store 中取出 state;
把 state 一同返回给客户端。
在客户端,使用服务器返回的 state 创建并初始化一个全新的 Redux store。Redux 在服务端惟一要做的事情就是,提供应用所需的初始 state。
以上是官方文档对ssr及其一些操作的解释。对于半吊子配置水平的我来说,肯定要寻求最简便的替代方案啦! so,强大的Next.js终于被扒出来了 。^_^
Next.js的原则和思想
- 不需要除 Next 之外,多余的配置和安装(比如 webpack,babel);
- 使用 glamor 处理样式(不知道什么时候glamor的,请点这里);
- 自动编译和打包;
- 热更新;
- 方便的静态资源管理;
- 成熟灵活的路由配置,包括路由级别 prefetching;
多说无益,我们来通过一个简单的demo熟悉一下Next.js。
Demo:英超联赛积分榜
相信所有的开发者都厌恶超长时间的安装和各种依赖、插件配置。不要担心,Next.js 作为一个独立的 npm package 最大限度的替你完成了很多耗时且无趣的工作。我们首先需要进行安装:
# 本地新建项目文件夹,并进行初始化

npm init

# 安装Next、React及其它一些依赖

npm install next --save

npm install react --save

npm install react-dom --save
npm install axios --save
注:通过npm拉取的next依赖是最新的4版本,对于react的版本必须要求是在16以上(如果是16以下的react版本,请使用next版本2或3)
安装结束后,我们就可以开启脚本:
"scripts": {

   "start": "next"

},
接下来所需要做的很简单,就是在根目录下创建一个 pages 文件夹(必须是根目录,文件夹名称必须是pages),并在其下新建一个 index.js 文件:
// ./pages/index.js

import React from 'react'

export default () => (

  <h1>This is just so easy!</h1>

)
启动项目:
npm start
效果是这样的:

为了验证是服务器端渲染,我们查看一下源码:
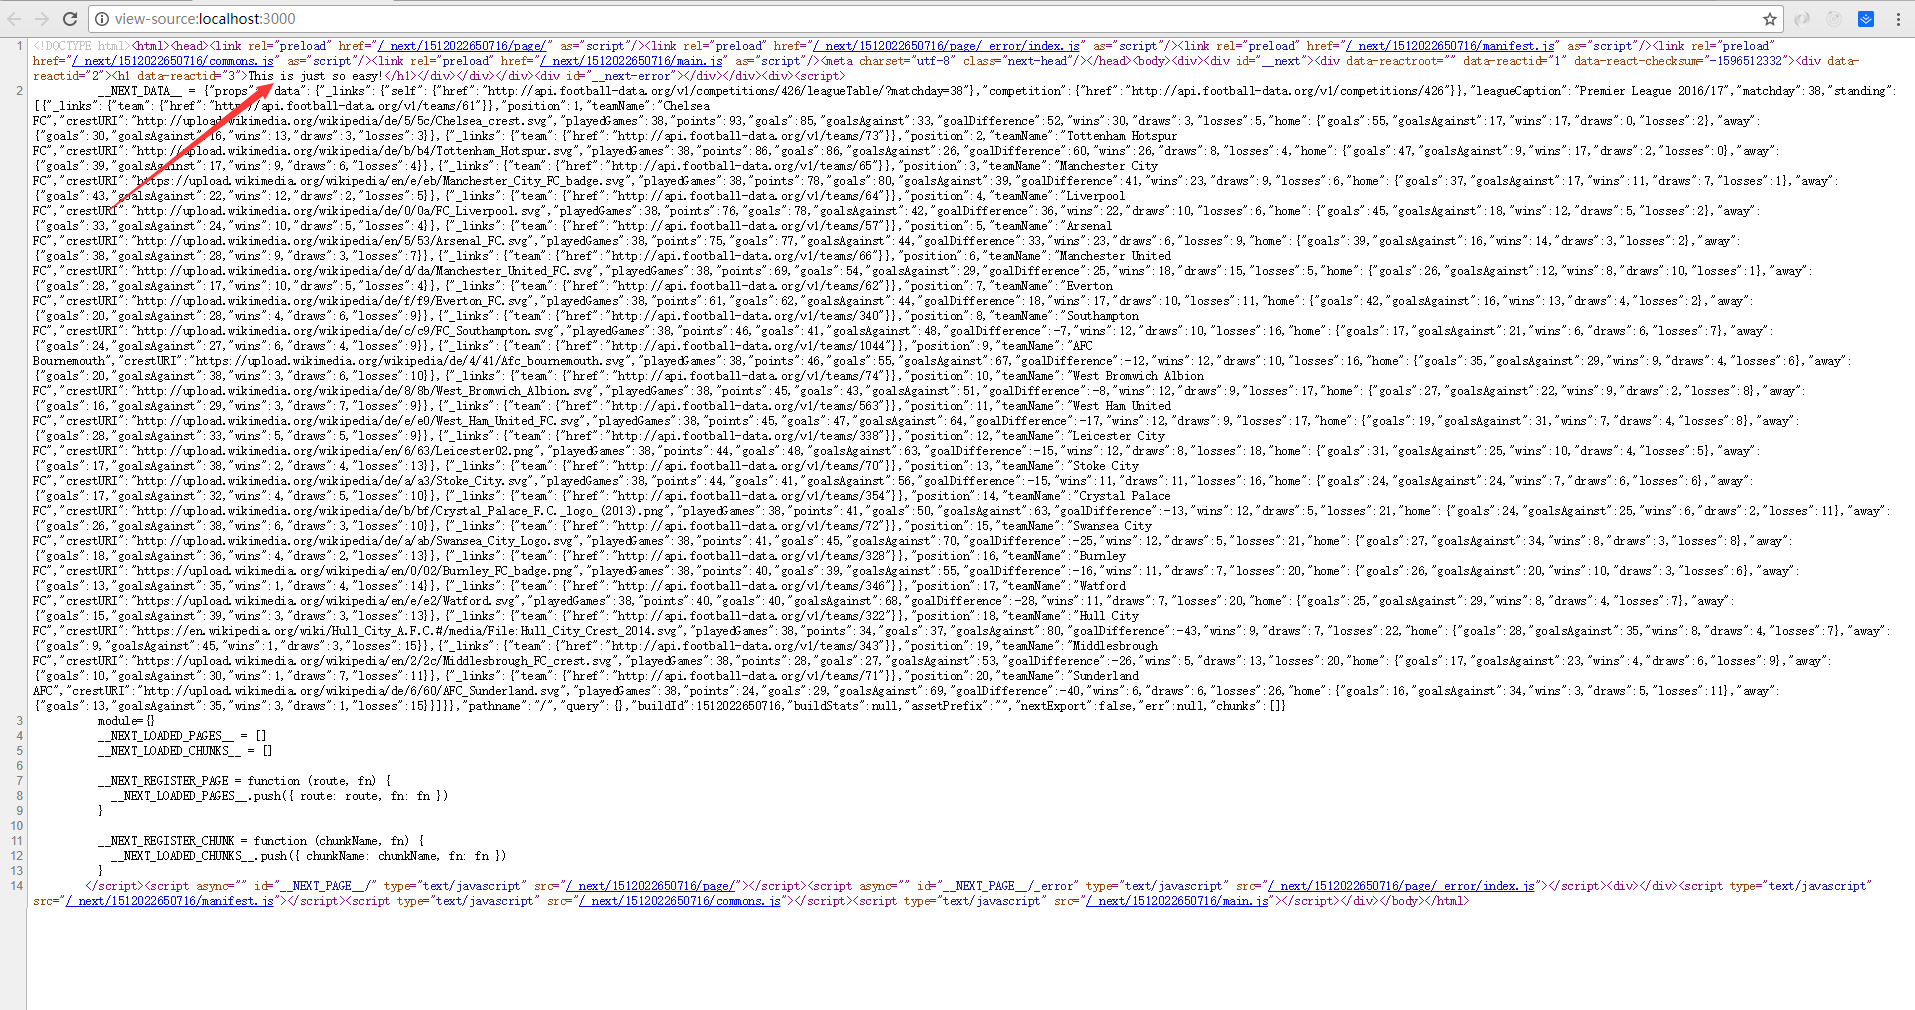
就是这么简单,清新。如果我们自己手段实现这一切的话,除了 NodeJS 的种种繁琐不说,webpack 配置,node_modules 依赖,babel插件等等就够折腾半天的了。
添加 Page Head
在 ./pages/index.js 文件内,我们可以添加页面 head 标签、meta 信息、样式资源等等:
// ./pages/index.js

import React from 'react'

import Head from 'next/head'

export default () => (

  <div>

    <Head>

        <title>League Table</title>

        <meta name="viewport" content="initial-scale=1.0,  width=device-width" />

        <link rel="stylesheet" href="https://unpkg.com/purecss@0.6.1/build/pure-min.css" />

    </Head>

    <h1>This is just so easy!</h1>

  </div>

)
这个 head 不是指真实的 DOM,别忘了 React 虚拟 DOM 的概念。其实这是 Next 提供的 Head 组件,不过最终一定还是被渲染成为真实的 head 标签。
发送 Ajax 请求
Next 还提供了 getInitialProps 方法,这个方法支持异步选项,并且是服务端/客户端同构的。我们可以使用 async/await 方式,处理异步请求。请看下面的示例:
import React from 'react'

import Head from 'next/head'

import axios from 'axios';

export default class extends React.Component {

    // 通过async/await异步操作getInitialProps

    static async getInitialProps () {

        const res = await axios.get('http://api.football-data.org/v1/competitions/426/leagueTable');

        // 把请求的返回值作为属性值return出去

        return {data: res.data}

      }

 }
这里使用了 axios 类库来发送 HTTP 请求。网络请求是异步的,因此需要在未来某个合适的时候(请求结果返回时)接收数据。这里使用先进的 async/await,以同步的方式处理,从而避免了回调嵌套和 promises 链。
将异步获得的数据返回,它将自动挂载在 props 上(注意 getInitialProps 方法名,不明白的客官可以翻看一下react生命周期),render 方法里便可以通过 this.props.data 获取:
import React from 'react';
import Head from 'next/head';
import axios from 'axios';
import Link from 'next/link'; export default class extends React.Component {
static async getInitialProps () {
const res = await axios.get('http://api.football-data.org/v1/competitions/426/leagueTable');
return {data: res.data}
} render () {
const logoStyle = {
width: '30px'
}
return (
<div>
<Head>
<title>League Table</title>
<meta name="viewport" content="initial-scale=1.0, width=device-width" />
<link rel="stylesheet" href="https://unpkg.com/purecss@0.6.1/build/pure-min.css" />
</Head>
<div className="pure-g">
<div className="pure-u-1-3"></div>
<div className="pure-u-1-3">
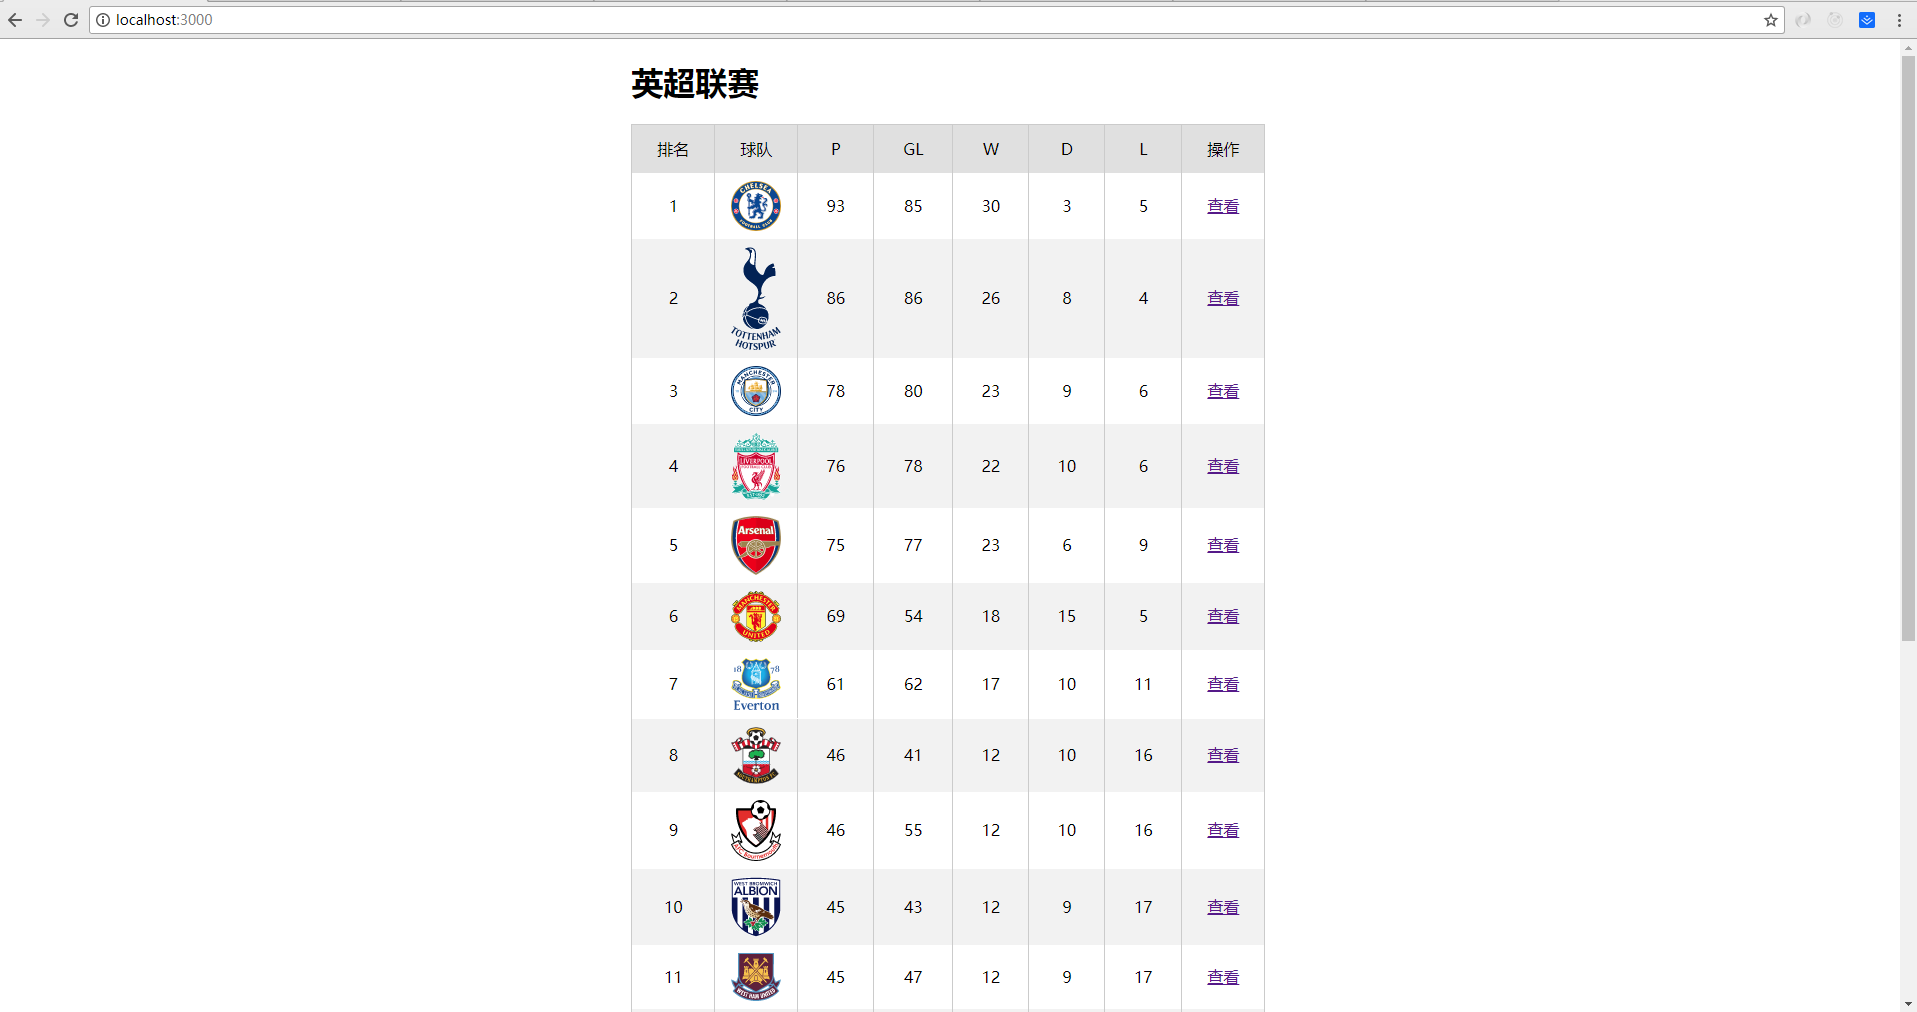
<h1>英超联赛</h1>
<table className="pure-table">
<thead>
<tr style={{lineHeight: '200%', textAlign: 'center'}}>
<td style={{width: 50}}>排名</td>
<td style={{width: 50}}>球队</td>
<td>P</td>
<td>GL</td>
<td>W</td>
<td>D</td>
<td>L</td>
<td style={{width: 50, lineHeight: '200%', textAlign: 'center'}}>操作</td>
</tr>
</thead>
<tbody>
{this.props.data.standing.map((standing, i) => {
const oddOrNot = i % 2 == 1 ? "pure-table-odd" : "";
return (
<tr key={i} className={oddOrNot} style={{lineHeight: '200%', textAlign: 'center'}}>
<td>{standing.position}</td>
<td><img className="pure-img logo" src={standing.crestURI}/></td>
<td>{standing.points}</td>
<td>{standing.goals}</td>
<td>{standing.wins}</td>
<td>{standing.draws}</td>
<td>{standing.losses}</td>
<td><Link href=''>查看</Link></td>
</tr>
);
})}
</tbody>
</table>
</div>
<div className="pure-u-1-3"></div>
</div>
</div>
);
}
}
再访问3000端口看一下:
路由和页面跳转
也许你已经有所感知:我们已经有了最基本的一个路由。Next 不需要任何额外的路由配置信息,你只需要在 pages 文件夹下新建文件,每一个文件都将是一个独立的页面。
让我们来新建一个详情页面吧!新建 ./pages/details.js 文件:
import React from 'react'

import Head from 'next/head'

import Link from 'next/link'

import axios from 'axios';

export default class extends React.Component {

    static async getInitialProps ({query}) {

        // 从query参数中回去id

        const id = query.id;

        //通过process的browser属性判断处于何种环境:Node环境下为false,浏览器为true

        if(!process.browser) {

            // 发送服务器请求

            const res = await axios.get('http://api.football-data.org/v1/competitions/426/leagueTable')

            return {

                data: res.data,

                // 对查询的数据进行过滤和返回

                standing: res.data.standing.filter(s => s.position == id)

            }

        } else {

            // 没有请求服务器的情况下在此使用缓存

            const bplData = JSON.parse(sessionStorage.getItem('bpl'));

            // 对查询的数据进行过滤和返回

            return {standing: bplData.standing.filter(s => s.position == id)}

        }

    }

    componentDidMount () {

        // 如果没有缓存,通过localStorage在本地缓存数据

        if(!sessionStorage.getItem('bpl')) sessionStorage.setItem('bpl', JSON.stringify(this.props.data))

    }

    render() {

        const detailStyle = {

            ul: {

                marginTop: '100px'

            }

        }

        return  (

             <div>

                <Head>

                    <title>League Table</title>

                    <meta name="viewport" content="initial-scale=1.0, width=device-width" />

                    <link rel="stylesheet" href="https://unpkg.com/purecss@0.6.1/build/pure-min.css" />

                </Head>

                <div className="pure-g">

                    <div className="pure-u-8-24"></div>

                    <div className="pure-u-4-24">

                        <h2>{this.props.standing[0].teamName}</h2>

                        <img src={this.props.standing[0].crestURI} className="pure-img"/>

                        <h3>Points: {this.props.standing[0].points}</h3>

                    </div>

                    <div className="pure-u-12-24">

                        <ul style={detailStyle.ul}>

                            <li><strong>Goals</strong>: {this.props.standing[0].goals}</li>

                            <li><strong>Wins</strong>: {this.props.standing[0].wins}</li>

                            <li><strong>Losses</strong>: {this.props.standing[0].losses}</li>

                            <li><strong>Draws</strong>: {this.props.standing[0].draws}</li>

                            <li><strong>Goals Against</strong>: {this.props.standing[0].goalsAgainst}</li>

                            <li><strong>Goal Difference</strong>: {this.props.standing[0].goalDifference}</li>

                            <li><strong>Played</strong>: {this.props.standing[0].playedGames}</li>

                        </ul>

                        <div style={{marginLeft:30, marginTop: 120}}>

                            <Link href="/">返回首页</Link>

                        </div>

                    </div>

                </div>

             </div>

            )

    }

}
这个页面根据 query 变量,动态展现出球队信息。具体来看,getInitialProps 方法获取 URL query id,根据 id 筛选出(filter 方法)展示信息。因为一支球队的信息比较稳定,所以在我们在客户端使用了 sessionStorage 进行存储。
别忘了我们的主页(排行榜页面)index.js 中,也要使用相应的 sessionStorage 逻辑。同时,在 render 方法里加入一条链接到详情页的 :
<td><Link href={`/details?id=${standing.position}`}>查看</Link></td>
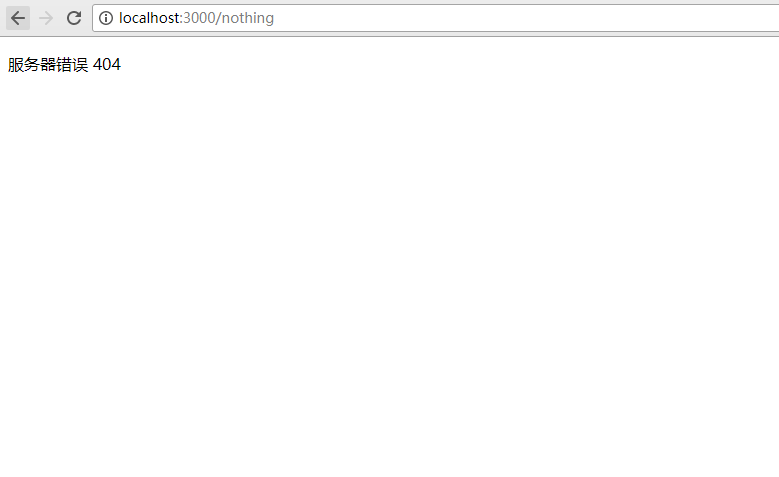
错误页面
在 Next 中,同样可以通过 error.js 文件定义错误页面。在 ./pages 下新建 error.js:
import React from 'react'

export default class extends React.Component {

  static getInitialProps ({ res, xhr }) {

    const statusCode = res ? res.statusCode : (xhr ? xhr.status : null)

    return { statusCode }

  }

  render () {

    return (

      <p>{

        this.props.statusCode

        ? `服务器错误 ${this.props.statusCode}`

        : '客户端错误'

      }</p>

    )

  }

}
总结
这篇文章实现了一个简易 demo,只是介绍了最基本的 Next.JS 搭建 React 同构应用的基本步骤。
除此之外,Next 还有非常多的功能,非常多的先进理念可以应用。
- 比如 搭配 prefetch,预先请求资源;
- 再如动态加载组件(Next.js 支持 TC39 dynamic import proposal),从而减少首次 bundle size;
- 虽然它替我们封装好了 Webpack、Babel 等工具,但是我们又能 customizing,根据需要自定义。
最新文章
- android调试输出
- 完美且精准的 IE10- 版本检测。
- 利用mybatis-generator自动生成代码
- Use BEC to do mobile phone forensics
- cocos2dx游戏资源加密之XXTEA
- C语言第十一次作业--函数嵌套调用
- Java 并发编程实践基础 读书笔记: 第三章 使用 JDK 并发包构建程序
- DensityUtil【尺寸转换工具类(px、dp互相转换)】
- 权限的控制 shiro的使用
- __x__(27)0907第四天__ float 浮动
- Java知识回顾 (10) 线程
- go标准库的学习-encoding/json
- jmeter—PerfMon Metrics Collector(附java.io.IOException: Agent is unreachable via TCP错误解决办法)
- JNI探秘-----FileInputStream的read方法详解
- linux 文件系统与磁盘修复
- easyui使用介绍
- 7代CPU安装win7的方法
- 【VI】如何再执行上一个(历史)命令(已解决)
- Linux简介及最常用命令(简单易学,但能解决95%以上的问题)
- 下载安装go插件包报错fatal: unable to access 'https://github.com/golang/tools.git/': OpenSSL SSL_read: SSL_ERROR_SYSCALL, errno 10054