在Linux上使用web2py_uwsgi_nginx搭建web服务器
2024-08-28 07:56:14
本文介绍在Linux使用Python+Nginx+web2py+uWSGI搭建一个web服务器的过程。
Python 2.7.11
解压安装包
tar -zxvf Python-2.7.11.tgz

cd Python-2.7.11

yum install sqlite-devel

./configure --enable-loadable-sqlite-extensions
会提示错误
Python build finished, but the necessary bits to build these modules were not found:

_ssl               _tkinter           bsddb185

bz2                dl                 imageop

sunaudiodev

To find the necessary bits, look in setup.py in detect_modules() for the module's name.
需要安装相应的依赖包
yum install openssl-devel
按照依赖包操作,具体可以参照这篇文档
继续安装
make

make install

rm /usr/bin/python

ln -s /usr/local/bin/python2.7 /usr/bin/python

python

Python 2.7.11 (default, Feb  2 2016, 14:33:40)

[GCC 4.4.7 20120313 (Red Hat 4.4.7-16)] on linux2

Type "help", "copyright", "credits" or "license" for more information.
安装Nginx
tar -zxvf nginx-1.8.0.tar.gz

tar -xzvf zlib-1.2.8.tar.gz

tar -zxvf pcre-8.37.tar.gz

groupadd nginx

useradd nginx -g nginx

./configure \

--prefix=/usr/local/nginx \

--user=nginx \

--group=nginx \

--with-pcre=/opt/web/pcre-8.37 \

--with-zlib=/opt/web/zlib-1.2.8 \

--with-http_addition_module \

--with-http_realip_module

make

make install

cd /usr/local/nginx/sbin

./nginx
安装uWSGI
tar -zxvf uwsgi-latest.tar.gz

cd uwsgi-2.0.12

python uwsgiconfig.py --build

cp uwsgi /usr/sbin
配置uWSGI
创建配置文件/etc/uwsgi/web2py.ini,并在配置文件中输入以下内容。
[uwsgi]

socket = 127.0.0.1:9090

pythonpath = /var/www/html/web2py/

mount = /=wsgihandler:application

processes = 4

master = true

harakiri = 60

reload-mercy = 8

cpu-affinity = 1

stats = /tmp/%n.stats.socket

max-requests = 5000

limit-as = 1024

reload-on-as = 256

reload-on-rss = 192

cron = 0 0 -1 -1 -1 python /var/www/html/web2py/web2py.py -Q -S welcome -M -R scripts/sessions2trash.py -A -o

no-orphans = true

chmod-socket = 666
创建uWSGI开关命令。
'#!/bin/sh

'# Autor: Nilton OS -- www.linuxpro.com.br

'#

'#

'### BEGIN INIT INFO

'# Provides:          uwsgi

'# Required-Start:    $syslog $remote_fs

'# Should-Start:      $time ypbind smtp

'# Required-Stop:     $syslog $remote_fs

'# Should-Stop:       ypbind smtp

'# Default-Start:     3 5

'# Default-Stop:      0 1 2 6

'### END INIT INFO

'# Source function library.

. /etc/rc.d/init.d/functions

'# Check for missing binaries (stale symlinks should not happen)

UWSGI_BIN=`which uwsgi`

test -x $UWSGI_BIN || { echo "$UWSGI_BIN not installed";

        if [ "$1" = "stop" ]; then exit 0;

        else exit 5; fi; }

UWSGI_EMPEROR_MODE=true

UWSGI_VASSALS="/etc/uwsgi/"

UWSGI_OPTIONS="--enable-threads --logto /var/log/uwsgi/uwsgi.log"

lockfile=/var/lock/subsys/uwsgi

UWSGI_OPTIONS="$UWSGI_OPTIONS --autoload"

if [ "$UWSGI_EMPEROR_MODE" = "true" ] ; then

    UWSGI_OPTIONS="$UWSGI_OPTIONS --emperor $UWSGI_VASSALS"

fi

case "$1" in

    start)

        echo -n "Starting uWSGI "

        daemon $UWSGI_BIN $UWSGI_OPTIONS &

        ;;

    stop)

        echo -n "Shutting down uWSGI "

        killproc $UWSGI_BIN

        ;;

    restart)

        $0 stop

        $0 start

        ;;

    status)

        echo -n "Checking for service uWSGI "

        status $UWSGI_BIN

        ;;

    *)

        echo "Usage: $0 {start|stop|status|restart}"

        exit 1

        ;;

esac

exit 0
根据上面的开关命令,还需要增加一个uWSGI的日志文件。
mkdir -p /var/log/uwsgi

touch /var/log/uwsgi/uwsgi.log
web2py安装
所谓的安装只需要将web2py的包解压到指定目录就可以,从官网可以下载二进制包。
mkdir /var/www/html

unzip web2py_src.zip

mv web2py/handlers/wsgihandler.py web2py/wsgihandler.py

chown -R nginx:nginx web2py

cd web2py

sudo -u nginx python -c "from gluon.main import save_password; save_password('password',443)"
配置NginX
增加一个server模块,监听80端口,将访问使用uWSGI转移到web2py。
server {

        listen          80;

        server_name     YOUR_SERVER_FQDN;

        '#to enable correct use of response.static_version

        location ~* /(\w+)/static(?:/_[\d]+\.[\d]+\.[\d]+)?/(.*)$ {

            alias /var/www/html/web2py/applications/$1/static/$2;

            expires max;

        }

        location / {

            uwsgi_pass      127.0.0.1:9090;

            uwsgi_pass      unix:///var/www/html/web2py/logs/web2py.socket;

            include         /etc/nginx/uwsgi_params;

        }

}
启动Nginx和uWSGI
注意:web2py本身不需要启动,只用被uWSGI被动调用即可。
/usr/local/nginx/sbin/nginx

/etc/init.d/uwsgi start
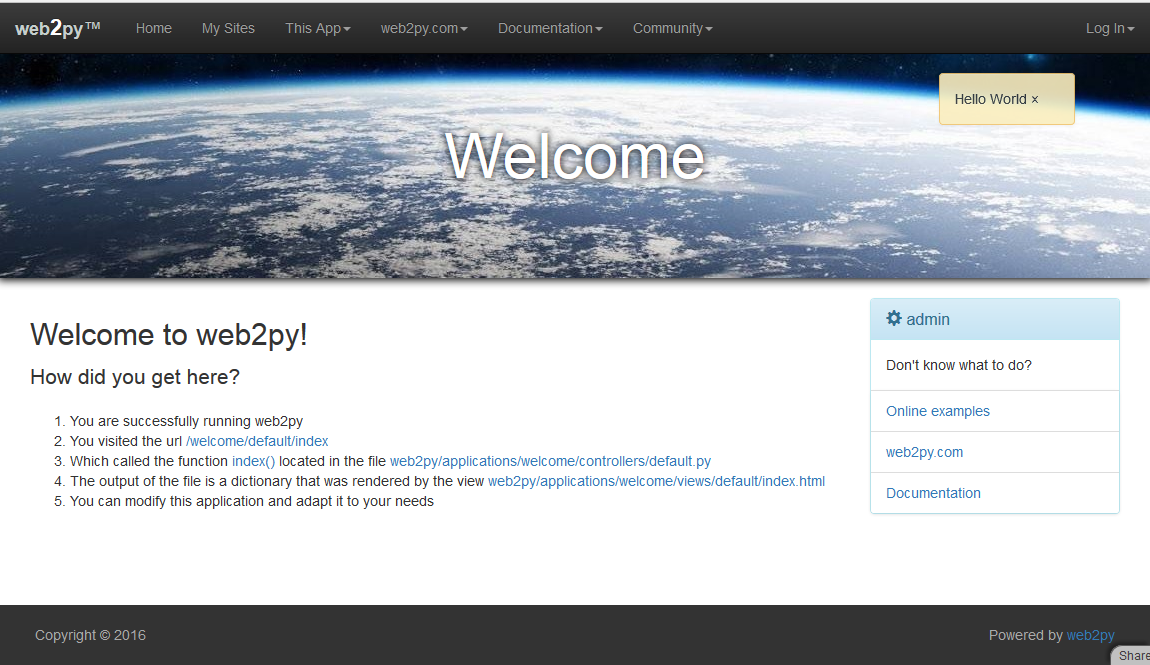
以上执行完后,在浏览器访问服务器的IP地址,若需要以下页面则说明部署成功。
版权说明:camash原创,转载请注明出处 http://www.cnblogs.com/shenfeng/
--EOF--
最新文章
- springmvc 上传下载
- 学习 ---- JavaScript 高级设计程序 第三章(数据类型)
- Log4net 日志使用介绍
- JAVA取随机数,石头剪刀布实例
- 【BZOJ 1026】 [SCOI2009]windy数
- Wince6 RIL层移植
- php or die用法
- MongoDB实战指南(七):MongoDB复制集之复制集工作机制
- iOS 网络编程:NSURLSession
- [Linux]使用Clang实现代码静态分析
- fmt.printf输出的格式
- react-redux单元测试(基于react-addons-test-utils,mocha)
- 鼠标hover元素scale/zoom中心点放大效果实例页面
- java学习三 小数默认为double
- 使用easypoi导出excel
- python 文件内容修改替换操作
- linux—文件目录简单介绍
- SXH232摄像头使用示范
- 微信 audio 获取 duration 为 NaN 的解决方法
- 一个简单的Python字符串处理文件