tiler--python实现的有趣的自定义马赛克图像拼接工具
2024-08-28 05:56:27
最近在github中发现了一个有趣的小工具,tiler
github链接https://github.com/nuno-faria/tiler
具体介绍请直接去github,这里只分享一下它的使用方法。
需要安装的库在requirements.txt中
可以在cmd中定位到此文下直接使用命令
pip3 install -r requirement.txt安装所需要的库.
如果安装报timeout错误的话可以使用命令此(设置超时为30s)
pip3 install --timeout 30 -r requirements.txt
使用方法非常简单
打开文件夹下的conf.py文件
修改主要的三个参数
# out file name

OUT = 'out.png'

# image to tile (ignored if passed as the 1st arg)

IMAGE_TO_TILE = None

# folder with tiles (ignored if passed as the 2nd arg)

TILES_FOLDER = None
OUT是输出图片的文件名,可以为默认。
IMAGE_TO_TILE是需要自己修改的,输入图片路径不可以有中文字符,cv2无法打开此图片文件导致之后加载图片报错
TILES_FOLDER参数,是tiles文件夹下文件夹路径
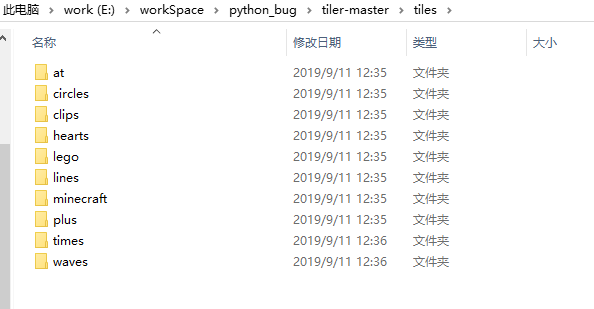
TILES_FOLDER参数可以是此文件夹下的这些,当然你也可以自己添加一些。
不过要注意的是conf.py是py文件注意字符串要加' '或“ ”
例如:
TILES_FOLDER = "E:/workSpace/python_bug/tiler-master/tiles/times/gen_times"
测试了一下,我的电脑CPU 酷睿i5 7300U 8GB内存,输入命令运行程序
>python tiler.py
运行中内存占用比较高,原始图片1319x742像素

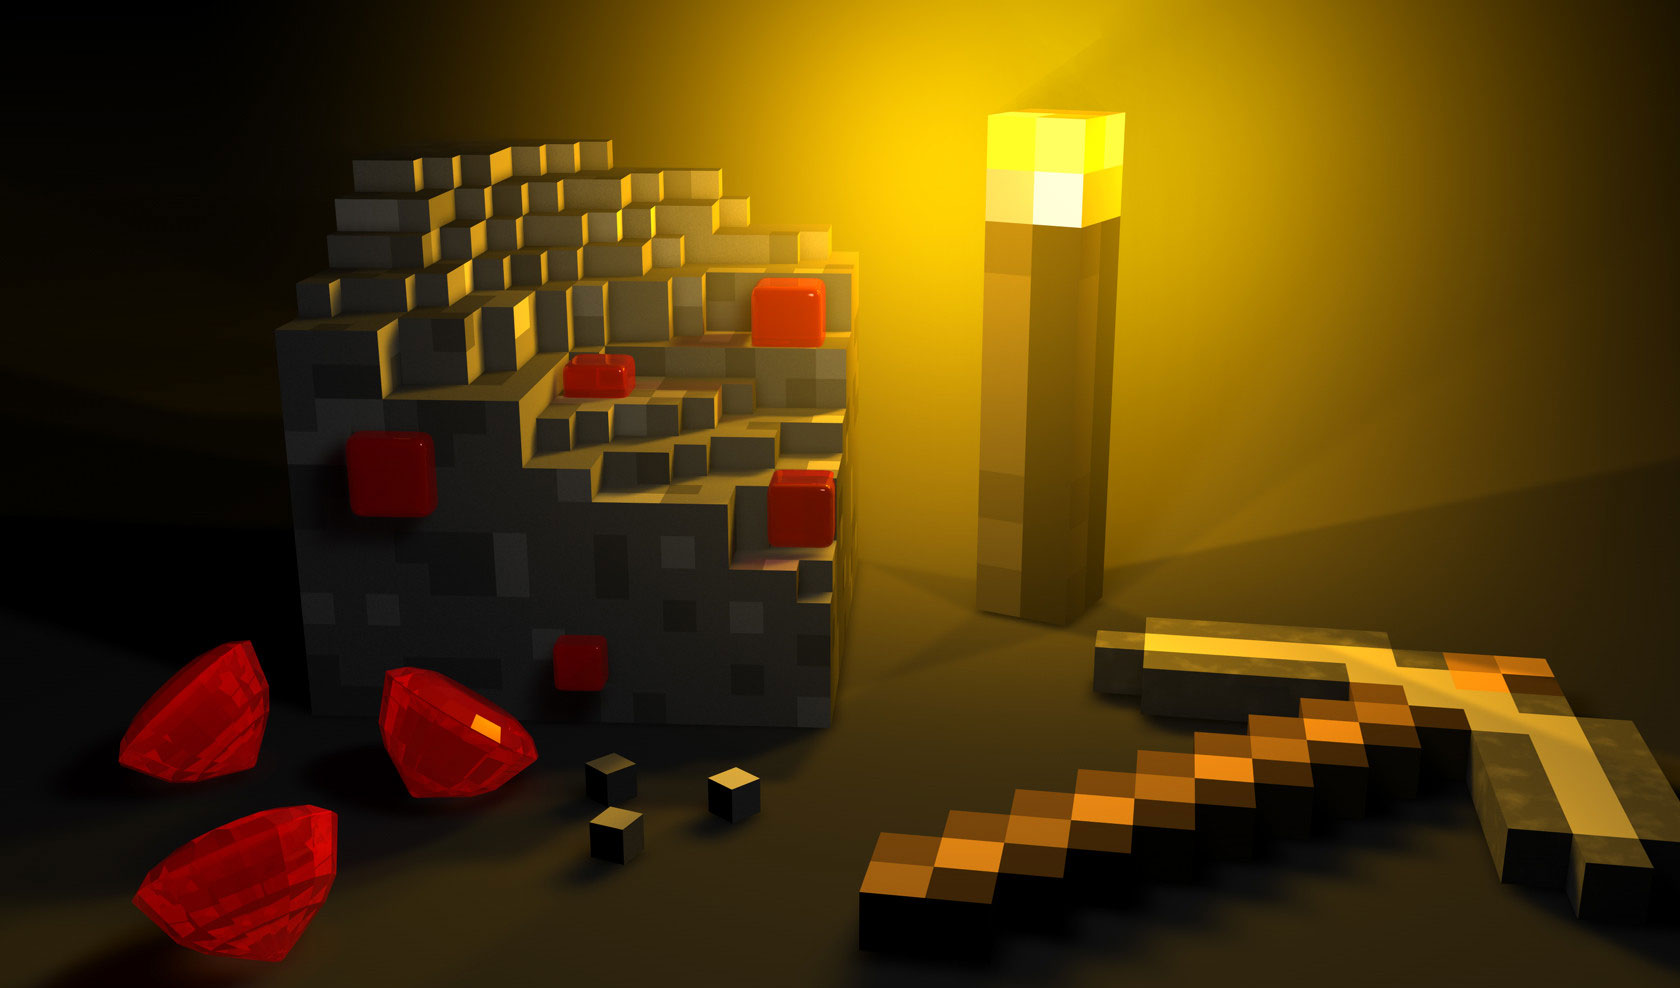
总共跑了大约1分钟。最终效果:
最终成品还是比较不错的。
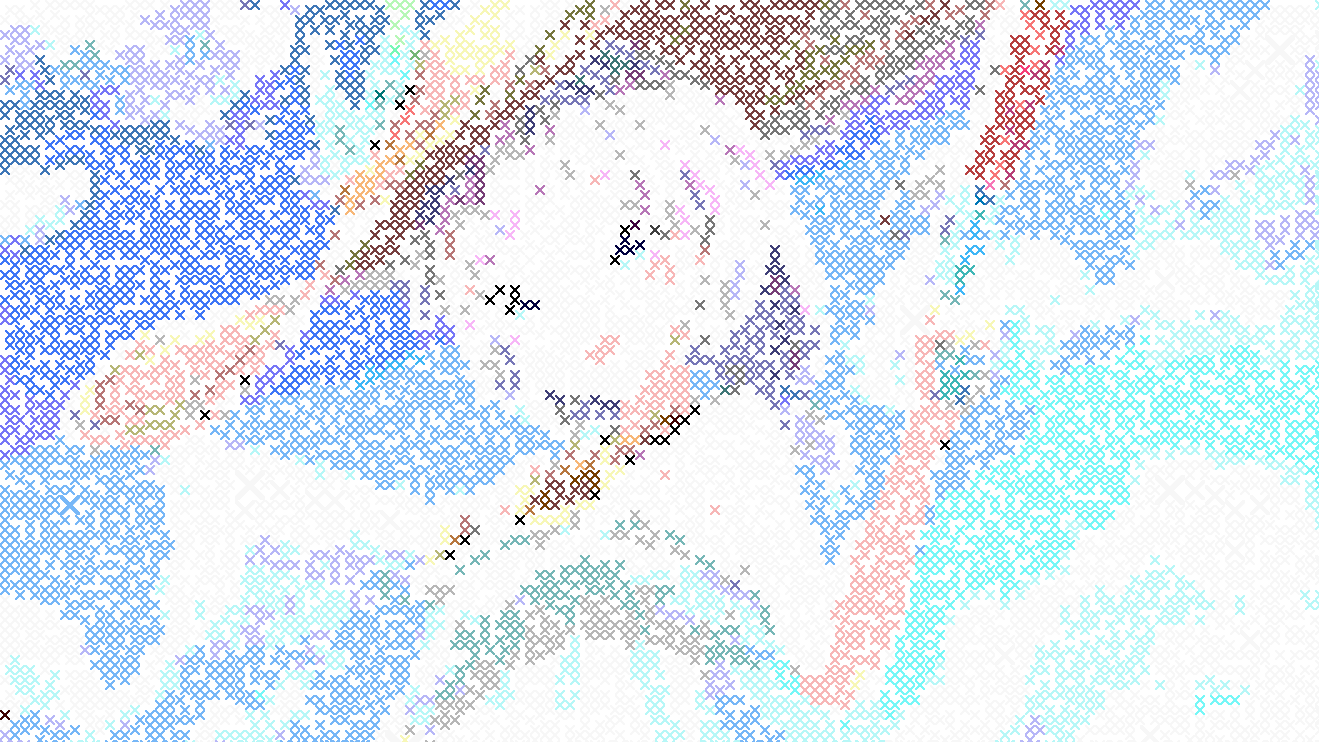
测试图片(图片来自百度图片,侵删)
参数设置:
DEPTH = 4

# list of rotations, in degrees, to apply over the original image

ROTATIONS = [0]

#############################

# TILER CONFS

# number of colors per image

COLOR_DEPTH = 32

# tiles scales (1 = default resolution)

RESIZING_SCALES = [0.5,0.4.0.3,0.2,0.1]

# number of pixels shifted to create each box (tuple with (x,y))

# if value is None, shift will be done accordingly to tiles dimensions

PIXEL_SHIFT = (5,5)

# if tiles can overlap

OVERLAP_TILES = False

# render image as its being built

RENDER = False

# multiprocessing pool size

POOL_SIZE = 4

# out file name

OUT = 'min.png'

# image to tile (ignored if passed as the 1st arg)

IMAGE_TO_TILE = 'E:/workSpace/python_bug/tiler-master/in1.jpg'

# folder with tiles (ignored if passed as the 2nd arg)

TILES_FOLDER = "E:/workSpace/python_bug/tiler-master/tiles/minecraft"
生成效果
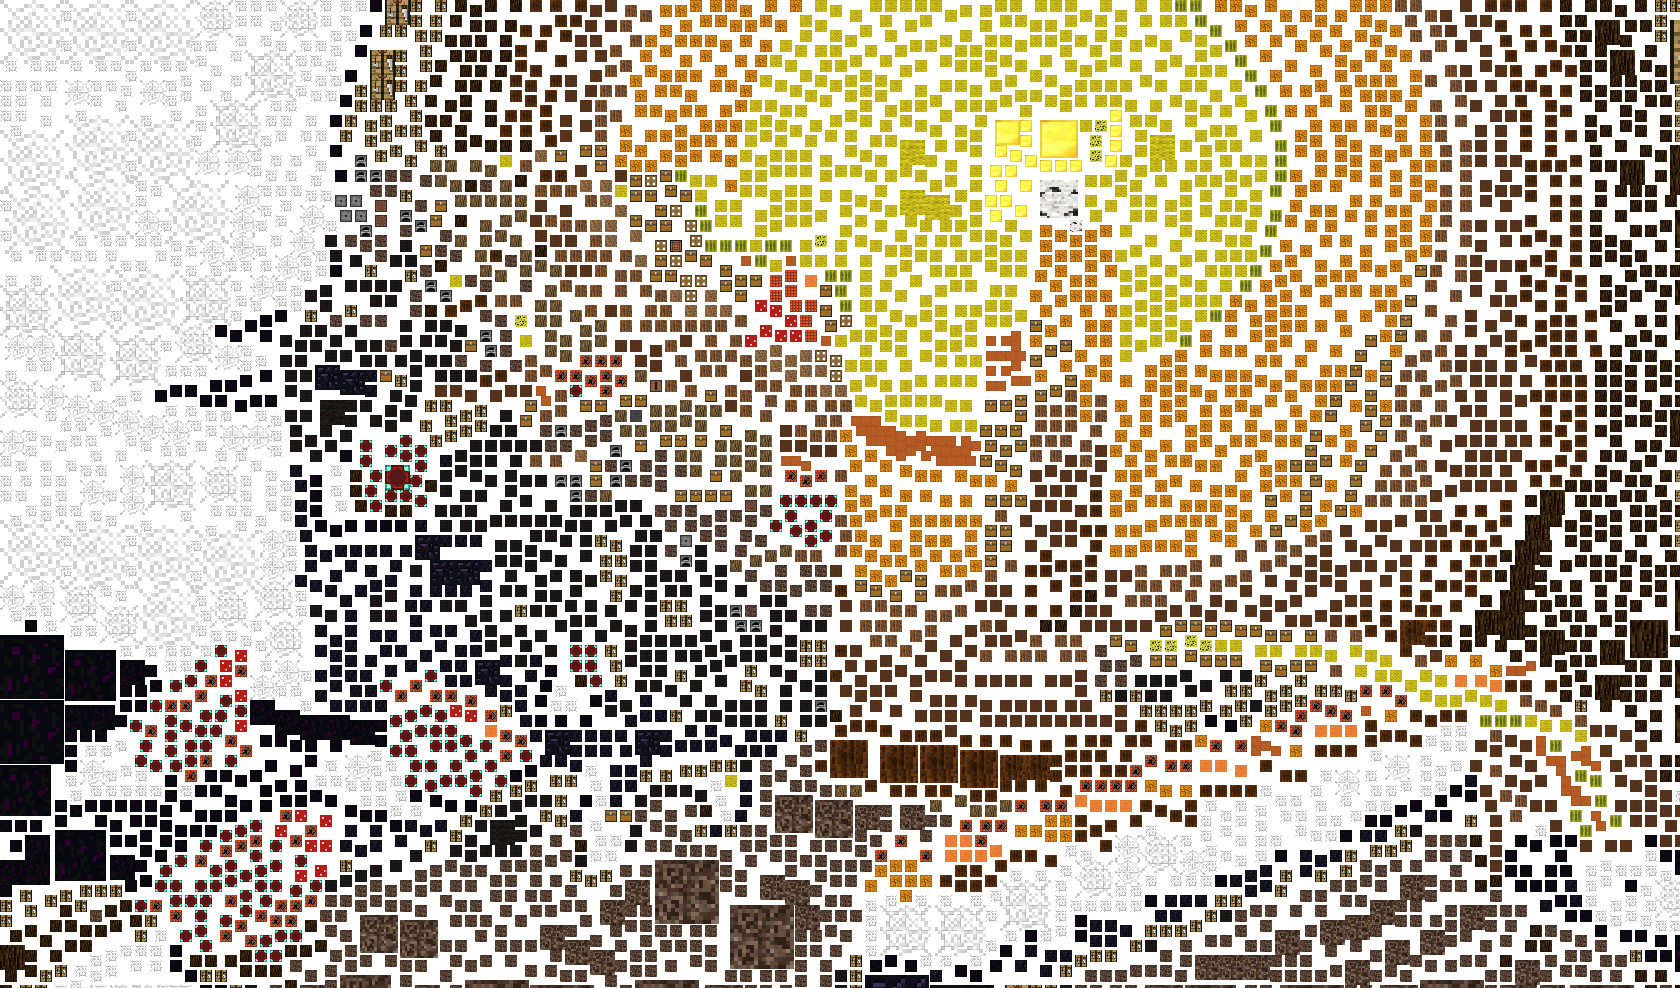
参数设置
# number of divisions per color (R, G and B)

# DEPTH = 4 -> 4 * 4 * 4 = 64 colors

DEPTH = 128

# list of rotations, in degrees, to apply over the original image

ROTATIONS = [0]

#############################

# TILER CONFS

# number of colors per image

COLOR_DEPTH = 128

# tiles scales (1 = default resolution)

RESIZING_SCALES = [0.1]

# number of pixels shifted to create each box (tuple with (x,y))

# if value is None, shift will be done accordingly to tiles dimensions

PIXEL_SHIFT = None

# if tiles can overlap

OVERLAP_TILES = False

# render image as its being built

RENDER = False

# multiprocessing pool size

POOL_SIZE = 4

# out file name

OUT = 'min2.png'

# image to tile (ignored if passed as the 1st arg)

IMAGE_TO_TILE = 'E:/workSpace/python_bug/tiler-master/in1.jpg'

# folder with tiles (ignored if passed as the 2nd arg)

TILES_FOLDER = "E:/workSpace/python_bug/tiler-master/tiles/minecraft"
生成效果
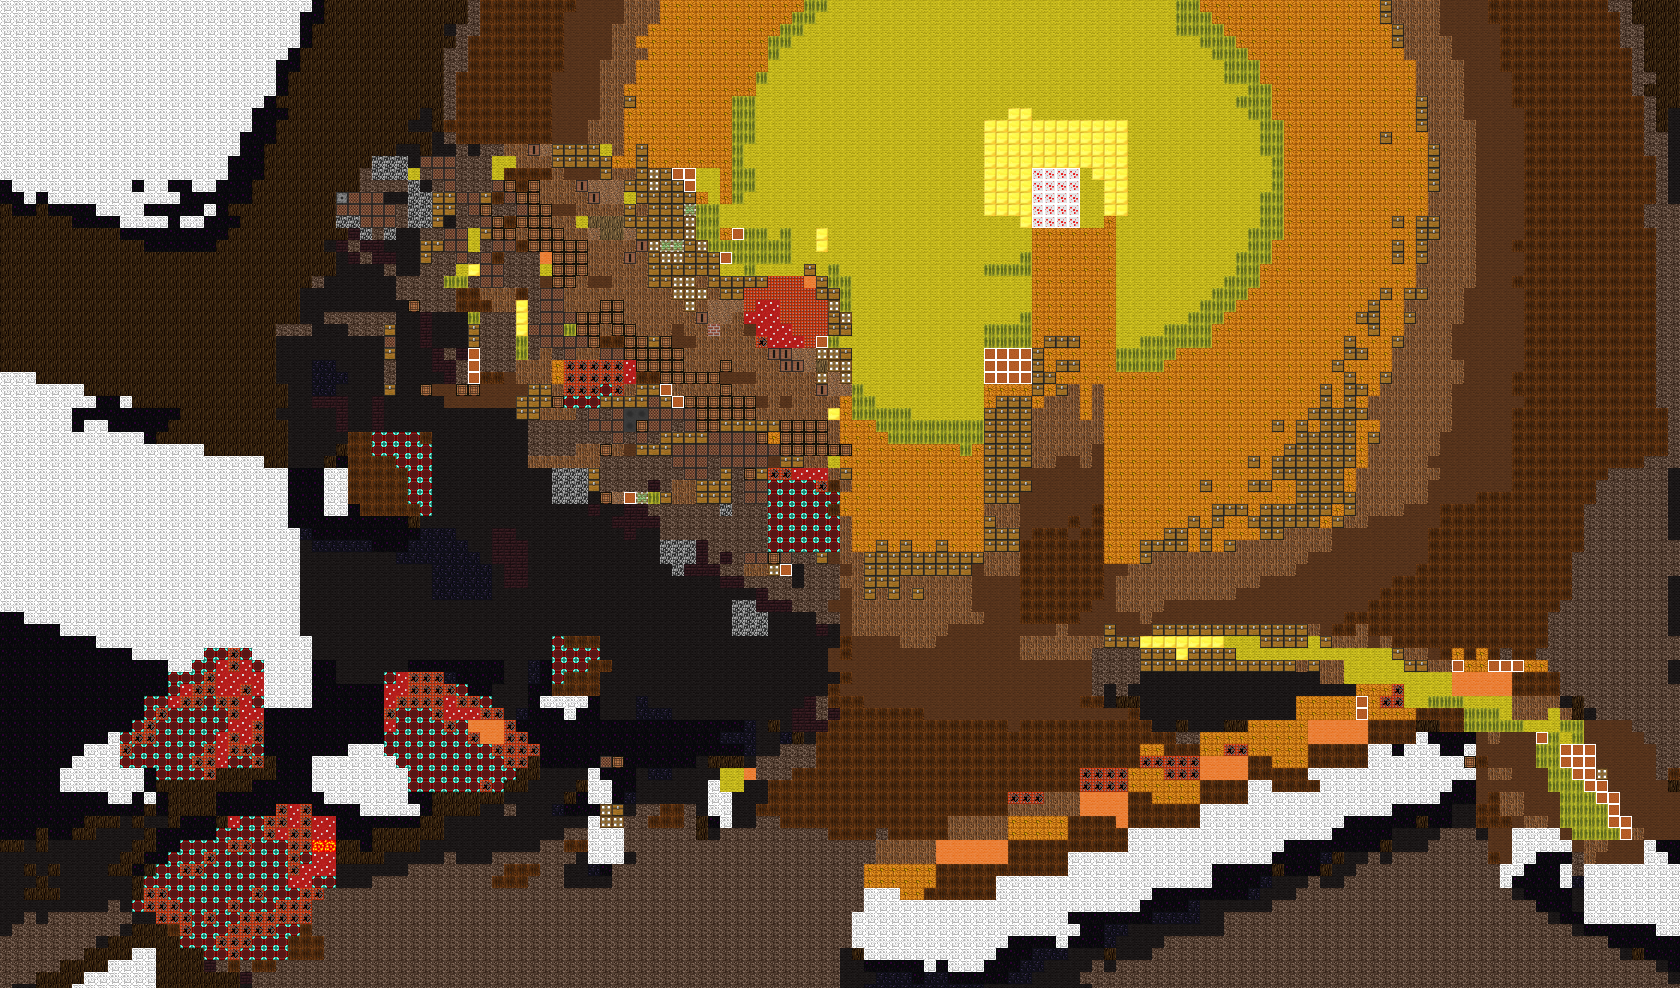
可以看出DEPTH,COLOR_DEPTH 是控制图片颜色主要参数。
最新文章
- Intel.parallel.studio.xe.2015.Update.2.ISO-TBE 下载
- Java可变参数讲解
- USACO 3.2 butter 最短路
- C# CryptoStream
- 小课堂week15 年终小结
- IOS 改变导航栏返回按钮的标题
- [转] C#中绘制矢量图形
- VC++6.0 MFC播放视频
- iOS 之 protocol的相关问题
- error:com.mysql.jdbc.exceptions.jdbc4.MySQLIntegrityConstraintViolationException
- 精力(power)
- 【Richard 的刷(水)题记录】
- Java 模拟面试题
- idea gradle卡主问题
- VIM初掌握
- MUI框架-09-MUI 与后台数据交互
- Traffic-Server配置(待补充和更新)
- ThreadLocal 从源码角度简单分析
- Chrome 控制台新玩法-向输出到console的文字加样式
- hadoop---Java 网络IO编程总结BIO、NIO、AIO