ELK学习实验003:Elasticsearch 集群安装
前面已经介绍了Elasticsearch这个工具,并对单机安装做了简单介绍,现在使用三台机器做一个elasticsearch集群
一 环境准备
1.1 机器准备

1.2 同步时间
[root@node* ~]# ntpdate ntp1.aliyun.com
Nov :: ntpdate[]: adjust time server 120.25.115.20 offset -0.015719 sec
[root@node1 ~]# crontab -l
* * * * * /usr/sbin/ntpdate ntp1.aliyun.com
1.3 检查其他配置
比如内核,文件连接等参数是否配置完成,三个节点都必须检查
[root@node2 ~]# sysctl -a|grep vm.max_map_count
vm.max_map_count =
[root@node2 ~]# cat /etc/security/limits.conf
* soft  nofile

* hard  nofile

* soft  nproc

* hard  nproc
[root@node2 ~]# cat /etc/security/limits.d/20-nproc.conf
*          soft    nproc

root       soft    nproc     unlimited
根据上篇文章下载并解压elasticsearch软件下面直接进入配置
二 各节点配置
2.1 主要配置文件
[root@node1 ~]# grep -Ev "^$|[#;]" /usr/local/elasticsearch/config/elasticsearch.yml
cluster.name: my-elktest-cluster

node.name: node-

network.host: 0.0.0.0

http.port:

discovery.seed_hosts: ["192.168.132.131","192.168.132.132","192.168.132.133"]

cluster.initial_master_nodes: ["node-1","node-2","node-3"]

http.cors.enabled: true

http.cors.allow-origin: "*"
[root@node2 ~]# grep -Ev "^$|[#;]" /usr/local/elasticsearch/config/elasticsearch.yml
cluster.name: my-elktest-cluster

node.name: node-

network.host: 0.0.0.0

http.port:

discovery.seed_hosts: ["192.168.132.131","192.168.132.132","192.168.132.133"]

cluster.initial_master_nodes: ["node-1","node-2","node-3"]

http.cors.enabled: true

http.cors.allow-origin: "*"
[root@node3 ~]# grep -Ev "^$|[#;]" /usr/local/elasticsearch/config/elasticsearch.yml
cluster.name: my-elktest-cluster

node.name: node-

network.host: 0.0.0.0

http.port:

discovery.seed_hosts: ["192.168.132.131","192.168.132.132","192.168.132.133"]

cluster.initial_master_nodes: ["node-1","node-2","node-3"]

http.cors.enabled: true

http.cors.allow-origin: "*"
[root@node* ~]# vi /etc/hosts
192.168.132.131   node-

192.168.132.132   node-

192.168.132.133   node-
2.2 启动服务
[root@node1 ~]# systemctl restart elasticsearch
[root@node2 ~]# systemctl restart elasticsearch
[root@node3 ~]# systemctl restart elasticsearch
2.3 检查服务状态
[root@node* ~]# systemctl status elasticsearch

三个节点都启动,出现以上状态,说明三个服务已经起来了
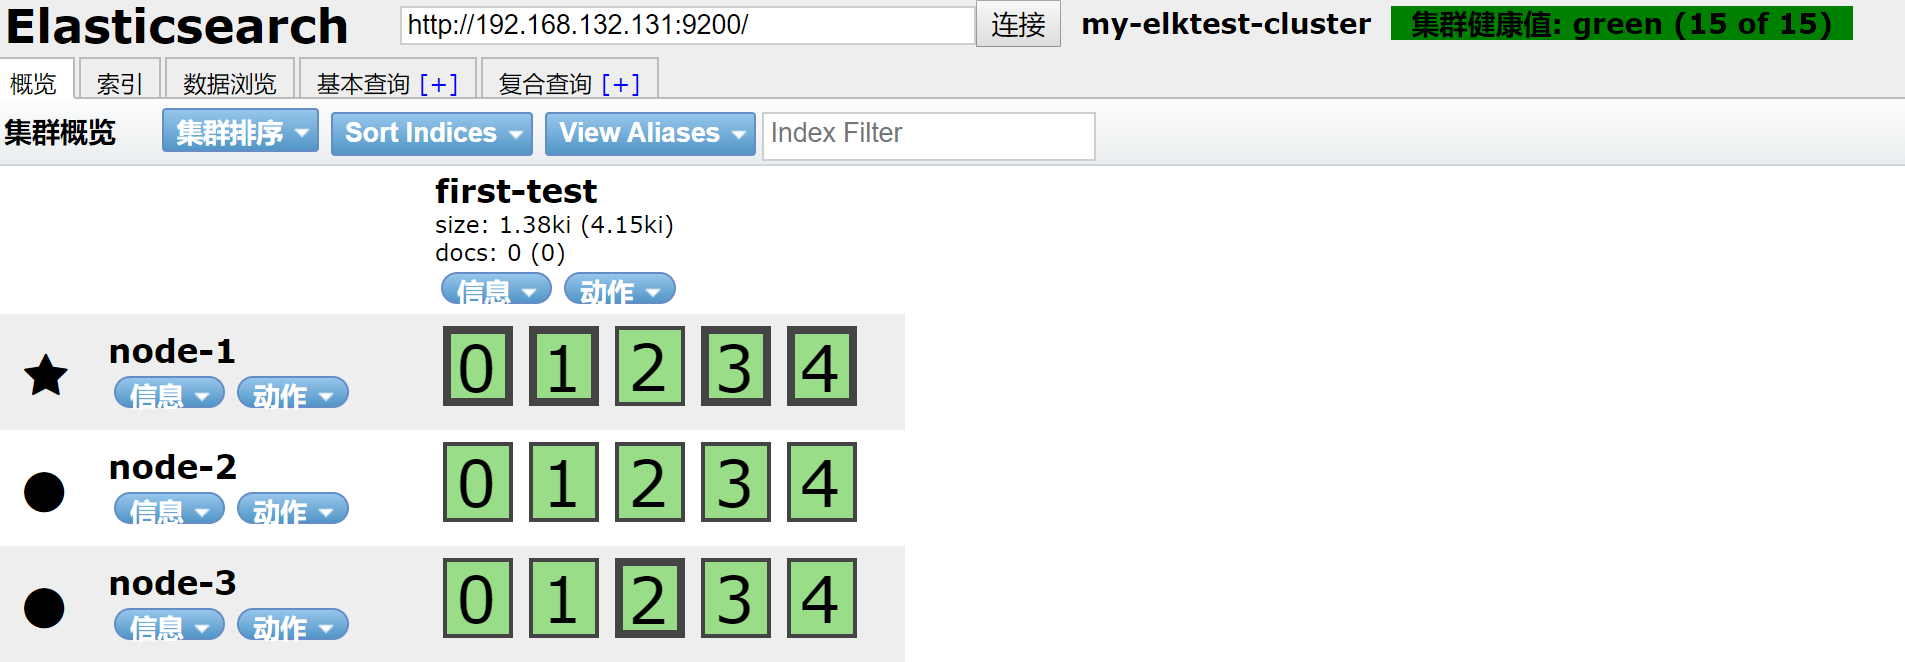
2.4 使用elasticsearch-head检查
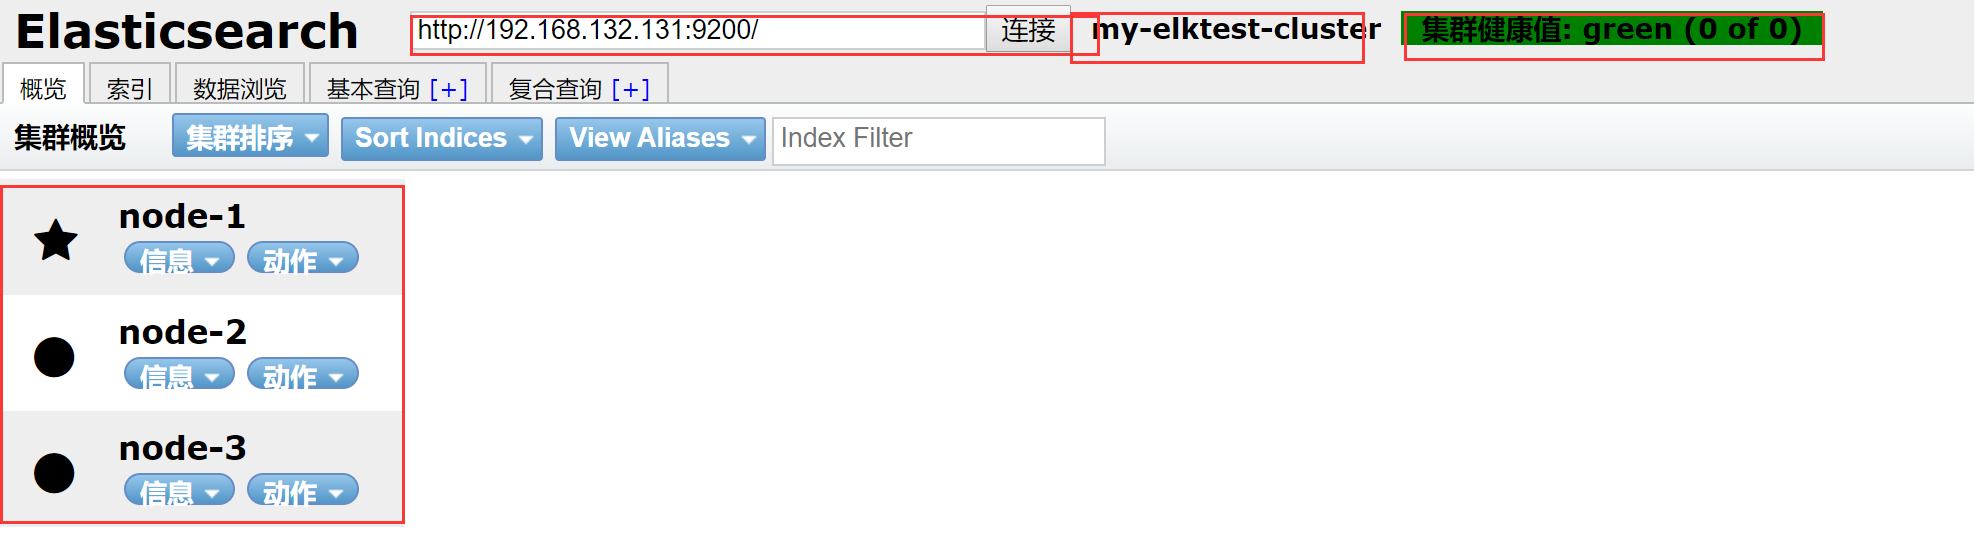
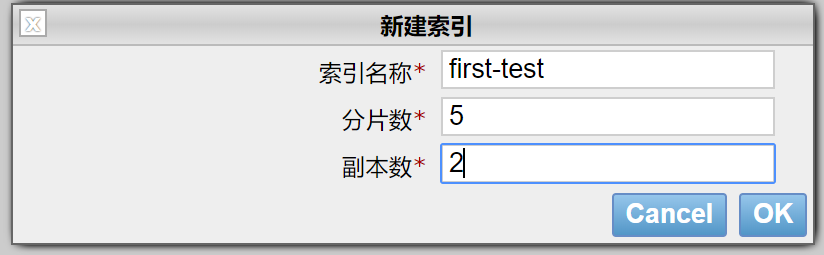
新建一个索引

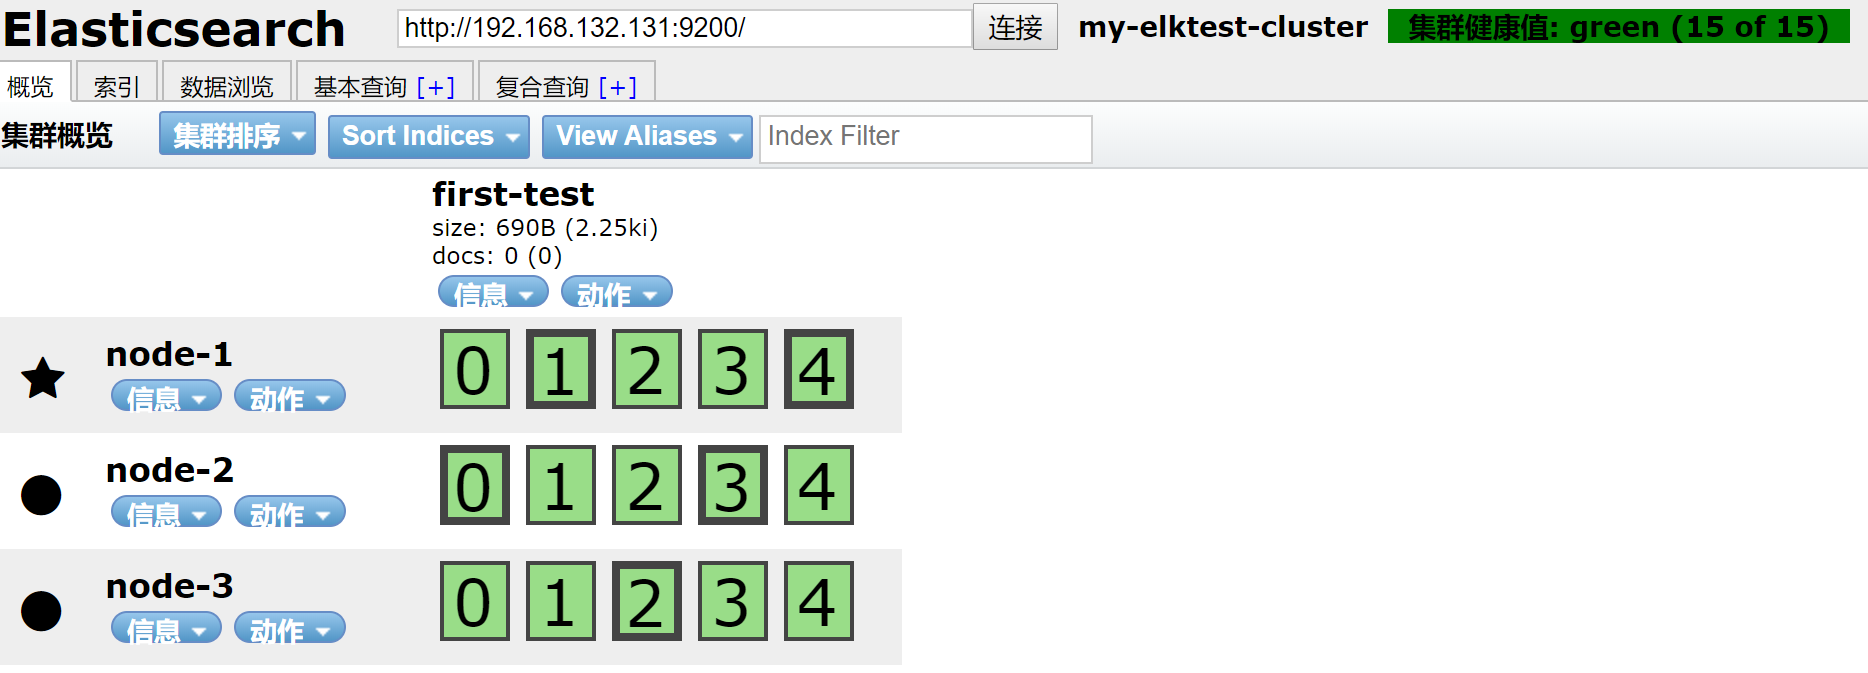
结果
三 集群简单测试
3.1 测试slave节点
关掉node2节点
[root@node2 ~]# systemctl stop elasticsearch
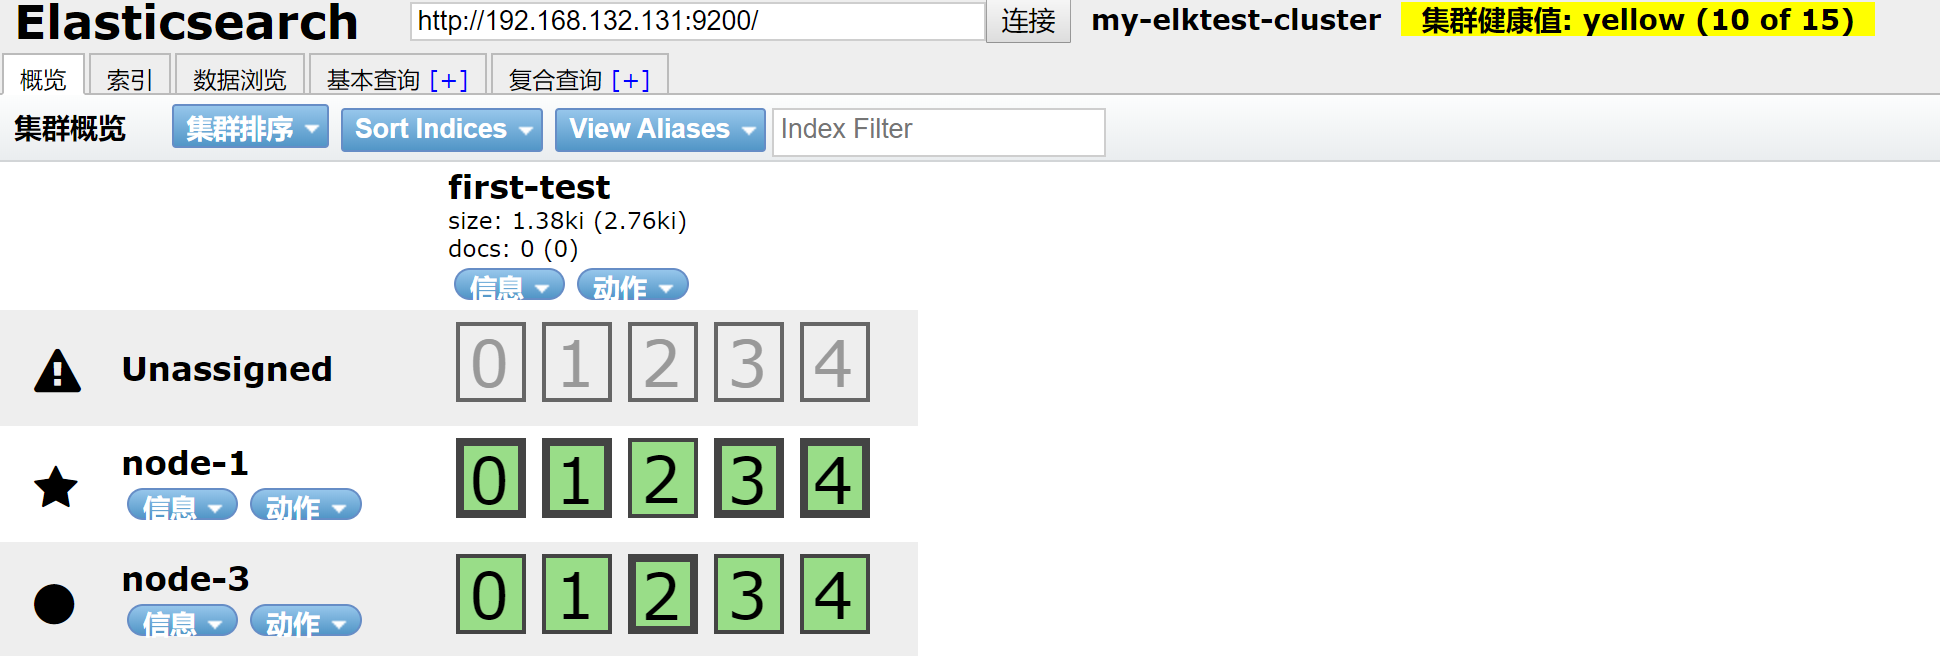
数据还在,开启node2
[root@node2 ~]# systemctl start elasticsearch
观察
集群回复正常状态
3.2 测试主节点宕机,对集群影响
关闭主节点
五角星代表是主节点,圆点代表从节点
[root@node1 ~]# systemctl stop elasticsearch
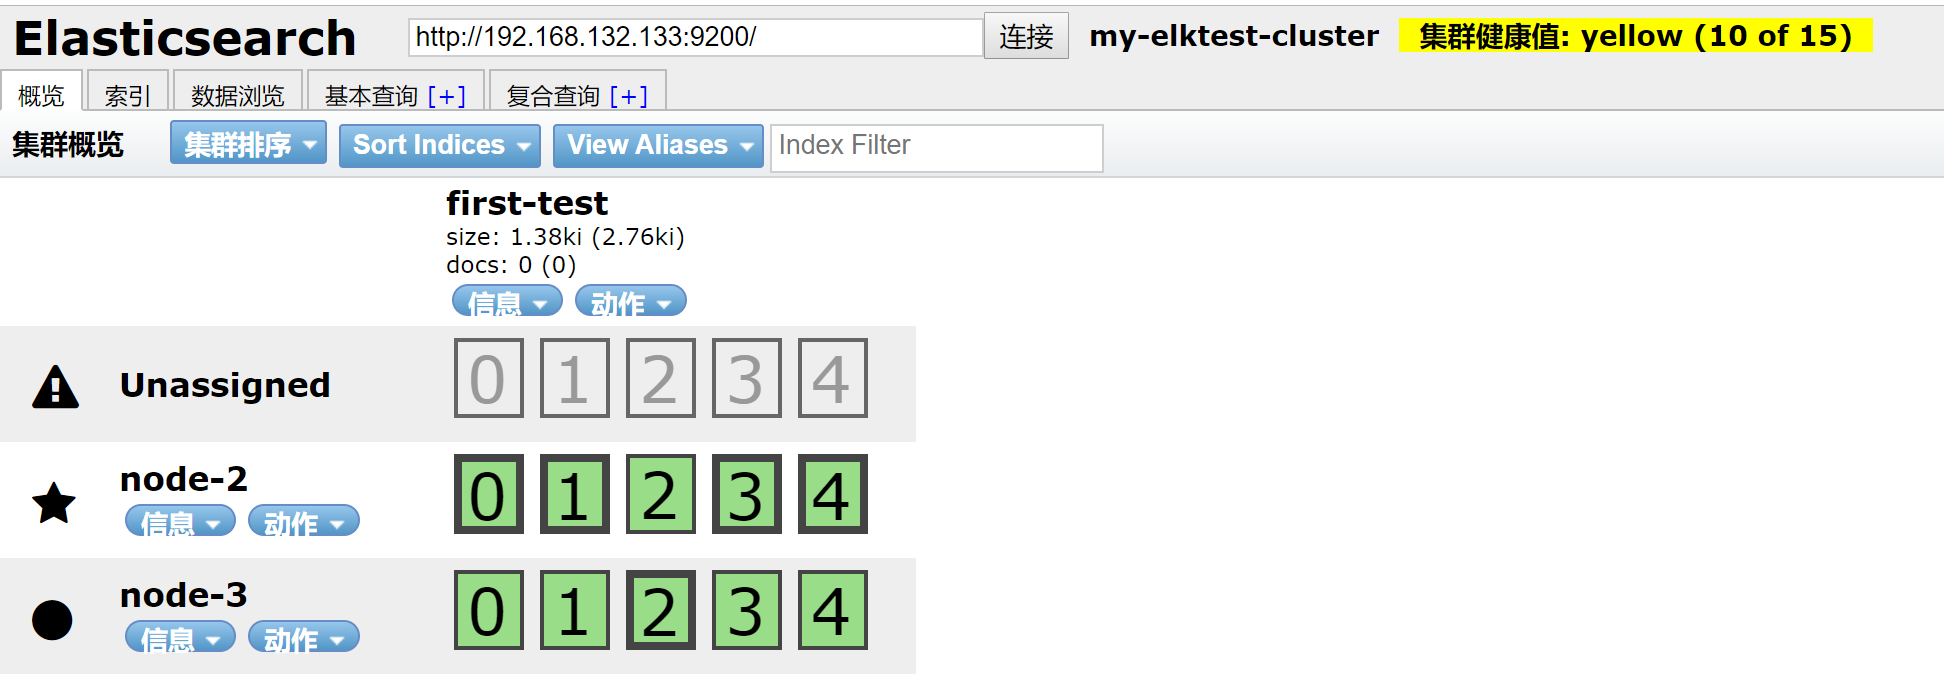
可以看到node-1节点不在,master节点已经转移到node-2上,数据也分不到node-2和node-3上
恢复node-1
[root@node1 ~]# systemctl start elasticsearch
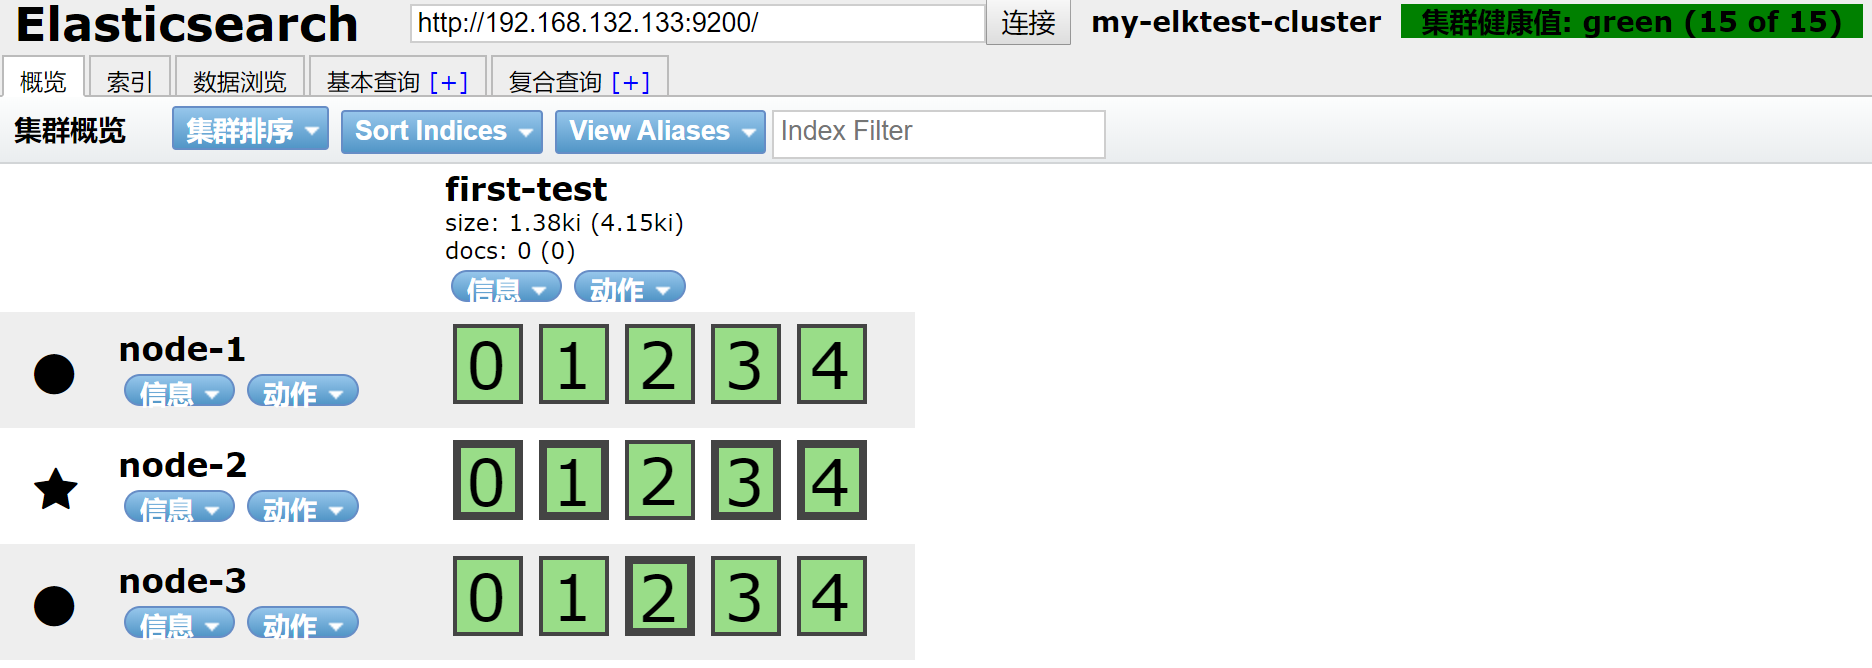
集群回复正常
四 使用curl简单的查看集群信息
4.1 查看master节点
[root@node1 ~]# curl http://192.168.132.131:9200/_cat/master
9qVjdVSvSAGlZ7lpB9O78g 192.168.132.132 192.168.132.132 node-
4.2 查看数据节点
[root@node1 ~]# curl -XGET http://127.0.0.1:9200/_cat/nodes?pretty
192.168.132.133    0.00 0.01 0.05 dilm - node-

192.168.132.131    0.00 0.01 0.05 dilm - node-

192.168.132.132    0.00 0.01 0.05 dilm * node-
4.3 查看集群健康状态
[root@node1 ~]# curl localhost:9200/_cluster/health?pretty
{

  "cluster_name" : "my-elktest-cluster",

  "status" : "green",

  "timed_out" : false,

  "number_of_nodes" : ,

  "number_of_data_nodes" : ,

  "active_primary_shards" : ,

  "active_shards" : ,

  "relocating_shards" : ,

  "initializing_shards" : ,

  "unassigned_shards" : ,

  "delayed_unassigned_shards" : ,

  "number_of_pending_tasks" : ,

  "number_of_in_flight_fetch" : ,

  "task_max_waiting_in_queue_millis" : ,

  "active_shards_percent_as_number" : 100.0

}
4.4其他的查看命令
[root@node1 ~]# curl localhost:9200/_cat
=^.^=

/_cat/allocation

/_cat/shards

/_cat/shards/{index}

/_cat/master

/_cat/nodes

/_cat/tasks

/_cat/indices

/_cat/indices/{index}

/_cat/segments

/_cat/segments/{index}

/_cat/count

/_cat/count/{index}

/_cat/recovery

/_cat/recovery/{index}

/_cat/health

/_cat/pending_tasks

/_cat/aliases

/_cat/aliases/{alias}

/_cat/thread_pool

/_cat/thread_pool/{thread_pools}

/_cat/plugins

/_cat/fielddata

/_cat/fielddata/{fields}

/_cat/nodeattrs

/_cat/repositories

/_cat/snapshots/{repository}

/_cat/templates
实验基本完成,后续在做关于集群的其他实验
最新文章
- MarkdownPad2 表格不显示处理
- http协议(八)请求首部字段
- c#选择填空题题库
- 《BI那点儿事》数据流转换——逆透视转换
- C++ this指针详解
- Python ---------copy
- C#如何给PDF文档添加注释
- Junit4学习(三)Junit运行流程
- 用ffmpeg把视频编码格式转为h.264
- linux find grep tail
- sqli-labs(十五)(堆叠注入)
- HDFS的工作流程
- 20155301 Web基础
- Android开发之解决APP启动白屏或者黑屏闪现的问题
- AIX6.1 线程模型说明
- P2261 [CQOI2007]余数求和
- Jquery解析json数组字符串
- 网络请求及各类错误代码含义总结(包含AFN错误码大全)
- 《Troubleshooting SQL Server》读书笔记-CPU使用率过高(上)
- jdk 配置时时区设置