Ubuntu安装Zabbix6.0
2024-09-06 00:52:52
环境
- 系统:Ubuntu 20.04
- 虚拟平台:Vmware Workstation 16 PRO
- 软件版本:Zabbix 6.0 LTS
- 数据库:PostgreSQL
- Web服务:Apache
新建虚拟机(物理机跳过)
安装Zabbix仓库
wget https://repo.zabbix.com/zabbix/6.0/ubuntu/pool/main/z/zabbix-release/zabbix-release_6.0-4%2Bubuntu20.04_all.deb

sudo dpkg -i zabbix-release_6.0-4+ubuntu20.04_all.deb

sudo apt update
安装Zabbix server,Web前端,agent
sudo apt install zabbix-server-pgsql zabbix-frontend-php php7.4-pgsql zabbix-apache-conf zabbix-sql-scripts zabbix-agent
创建初始数据库
安装PostgreSQL数据库
sudo sh -c 'echo "deb http://apt.postgresql.org/pub/repos/apt $(lsb_release -cs)-pgdg main" > /etc/apt/sources.list.d/pgdg.list'

wget --quiet -O - https://www.postgresql.org/media/keys/ACCC4CF8.asc | sudo apt-key add -

sudo apt-get update

sudo apt-get -y install postgresql
确保数据库服务启动并正常运行。
在数据库主机运行以下代码
sudo -u postgres createuser --pwprompt zabbix

sudo -u postgres createdb -O zabbix zabbix
导入初始架构和数据。
zcat /usr/share/zabbix-sql-scripts/postgresql/server.sql.gz | sudo -u zabbix psql zabbix
为Zabbix server配置数据库
将password改为你设置的数据库密码。
sudo vim /etc/zabbix/zabbix_server.conf

DBPassword=password
启动Zabbix server和agent进程
启动Zabbix server和agent进程,并为它们设置开机自启。
sudo systemctl restart zabbix-server zabbix-agent apache2

sudo systemctl enable zabbix-server zabbix-agent apache2
打开Zabbix前端页面配置
虚拟机运行的可以通过ifconfig查看IP地址,并通过http://host/zabbix访问。
ens33: flags=4163<UP,BROADCAST,RUNNING,MULTICAST>  mtu 1500

        inet 192.168.31.193  netmask 255.255.255.0  broadcast 192.168.31.255

        inet6 fe80::1ce1:20af:7447:faf5  prefixlen 64  scopeid 0x20<link>

        ether 00:0c:29:cd:ef:83  txqueuelen 1000  (Ethernet)

        RX packets 55216  bytes 76688088 (76.6 MB)

        RX errors 0  dropped 0  overruns 0  frame 0

        TX packets 25210  bytes 2166096 (2.1 MB)

        TX errors 0  dropped 0 overruns 0  carrier 0  collisions 0

lo: flags=73<UP,LOOPBACK,RUNNING>  mtu 65536

        inet 127.0.0.1  netmask 255.0.0.0

        inet6 ::1  prefixlen 128  scopeid 0x10<host>

        loop  txqueuelen 1000  (Local Loopback)

        RX packets 10820  bytes 14683581 (14.6 MB)

        RX errors 0  dropped 0  overruns 0  frame 0

        TX packets 10820  bytes 14683581 (14.6 MB)

        TX errors 0  dropped 0 overruns 0  carrier 0  collisions 0
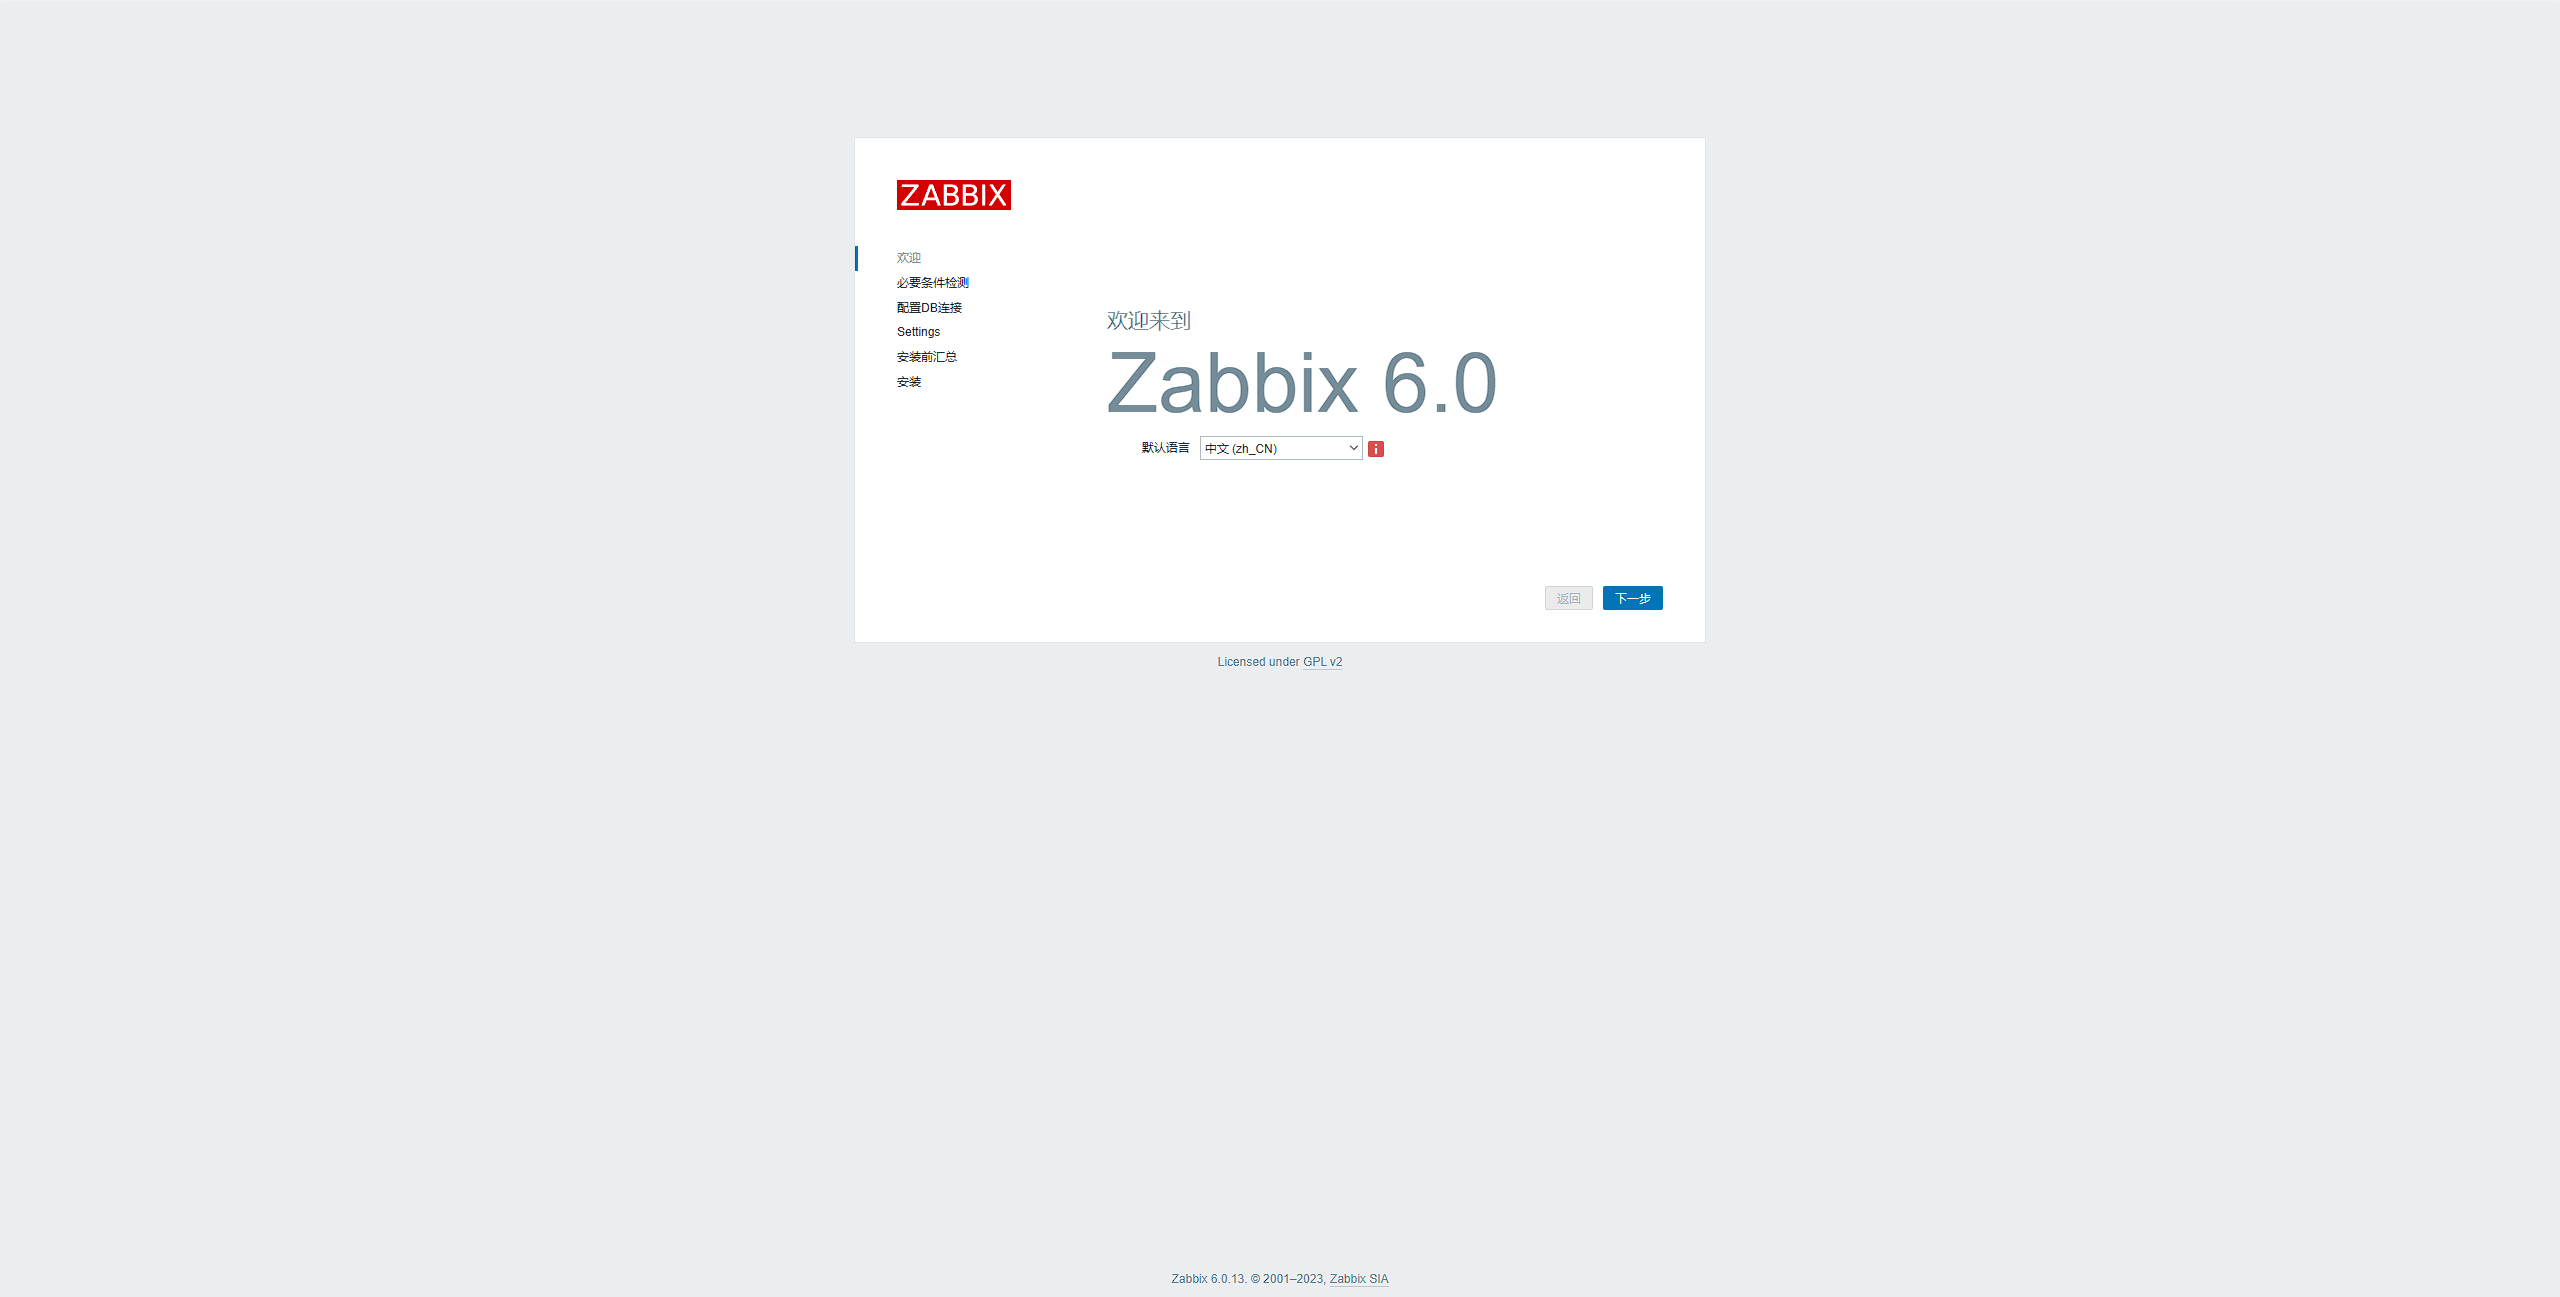
选择好语言,点下一步。
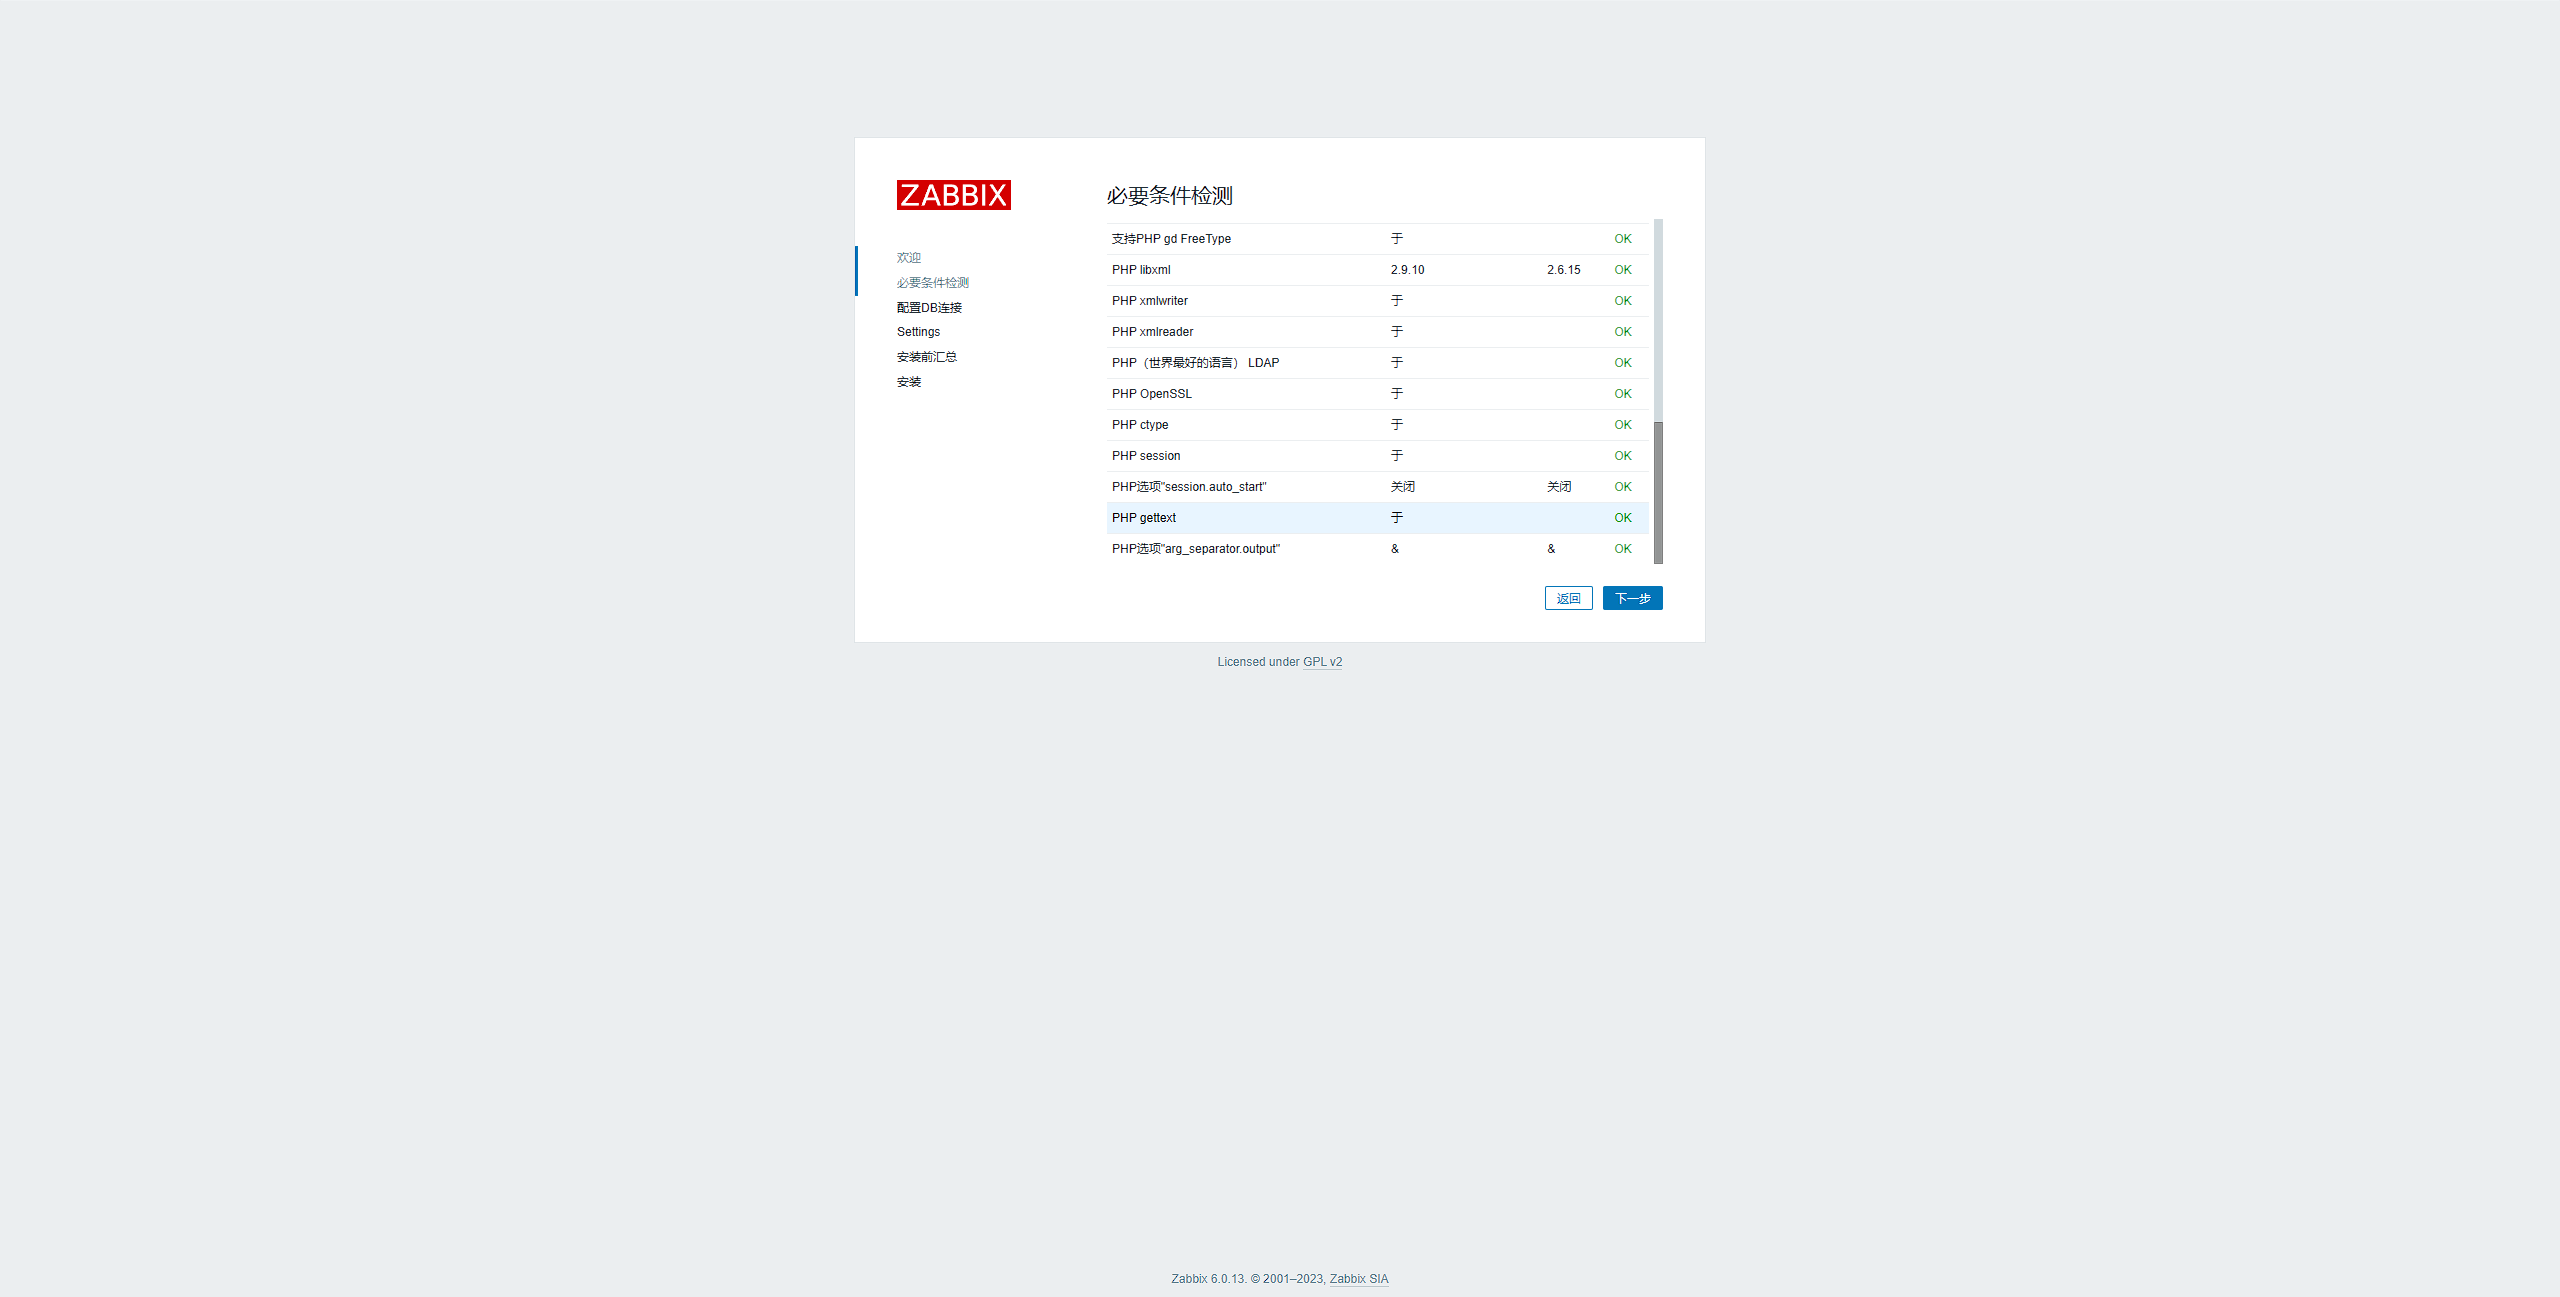
 检测没问题,点下一步。
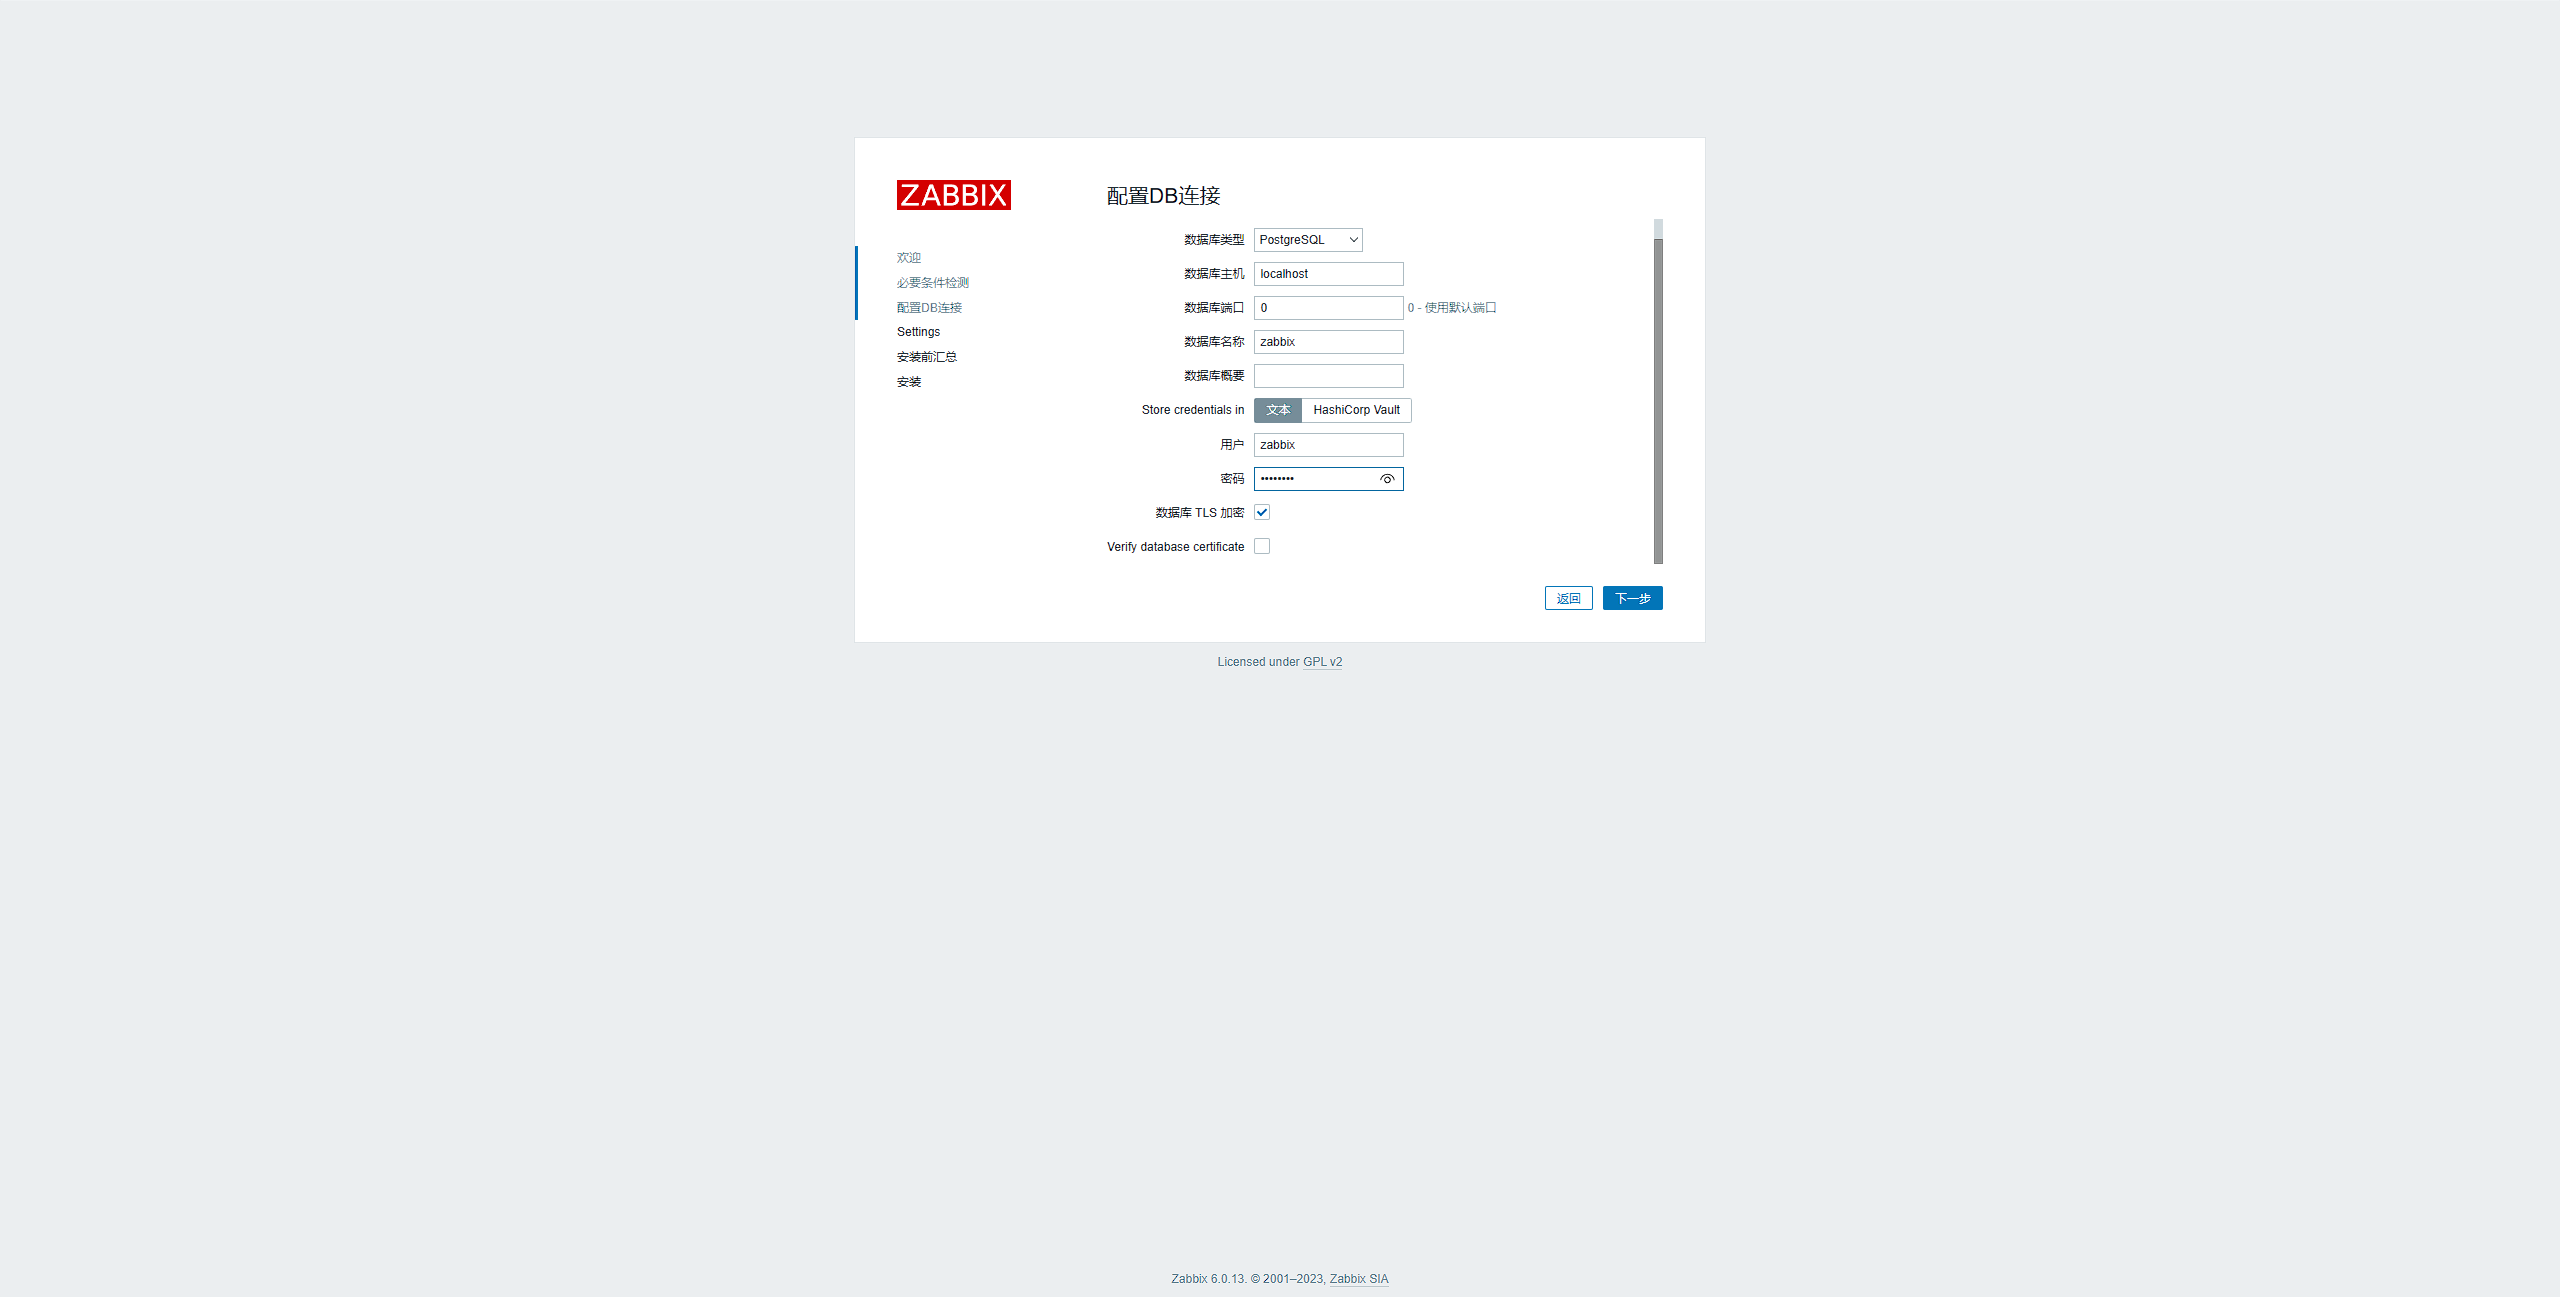
输入数据库密码,点下一步。
 设置Zabbix主机名称,点下一步。

点下一步,完成安装。

默认账号:Admin
默认密码:zabbix
登录
输入访问地址,账号密码,就可以正常使用Zabbix了。

使用Mariadb数据库
安装mariadb数据库(要求版本10.5以上)
Download MariaDB Server - MariaDB.org
根据文档命令进行安装
mariadb:create test file /usr/local/mysql/data/ubuntu20.lower-test
错误提示:
Jul 14 10:14:00 ubuntu20 mariadbd[2813]: 2022-07-14 10:14:00 0 [Note] /usr/sbin/mariadbd (mysqld 10.5.16-MariaDB-1:10.5.16+maria~focal-log) starting as process 2813 ...

Jul 14 10:14:00 ubuntu20 mariadbd[2813]: 2022-07-14 10:14:00 0 [Warning] Can't create test file /usr/local/mysql/data/ubuntu20.lower-test

Jul 14 10:14:00 ubuntu20 mariadbd[2813]: 2022-07-14 10:14:00 0 [ERROR] mariadbd: File './mysql-bin.index' not found (Errcode: 30 "Read-only file system")
解决办法:
MariaDB cannot start after update: [Warning] Can't create test file /home/mysql/beta.lower-test
mariadb fails to start on raw drive filesystem
乱码
zabbix6 中文乱码处理_dbfedbf的博客-CSDN博客
错误
zabbix-server 停止服务
查看日志cat /var/log/zabbix/zabbix_server.log
 11531:20220714:110546.762 [file:dbconfig.c,line:89] __zbx_mem_malloc(): out of memory (requested 256 bytes)

 11531:20220714:110546.762 [file:dbconfig.c,line:89] __zbx_mem_malloc(): please increase CacheSize configuration parameter

 11531:20220714:110546.762 === memory statistics for configuration cache ===

 11531:20220714:110546.762 free chunks of size     24 bytes:       68

 11531:20220714:110546.762 free chunks of size     32 bytes:        4

 11531:20220714:110546.762 free chunks of size     40 bytes:        1

 11531:20220714:110546.762 min chunk size:         24 bytes

 11531:20220714:110546.762 max chunk size:         40 bytes

 11531:20220714:110546.762 memory of total size 29254736 bytes fragmented into 268708 chunks

 11531:20220714:110546.762 of those,       1800 bytes are in       73 free chunks

 11531:20220714:110546.762 of those,   29252936 bytes are in   268635 used chunks

 11531:20220714:110546.762 of those,    4299312 bytes are used by allocation overhead
日志显示需要增加CacheSize的容量。
修改配置文件,增加缓存大小。
vim /etc/zabbix/zabbix_server.conf
# 根据机器配置修改容量

CacheSize=8G```
最新文章
- IntelliJ IDEA WEB项目的部署配置
- 创建cocos项目并打包
- Docker实践:运行Python应用
- 63.Android面试题精选 (转)
- 一次插入多条记录 [mysql]
- nodejs安装和环境搭建
- MySql性能优化相关
- PQJ 1686(栈栈栈)
- BFC / hasLayout
- [Linux] PHP程序员玩转Linux系列-自动备份与SVN
- 467. [leetcode] Unique Substrings in Wraparound String
- 【苹果通知APNs】不知道大家用过PushSharp没?
- Flask允许跨域
- iOS 高德地图轨迹回放的 思路, 及方法
- Java正则表达式使用 | 叠加
- aircrack 破解wifi密码
- 利用七牛存储7天远程自动备份LINUX服务器
- 《Linux内核分析》第四周学习笔记
- matplotlib01
- Retina屏的移动设备如何实现真正1px的线
热门文章
- 【每日一题】【map、数组、二维数组排序、静态函数和库函数】2022年2月24日-NC97 字符串出现次数的TopK问题
- 【Spark】Day02:Spark-Core:RDD概述、RDD编程(转换算子、Action)、序列化、依赖关系、持久化、数据读取保存、累加器、广播变量、top10、转化率
- sql周报
- markdown语法使用
- 宝塔渗透之msf代理入侵
- vivo 实时计算平台建设实践
- Hadoop详解(07) - Hdfs数据压缩
- [数据结构]Dijkstra算法求单源最短路径
- C语言写的 史上最公平的投票系统
- 深入探究Java中的对象类型变量声明操作——在声明对象时,系统究竟做了什么?