配置Ubuntu16.04虚拟机 (用途:CTF_pwn)
因为学习需要16.xx的虚拟机,所以把之前18.04的Ubuntu卸掉重装了一遍Ubuntu16.04,
考虑到我有备份和重装系统的爱好,故记之,以备后用。
目录: //最后更新时间:190122·17:32
1> 条件:
64位操作系统
WMware15 //官网链接
//关于VMtools:VM15在安装虚拟机的时候会自动安装VMtools //我不会安装……owo
Ubuntu16.04.1 //我刚刚使用的镜像是从舍友的神奇硬盘里拷出来的 //官网链接
2> 安装Ubuntu到VMware
1> 文件-新建虚拟机

2> 选中镜像
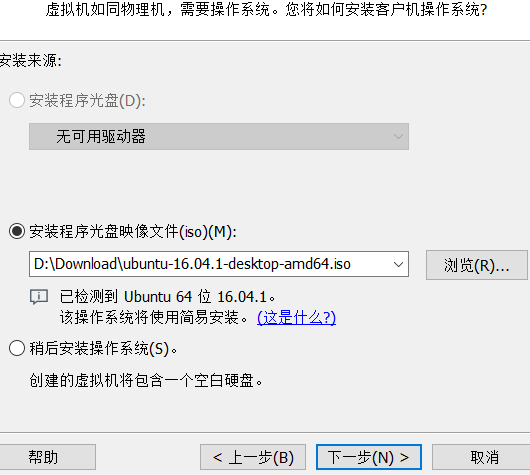
3> 一路绿灯
4> 调整硬件配置(根据个人需求) //记得把网络连接设置为"桥接模式-复制物理网络状态"
5> 等待
3> 更新软件源&&软件 //引用:https://blog.csdn.net/u012481692/article/details/78740406/
1> 备份软件源
sudo cp /etc/apt/sources.list /etc/apt/sources.list.backup
2> 打开软件源配置文件
sudo gedit /etc/apt/sources.list
3> 修改并保存软件源配置文件 //覆盖
# deb cdrom:[Ubuntu 16.04 LTS _Xenial Xerus_ - Release amd64 (20160420.1)]/ xenial main restricted

deb http://mirrors.tuna.tsinghua.edu.cn/ubuntu/ xenial main restricted

deb http://mirrors.tuna.tsinghua.edu.cn/ubuntu/ xenial-updates main restricted

deb http://mirrors.tuna.tsinghua.edu.cn/ubuntu/ xenial universe

deb http://mirrors.tuna.tsinghua.edu.cn/ubuntu/ xenial-updates universe

deb http://mirrors.tuna.tsinghua.edu.cn/ubuntu/ xenial multiverse

deb http://mirrors.tuna.tsinghua.edu.cn/ubuntu/ xenial-updates multiverse

deb http://mirrors.tuna.tsinghua.edu.cn/ubuntu/ xenial-backports main restricted universe multiverse

deb http://mirrors.tuna.tsinghua.edu.cn/ubuntu/ xenial-security main restricted

deb http://mirrors.tuna.tsinghua.edu.cn/ubuntu/ xenial-security universe

deb http://mirrors.tuna.tsinghua.edu.cn/ubuntu/ xenial-security multiverse
4> 更新软件列表
sudo apt-get update
5> 更新软件
sudo apt-get upgrade
4> 配置CTF环境 //提纲来自(某位)大佬(%%%%%) //如果这个也需要注明的话请联系我
1> 安装32位运行库 //转载自 https://blog.csdn.net/bfboys/article/details/53013662
sudo apt-get install lib32ncurses5
sudo apt-get install lib32z1 //我的虚拟机用不了这个指令
//自以为安装好了,然而在运行32位程序时遇到了问题:
"./linux_server: error while loading shared libraries: libsrdc++.so.6: cannot open shared object file: No such file or directory"
1> 安装32位运行库 //转载自 https://blog.csdn.net/whb_fei/article/details/78273637
sudo apt install gcc-multilib
2> 安装gdb //转载自 http://abcdefghijklmnopqrst.xyz/2018/10/05/Linux_pwn%E7%8E%AF%E5%A2%83%E6%90%AD%E5%BB%BA/#qemu%E5%AE%89%E8%A3%85
sudo apt-get install gdb gdb-multiarch
sudo apt-get install "binfmt*"
3> 安装pwndbg
//若未安装git,请用 sudo apt-get install git
git clone https://github.com/pwndbg/pwndbg
cd pwndbg
./setup.sh
4> 安装pip
sudo install pip
5> 安装pwntools
sudo pip install pwn
6> 安装LibcSearcher //github
git clone https://github.com/lieanu/LibcSearcher.git
cd LibcSearcher
python setup.py develop
7> 安装ipython
sudo apt-get install ipython
8> 其他配置
1> DVWA : https://www.cnblogs.com/iishuu/p/10292092.html
2> 待续
5> 挂起虚拟机,保存快照。
最新文章
- appfuse:Excel导出
- JAVA防盗链在报表中的应用实例
- Exploratory Undersampling for Class-Imbalance Learning
- python3-day1-python简介及入门
- css总集
- .Net开源项目之开源论坛
- ubuntu 12.04 server编译安装nginx
- volatile synschonized的区别
- 《Python CookBook2》 第一章 文本 - 去字符串两端的空格 && 合并字符串 && 将字符串逐字符或者逐词反转
- Logstash 介绍
- http 中get和post
- .wsdl文件生成.cs文件
- 用CasperJs自己主动浏览页面
- Spark Core_资源调度与任务调度详述
- ORM “杀器”之 JOOQ
- IIC详解
- HTTP请求方式
- scrum冲刺
- #20 Python文件
- [PHP]PHP定时任务的实现