centos7搭建hadoop2.10完全分布式
本篇介绍在centos7中大家hadoop2.10完全分布式,首先准备4台机器:1台nn(namenode);3台dn(datanode)
| IP | hostname | 进程 |
| 192.168.30.141 | s141 | nn(namenode) |
| 192.168.30.142 | s142 | dn(datanode) |
| 192.168.30.143 | s143 | dn(datanode) |
| 192.168.30.144 | s144 | dn(datanode) |
由于本人使用的是vmware虚拟机,所以在配置好一台机器后,使用克隆,克隆出剩余机器,并修改hostname和IP,这样每台机器配置就都统一了每台机器配置 添加hdfs用户及用户组,配置jdk环境,安装hadoop 见 :centos7搭建hadoop2.10伪分布模式
下面是安装完全分布式的一些步骤和细节:
1.设置每台机器的hostname 和 hosts
设置hostname,这里用s+ip最后一组数字(如:192.168.30.141为s141),修改一下文件
vim /etc/hostname
修改hosts文件,hosts设置有后可以使用hostname访问机器,这样比较方便,修改如下:
127.0.0.1 locahost

192.168.30.141 s141

192.168.30.142 s142

192.168.30.143 s143

192.168.30.144 s144
2.配置无密登录,即ssh无密登录
我们将s141设置为nn,就需要s141能够通过ssh无密登录到其他机器,这样就需要在s141机器hdfs用户下生成密钥对,并将s141公钥发送到其他机器放到~/.ssh/authorized_keys文件中
在s141机器上生成密钥对:
ssh-keygen -t rsa -P '' -f ~/.ssh/id_rsa
执行命令后

说明成功了,查看 ~/.ssh下是否生成密钥对:

将id_rsa.pub文件内容追加到s141-s144机器的/home/centos/.ssh/authorized_keys中,现在其他机器暂时没有authorized_keys文件,我们就将id_rsa.pub更名为authorized_keys即可,如果其他机器已存在authorized_keys文件可以将id_rsa.pub内容追加到该文件后,远程复制可以使用scp命令:
scp id_rsa.pub hdfs@s141:/home/hdfs/.ssh/authorized_keys

scp id_rsa.pub hdfs@s142:/home/hdfs/.ssh/authorized_keys

scp id_rsa.pub hdfs@s143:/home/hdfs/.ssh/authorized_keys

scp id_rsa.pub hdfs@s144:/home/hdfs/.ssh/authorized_keys
s141机器可以使用cat生成authorized_keys文件
cat id_rsa.pub >> authorized_keys
此时authorized_keys文件权限需要改为644(注意,经常会因为这个权限问题导致ssh无密登录失败)
chmod authorized_keys
3.配置hadoop配置文件(${hadoop_home}/etc/hadoop/)
core-sit.xml:
        <?xml version="1.0" encoding="UTF-8"?>

        <?xml-stylesheet type="text/xsl" href="configuration.xsl"?>

        <configuration>

                <property>

                        <name>fs.defaultFS</name>

                        <value>hdfs://s141/</value>

                </property>

        </configuration>
hdfs-site.xml:
     <?xml version="1.0" encoding="UTF-8"?>

        <?xml-stylesheet type="text/xsl" href="configuration.xsl"?>

        <configuration>

                <property>

                        <name>dfs.replication</name>

                        <value></value>

                </property>

        </configuration>
mapred-site.xml:
<?xml version="1.0"?>

<?xml-stylesheet type="text/xsl" href="configuration.xsl"?>

<configuration>

   <property>

        <name>mapreduce.framework.name</name>

        <value>yarn</value>

   </property>

</configuration>
yarn-site.xml:
<?xml version="1.0"?>

<configuration>

<!-- Site specific YARN configuration properties -->

    <property>

        <name>yarn.resourcemanager.hostname</name>

        <value>s141</value>

    </property>

    <property>

        <name>yarn.nodemanager.aux-services</name>

        <value>mapreduce_shuffle</value>

    </property>

</configuration>
slaves(指定数据节点):
s142

s143

s144
hadoop-env.sh(配置jdk环境变量):
export JAVA_HOME=/opt/soft/jdk
4.将s141中hadoop配置文件分发大其他机器上,使用scp
scp -r hadoop hdfs@s142:/opt/soft/hadoop/etc/

scp -r hadoop hdfs@s143:/opt/soft/hadoop/etc/

scp -r hadoop hdfs@s144:/opt/soft/hadoop/etc/
5.格式化hdfs
首先删除/tmp/下相关hadoop文件,可以直接清空,删除${hadoop_home}/logs 下日志文件
格式化文件系统
hadoop namenode -format
6.启动hadoop
start-all.sh
7.验证启动是否成功
使用jps查看进程
nn:
dn: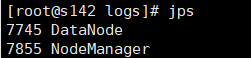
页面访问:http://192.168.30.141:50070
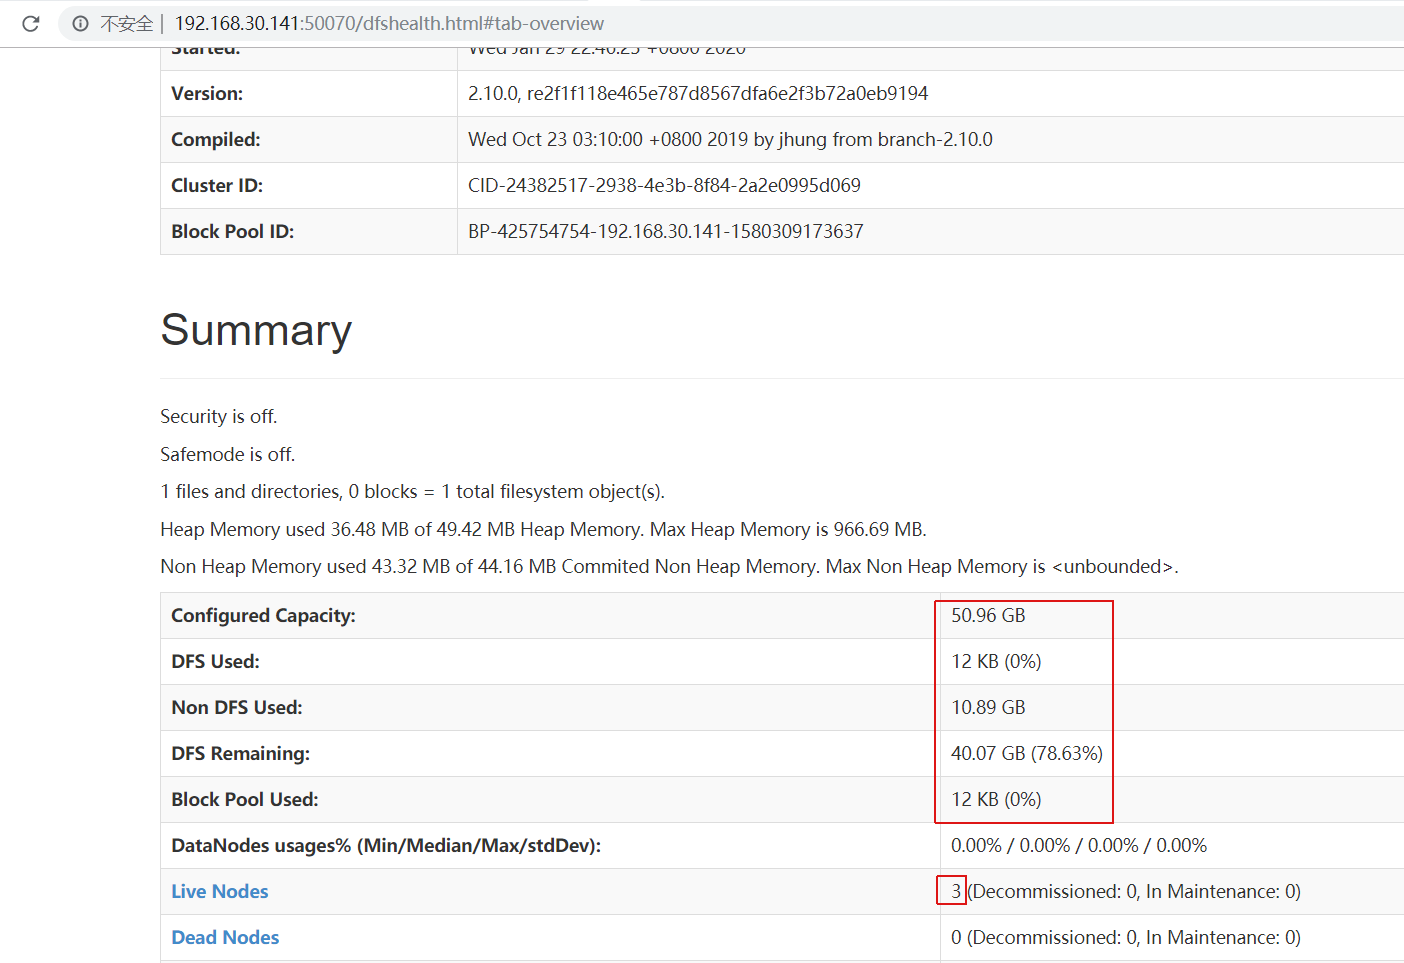
说明启动成功
最新文章
- Oracle表结构修改触发视图无法正常使用问题
- 初识Python第二天(1)
- BZOJ 1500 Splay 全操作
- 伸展树(二)之 C++的实现
- isa-swizzling 是什么鬼?
- 数据库操作封装类 DBHelper.cs
- Header() in PHP &html – Refresh (Redirect) to Location (URL) in X seconds
- JavaSE教程-04Java中循环语句for,while,do···while-练习
- JBoss启动项目报错
- 织云Lite发布:详解包管理核心能力
- ABP给WebApi添加性能分析组件Miniprofiler
- python应用-爬取猫眼电影top100
- win7 64位操作系统 电脑桌面出现this computer is being attacked的窗口
- swagger如何测试List类型参数
- Java父类与子类方法调用顺序
- B: Ocean的游戏(前缀和)
- python中的__new__与__init__,新式类和经典类(2.x)
- 周强201771010141《面向对象程序设计(java)》第一周学习总结
- SpringBoot整合Druid(阿里巴巴)数据源
- JAVA:形参与实参