极光推送小结 - iOS
2024-09-27 17:03:11
此次即友盟分享小结(友盟分享小结 - iOS)之后对推送也进行了一版优化.此次分享内容依然基于已经成功集成 SDK 后 code 层级部分.
注:此次分享基于 SDK 3.1.0,若版本相差较大,仅供参考.
极光推送官方文档: https://docs.jiguang.cn/jpush/guideline/intro/
首先,为分享单独创建了一个类,为了可以更加清晰的划分其内容部分.

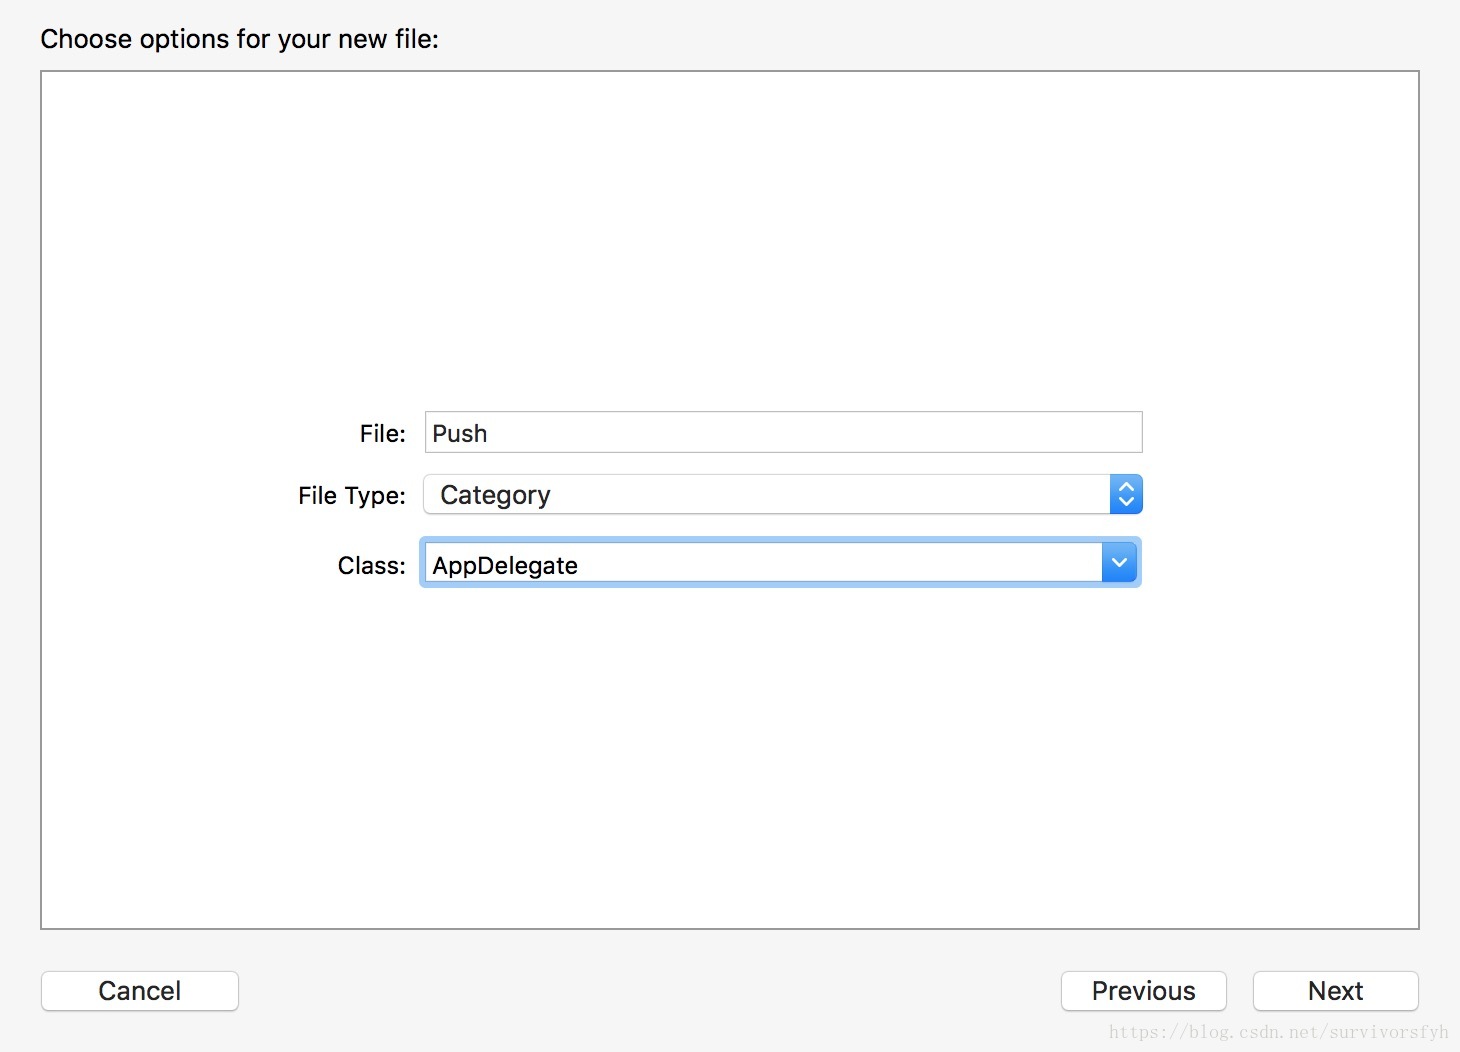
注:创建该子类后,切记将其头文件引入到 AppDelegate 类中.
#import "AppDelegate.h"

// Push

#import "AppDelegate+JPush.h"
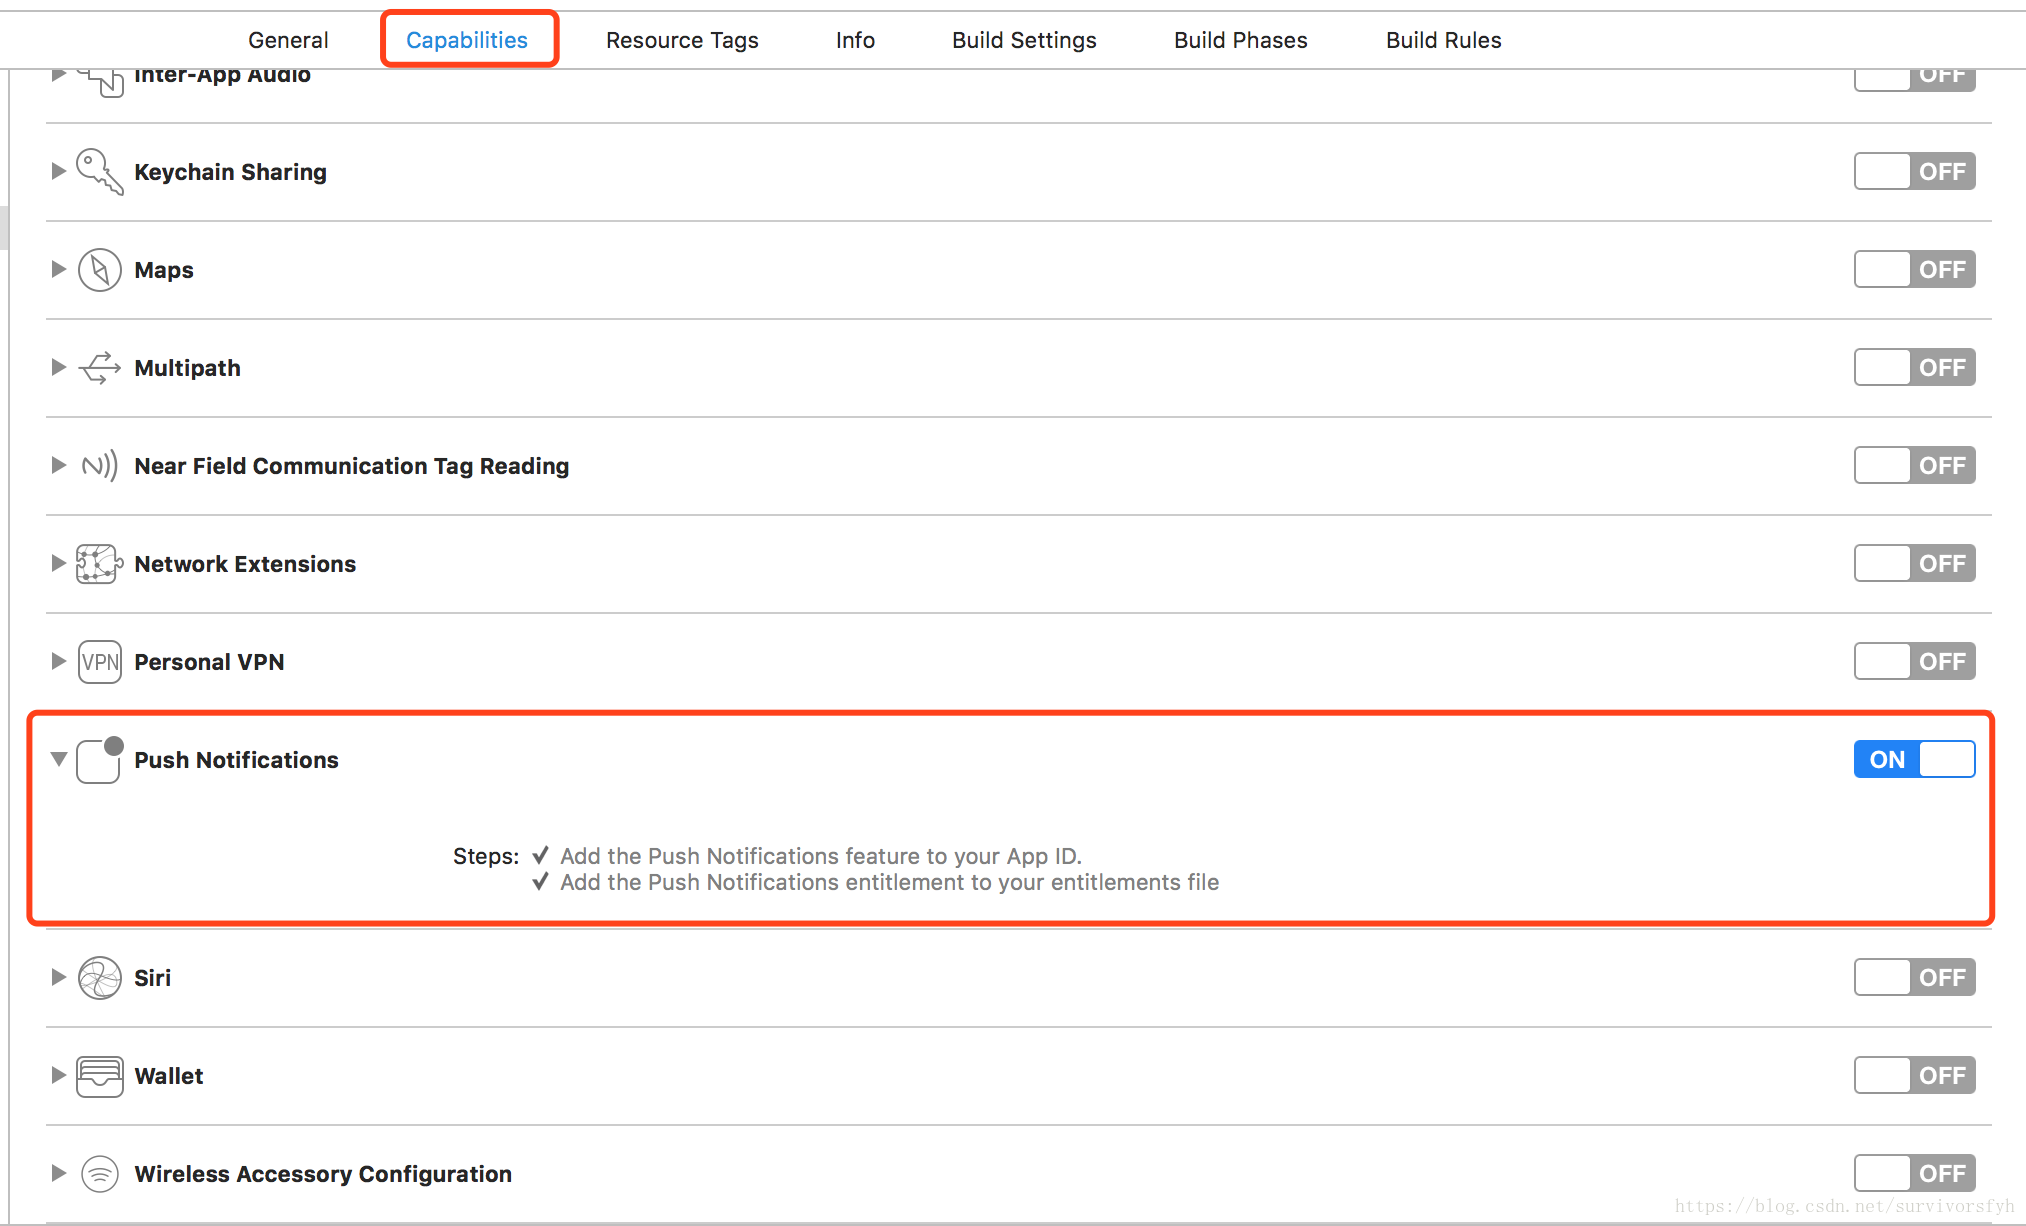
其次,将项目工程中配置相关配置.
最后,便是具体 code 相关内容,将申请的相关 key 预先设置成宏准备好,方便使用和变更时进行调用和更改.
一.声明
优先将初始化的相关接口配置声明准备好.
#import "AppDelegate.h"

@interface AppDelegate (JPush)

/**

 JPush 注册

 @param launchOptions 启动项

 */

- (void)registerJPush:(NSDictionary *)launchOptions;

@end
将子类中声明的方法在 AppDelegate 的方法中调用.
- (BOOL)application:(UIApplication *)application didFinishLaunchingWithOptions:(NSDictionary *)launchOptions {

    // Override point for customization after application launch.

    // UserDefaults 相关

    [[DZSBUserInfo sharedInstance] loadCacheData];

    // CoreData 相关

    [[CoreDataManager sharedCoreDataManager] managedObjectContext];

    // 友盟相关

    [self umAssociatedDetailSettings];

    // Push

    [self registerJPush:launchOptions];

    // Root VC

    [self setRootViewController];

    return YES;

}
二.实现
1.引入所需的头文件
2.实现声明类中接口
3.实现具体方法和代理事件
#import "AppDelegate+JPush.h"

#import <JPUSHService.h>

// iOS10注册APNs所需头文件

#ifdef NSFoundationVersionNumber_iOS_9_x_Max

#import <UserNotifications/UserNotifications.h>

#endif

// 如果需要使用idfa功能所需要引入的头文件(可选)

#import <AdSupport/AdSupport.h>

static NSString *appKey = JPush_APPKEY;

static NSString *channel = JPush_CHANNEL;// @"AppStore"

static BOOL isProduction = FALSE;

@interface AppDelegate () <JPUSHRegisterDelegate>

@end

@implementation AppDelegate (JPush)

- (void)registerJPush:(NSDictionary *)launchOptions {

    //Required

    //notice: 3.0.0及以后版本注册可以这样写,也可以继续用之前的注册方式

    JPUSHRegisterEntity * entity = [[JPUSHRegisterEntity alloc] init];

    entity.types = JPAuthorizationOptionAlert|JPAuthorizationOptionBadge|JPAuthorizationOptionSound;

    if ([[UIDevice currentDevice].systemVersion floatValue] >= 8.0) {

        // 可以添加自定义categories

        // NSSet<UNNotificationCategory *> *categories for iOS10 or later

        // NSSet<UIUserNotificationCategory *> *categories for iOS8 and iOS9

    }

    [JPUSHService registerForRemoteNotificationConfig:entity delegate:self];// 注册

    // apn 内容获取:

//    NSDictionary *remoteNotification = [launchOptions objectForKey: UIApplicationLaunchOptionsRemoteNotificationKey];

    // 监听自定义消息

    [kNotificationCenter addObserver:self

                            selector:@selector(networkDidReceiveMessage:)

                                name:kJPFNetworkDidReceiveMessageNotification

                              object:nil];

    // Optional

    // 获取IDFA

    // 如需使用IDFA功能请添加此代码并在初始化方法的advertisingIdentifier参数中填写对应值

    NSString *advertisingId = [[[ASIdentifierManager sharedManager] advertisingIdentifier] UUIDString];

    // Required

    // init Push

    // notice: 2.1.5版本的SDK新增的注册方法,改成可上报IDFA,如果没有使用IDFA直接传nil

    // 如需继续使用pushConfig.plist文件声明appKey等配置内容,请依旧使用[JPUSHService setupWithOption:launchOptions]方式初始化。

//    [JPUSHService setupWithOption:launchOptions

//                           appKey:appKey

//                          channel:channel

//                 apsForProduction:isProduction];

    [JPUSHService setupWithOption:launchOptions

                           appKey:appKey

                          channel:channel

                 apsForProduction:isProduction

            advertisingIdentifier:nil];

    [JPUSHService registrationIDCompletionHandler:^(int resCode, NSString *registrationID) {

        NSLog(@"JPush --- resCode : %d,registrationID: %@",resCode,registrationID);

//        [JPUSHService setDebugMode];

        [JPUSHService setLogOFF];// 生成环境调用

    }];

}

/**

 获取自定义消息推送内容

 content:获取推送的内容

 messageID:获取推送的messageID(key为@"_j_msgid")

 extras:获取用户自定义参数

 customizeField1:根据自定义key获取自定义的value

 @param notification 结构体

 */

- (void)networkDidReceiveMessage:(NSNotification *)notification {

    /*

     接收消息样式

     {

        content = "\U7529\U9505\U7ed9IOS\Uff01";

        extras =     {

        fFunPageUrl = "www.baidu.com";

        fType = 2;

     };

     title = "\U6d4b\U8bd5";

     }

     */

    NSDictionary * userInfo = [notification userInfo];

    /** 消息标题*/

    NSString *content = [userInfo valueForKey:@"content"];

    /** 消息内容*/

    NSDictionary *extras = [userInfo valueForKey:@"extras"];

    NSString *messageID = [userInfo valueForKey:@"_j_msgid"];

    NSString *customizeField1 = [extras valueForKey:@"customizeField1"]; //服务端传递的Extras附加字段,key是自己定义的

}

#pragma mark - Delegate

/**

 Required - 注册 DeviceToken

 注:

 JPush 3.0.9 之前的版本,必须调用此接口,注册 token 之后才可以登录极光,使用通知和自定义消息功能。

 从 JPush 3.0.9 版本开始,不调用此方法也可以登录极光。但是不能使用APNs通知功能,只可以使用JPush自定义消息。

 @param application 应用

 @param deviceToken 标识

 */

- (void)application:(UIApplication *)application didRegisterForRemoteNotificationsWithDeviceToken:(NSData *)deviceToken {

    [JPUSHService registerDeviceToken:deviceToken];

}

- (void)application:(UIApplication *)application didReceiveRemoteNotification:(NSDictionary *)userInfo {

    // Required,For systems with less than or equal to iOS6

    // 取得 APNs 标准信息内容

    NSDictionary *aps = [userInfo valueForKey:@"aps"];

    NSString *content = [aps valueForKey:@"alert"]; //推送显示的内容

    NSInteger badge = [[aps valueForKey:@"badge"] integerValue]; //badge数量

    NSString *sound = [aps valueForKey:@"sound"]; //播放的声音

    // 取得Extras字段内容

    NSString *customizeField1 = [userInfo valueForKey:@"customizeExtras"]; //服务端中Extras字段,key是自己定义的

    NSLog(@"JPush\ncontent =[%@], badge=[%ld], sound=[%@], customize field  =[%@]",content,(long)badge,sound,customizeField1);

    [JPUSHService handleRemoteNotification:userInfo];

    NSLog(@"JPush - Receive notice\n%@", userInfo);

    // iOS badge 清0

    application.applicationIconBadgeNumber = 0;

}

- (void)application:(UIApplication *)application didReceiveRemoteNotification:(NSDictionary *)userInfo fetchCompletionHandler:(void (^)(UIBackgroundFetchResult))completionHandler {

    // Required, iOS 7 Support

    [JPUSHService handleRemoteNotification:userInfo];

    // 应用正处理前台状态下,不会收到推送消息,因此在此处需要额外处理一下

    if (application.applicationState == UIApplicationStateActive) {

        UIAlertView *alert = [[UIAlertView alloc]

                              initWithTitle:@"收到推送消息"

                              message:userInfo[@"aps"][@"alert"]

                              delegate:nil

                              cancelButtonTitle:@"取消"

                              otherButtonTitles:@"确定",nil];

        [alert show];

    }

    NSLog(@"JPush - Receive notice\n%@", userInfo);

    // 收到通知处理相关事项 contentType(系统消息 & 系统公告

    NSString *contentType = [NSString stringWithFormat:@"%@", [userInfo objectForKey:@"contentType"]];

    // 消息集合

    NSMutableDictionary *dicMessage = [[NSMutableDictionary alloc] init];

    if ([contentType isEqualToString:@""]) {//系统消息

        // do somethings

    } else if ([contentType isEqualToString:@""]){//系统公告

        // do somethings

    }

    // block 回调

    completionHandler(UIBackgroundFetchResultNewData);

}

/**

 注册 APNs 失败

 @param application 应用

 @param error       异常

 */

- (void)application:(UIApplication *)application didFailToRegisterForRemoteNotificationsWithError:(nonnull NSError *)error {

    //Optional

    NSLog(@"JPush --- did Fail To Register For Remote Notifications With Error: %@\nLocalizedDescription: %@", error, error.localizedDescription);

}

#pragma mark- JPUSHRegisterDelegate

// iOS 10 Support

- (void)jpushNotificationCenter:(UNUserNotificationCenter *)center willPresentNotification:(UNNotification *)notification withCompletionHandler:(void (^)(NSInteger))completionHandler  API_AVAILABLE(ios(10.0)){

    // Required

    NSDictionary * userInfo = notification.request.content.userInfo;

    if (@available(iOS 10.0, *)) {

        if([notification.request.trigger isKindOfClass:[UNPushNotificationTrigger class]]) {

            [JPUSHService handleRemoteNotification:userInfo];

        }

    } else {

        // Fallback on earlier versions

    }

    if (@available(iOS 10.0, *)) {

        completionHandler(UNNotificationPresentationOptionAlert);// 需要执行这个方法,选择是否提醒用户,有Badge、Sound、Alert三种类型可以选择设置

    } else {

        // Fallback on earlier versions

    }

}

// iOS 10 Support

- (void)jpushNotificationCenter:(UNUserNotificationCenter *)center didReceiveNotificationResponse:(UNNotificationResponse *)response withCompletionHandler:(void (^)(void))completionHandler  API_AVAILABLE(ios(10.0)){

    // Required

    NSDictionary * userInfo = response.notification.request.content.userInfo;

    if (@available(iOS 10.0, *)) {

        if([response.notification.request.trigger isKindOfClass:[UNPushNotificationTrigger class]]) {

            [JPUSHService handleRemoteNotification:userInfo];

        }

    } else {

        // Fallback on earlier versions

    }

    completionHandler();  // 系统要求执行这个方法

}

@end
注:以上实现部分所分享的内容是针对集成后的基本对接部分,其中不包含接收消息后的具体业务逻辑,具体业务逻辑需要根据产品需求在代理回调部分进行单独自行定制开发.
分享内容中可能存在的缩写内容部分 code 如下:
#pragma mark - 缩写

#define kApplication        [UIApplication sharedApplication]

#define kKeyWindow          [UIApplication sharedApplication].keyWindow

#define kAppDelegate        ((AppDelegate*)[UIApplication sharedApplication].delegate)

#define kUserDefaults       [NSUserDefaults standardUserDefaults]

#define kNotificationCenter [NSNotificationCenter defaultCenter]
以上便是此次分享的全部内容,较为简易的推送小结,具体还以实际需求为准,可以自行 diy 调整,希望对大家有所帮助,也希望大神多多指点共进步!
最新文章
- redis键命令
- offsetTop、clientTop、scrollTop、offsetTop属性
- TypeLoadException: 找不到 Windows 运行时类型“Windows.UI.Xaml.Controls.Binding
- java设计模式设计模式
- ECSHOP 用户中心 我的订单前台显视订单每张商品图片及收货人
- 【POJ3237】Tree(树链剖分)
- STL中stack小结
- 如何优雅的写一篇安利文-以Sugar ORM为例
- javascript权威指南笔记--javascript语言核心(三)
- 35.在PCB中删除元件
- 分享自己动手弄的基于Rime的新世纪五笔输入法码表
- Android学习总结——Service组件
- C++ 类中指向函数的指针 以及 类模板
- HanLP二元核心词典解析
- related_name和related_query_name举例区别
- 快乐的Lambda表达式(二)
- java生成TXT
- 在js文件里调用另一个js文件里的函数
- 转:HttpModule与HttpHandler详解
- react native 示例代码