C# Redis安装 使用教程
前言:lz自打工作以来第一次遇到电脑问题需要重装系统,全盘格式化。打击是沉痛的。特别伤。 然后需要重新在本地部署 redis。这是写这篇博客的原因。希望对大家有所帮助,安装资源和引用DLL可以引用 只用于学习 ( windows环境安装 )
一:安装Redis
首先我们需要在本地或是服务器安装Redis。安装包可以去redis官网下载,去Gethub上down 我这里直接给我的百度云
链接:https://pan.baidu.com/s/1WJ48XMaHOmgb1J0KaQkdEw 密码:xjf4 下载后解压

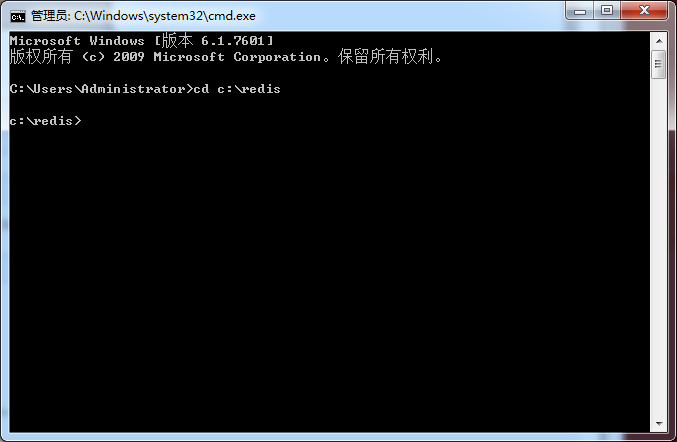
本地的话 你可以直接打开 redis-server.exe这个应用程序。也可以打开cmd命令 然后把路径换成你redis文件的路径 我的是放在 c:\redis 可以跟我的来,方便搬运代码 切换文件路径 cd
然后我们启动redis服务,运行 redis-server.exe redis.windows.conf
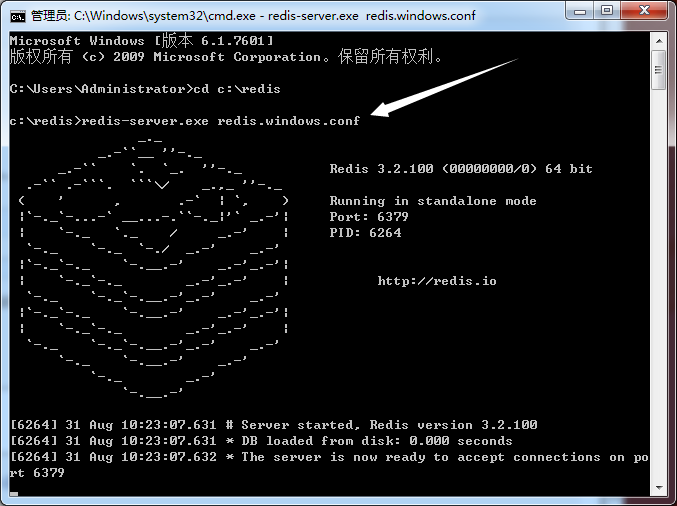
出现这个界面说明OK了,这个窗口别关 如果关闭了 重新来一遍
继续,再打开一个cmd窗口,切换到redis目录下面
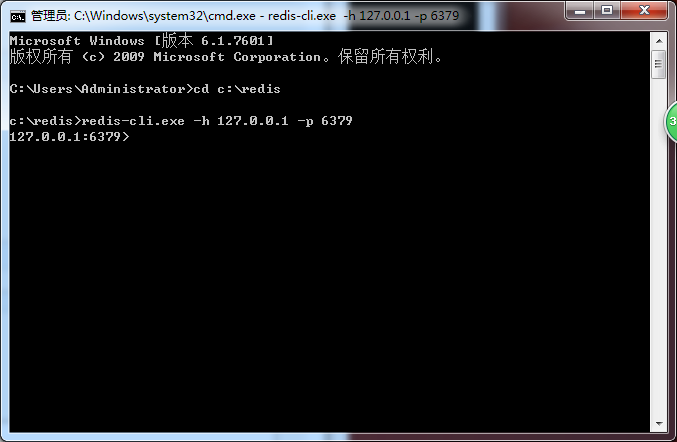
这里解释一下这个 127.0.0.1 是本地访问,相当于localhost 6379是redis默认的端口
继续,redis是存储键值对的所以我们测试一下
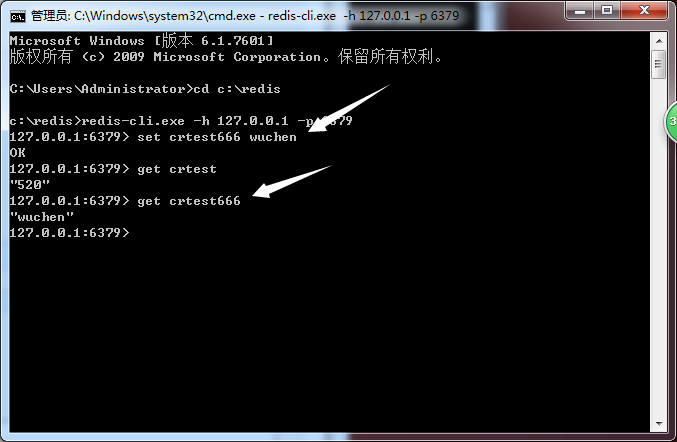
set一个 key value
get 一个key
机制就是把数据set 到 redis的数据库里,就是我们说的缓存 用的时候在get取值
接下来我们下载一个redis可视化工具,作用是相当于我们平时使用的数据库 可以去官网上下载,可以我直接上资源,方便 链接:https://pan.baidu.com/s/1K7QtxSVV_15kxP8zkEvIng 密码:k4f8
解压文件,安装成功 打开

字面意思,很简单吧
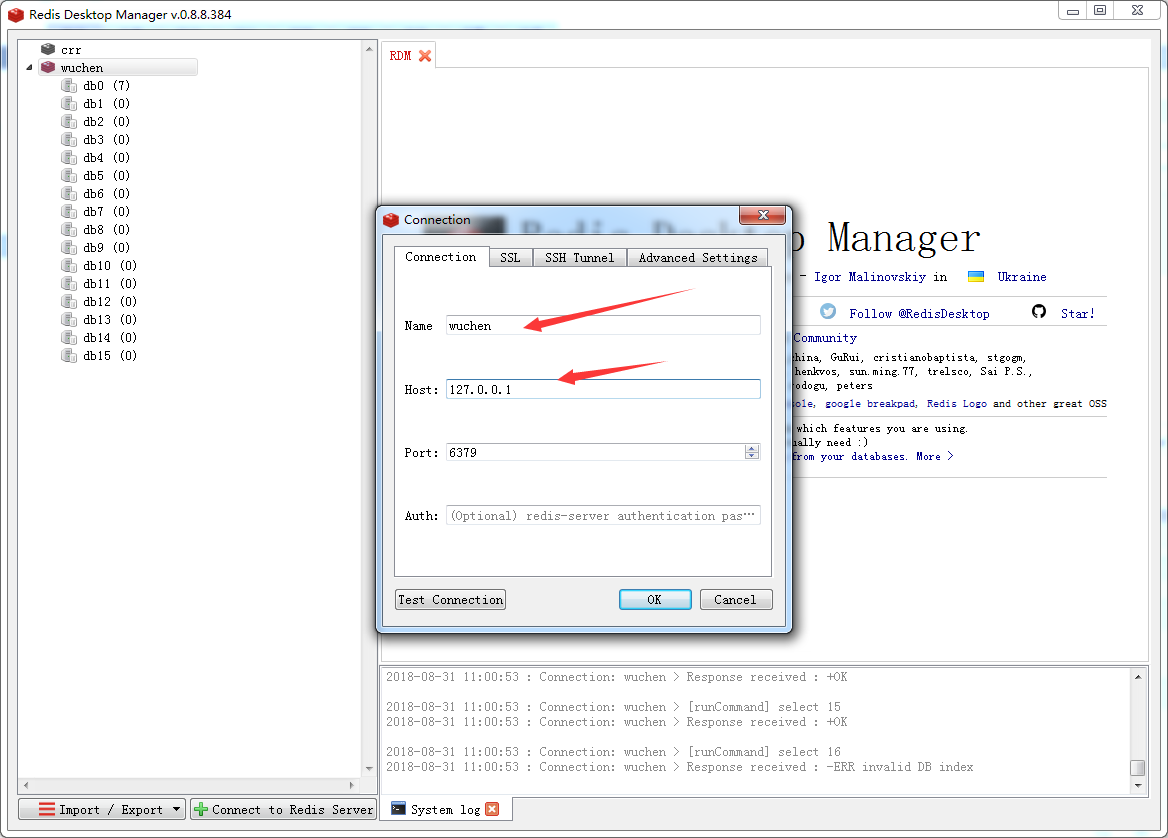
name 测试阶段随便写 HOST呢 就是主机IP地址 链接上之后 打开我们的DB

crtest666 wuchen 这个键值队是成功添加了的 (关于redis key是名字无所谓 value可以是列表,集合,自由使用,今天先不讲这个)
二:C# 中使用redis(查找,增加,删除的使用)
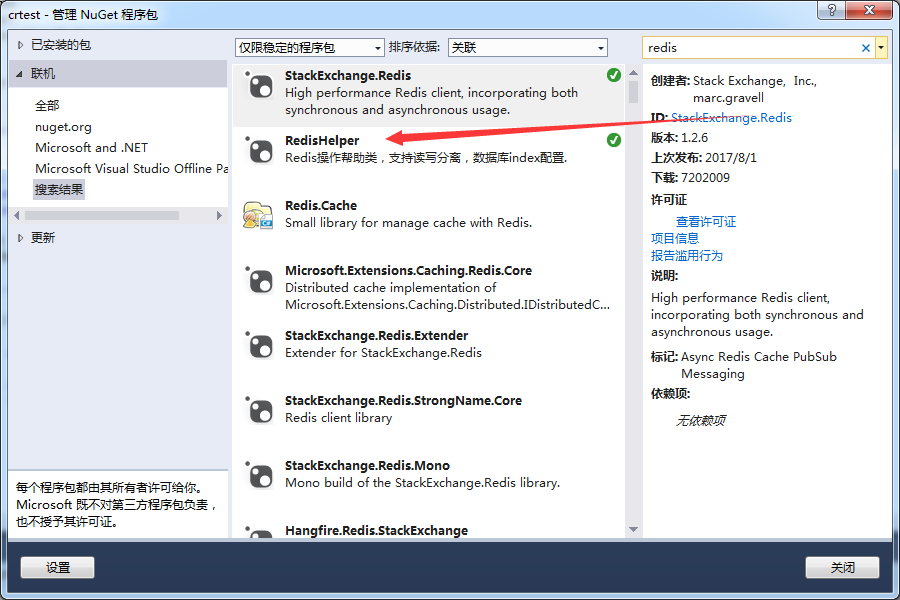
首先我们需要添加redis的引用。nuget包 搜索redis第一个就是。--StackExchange.Redis
根据运行的环境不同。还需要以下dll
1.ServiceStack.Common.dll
2.ServiceStack.Interfaces.dll
3.ServiceStack.Text.dll
可以去Gethub上去down, https://github.com/ServiceStack/ServiceStack.Redis 真的慢
博主百度云资源: 链接:https://pan.baidu.com/s/1gQLJlIcHhZtPikIgFHnHxA 密码:scqt
Lg:本博一直用win10,按理说只需要这些DLL的 现在装成win7,发现不行了 后来我在Nuget包中添加 RedisHelper,(现在好像直接叫做Redis了,看下备注说明确认一下)
这里举个很简单的使用redis的例子
添加一个控制台应用程序
然后在主程序类 program.cs 代码
using System;

using System.Collections.Generic;

using System.Linq;

using System.Text;

using System.Threading.Tasks;

namespace crtest

{

    class Program

    {

        /// <summary>

        /// 基无尘 18-8-31

        /// </summary>

        /// <param name="args"></param>

        static void Main(string[] args)

        {

            Console.WriteLine("Redis写入缓存:wuchengtest"); //添加

            RedisCacheHelper.Add("wuchen", "jiwuchen", DateTime.Now.AddDays());

            Console.WriteLine("Redis获取缓存:crtest666");//查找

            string str3 = RedisCacheHelper.Get<string>("crtest666");

            Console.WriteLine(str3);

            RedisCacheHelper.Remove("hellow");//删除

            string str = RedisCacheHelper.Get<string>("hellow");//查看是否删除成功

            Console.WriteLine(str == null ? "未找到" : str);

            Console.ReadKey();

        }

    }

}
然后添加一个帮助类 作用类似于我们常用的DbHelper
using ServiceStack.Redis;

using System;

using System.Collections.Generic;

using System.Linq;

using System.Text;

using System.Threading.Tasks;

namespace crtest

{

   public  class RedisCacheHelper

    {

        private static readonly PooledRedisClientManager pool = null;

        private static readonly string[] redisHosts = null;

        public static int RedisMaxReadPool = ;

        public static int RedisMaxWritePool = ;

        static RedisCacheHelper()

        {

            var redisHostStr = "127.0.0.1:6379";

            if (!string.IsNullOrEmpty(redisHostStr))

            {

                redisHosts = redisHostStr.Split(',');

                if (redisHosts.Length > )

                {

                    pool = new PooledRedisClientManager(redisHosts, redisHosts,

                        new RedisClientManagerConfig()

                        {

                            MaxWritePoolSize = RedisMaxWritePool,

                            MaxReadPoolSize = RedisMaxReadPool,

                            AutoStart = true

                        });

                }

            }

        }

        #region Add

        public static void Add<T>(string key, T value, DateTime expiry)

        {

            if (value == null)

            {

                return;

            }

            if (expiry <= DateTime.Now)

            {

                Remove(key);

                return;

            }

            try

            {

                if (pool != null)

                {

                    using (var r = pool.GetClient())

                    {

                        if (r != null)

                        {

                            r.SendTimeout = ;

                            r.Set(key, value, expiry - DateTime.Now);

                        }

                    }

                }

            }

            catch (Exception ex)

            {

                string msg = string.Format("{0}:{1}发生异常!{2}", "cache", "存储", key);

            }

        }

        public static void Add<T>(string key, T value, TimeSpan slidingExpiration)

        {

            if (value == null)

            {

                return;

            }

            if (slidingExpiration.TotalSeconds <= )

            {

                Remove(key);

                return;

            }

            try

            {

                if (pool != null)

                {

                    using (var r = pool.GetClient())

                    {

                        if (r != null)

                        {

                            r.SendTimeout = ;

                            r.Set(key, value, slidingExpiration);

                        }

                    }

                }

            }

            catch (Exception ex)

            {

                string msg = string.Format("{0}:{1}发生异常!{2}", "cache", "存储", key);

            }

        }

        public static T Get<T>(string key)

        {

            if (string.IsNullOrEmpty(key))

            {

                return default(T);

            }

            T obj = default(T);

            try

            {

                if (pool != null)

                {

                    using (var r = pool.GetClient())

                    {

                        if (r != null)

                        {

                            r.SendTimeout = ;

                            obj = r.Get<T>(key);

                        }

                    }

                }

            }

            catch (Exception ex)

            {

                string msg = string.Format("{0}:{1}发生异常!{2}", "cache", "获取", key);

            }

            return obj;

        }

        #endregion

        public static void Remove(string key)

        {

            try

            {

                if (pool != null)

                {

                    using (var r = pool.GetClient())

                    {

                        if (r != null)

                        {

                            r.SendTimeout = ;

                            r.Remove(key);

                        }

                    }

                }

            }

            catch (Exception ex)

            {

                string msg = string.Format("{0}:{1}发生异常!{2}", "cache", "删除", key);

            }

        }

        public static bool Exists(string key)

        {

            try

            {

                if (pool != null)

                {

                    using (var r = pool.GetClient())

                    {

                        if (r != null)

                        {

                            r.SendTimeout = ;

                            return r.ContainsKey(key);

                        }

                    }

                }

            }

            catch (Exception ex)

            {

                string msg = string.Format("{0}:{1}发生异常!{2}", "cache", "是否存在", key);

            }

            return false;

        }

    }

}
OK,生成一下 然后运行看看效果

OK,我们去redis-server上看看效果,也可以用上面的控制台来get 看看效果(cmd命令窗口自始至终都是开着的)
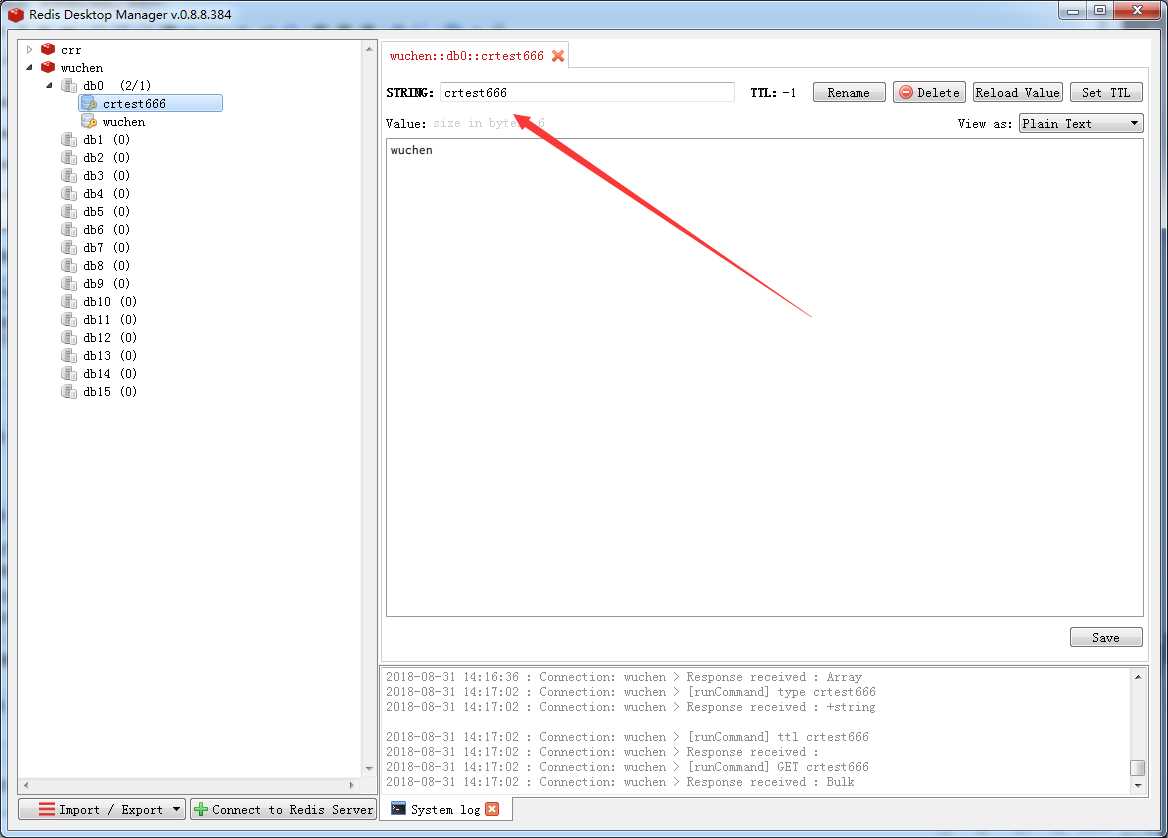
可以看到是成功添加的。好啦
通过简单的两句代码,慢慢发现编程的乐趣
最新文章
- webpack解惑:多入口文件打包策略
- android activity改变另一个activity ui
- Leetcode 65 Valid Number 字符串处理
- 重载赋值运算符 && 对象
- httpclient爬取性感美图
- HDU 4000 Fruit Ninja 树状数组 + 计数
- ApplicationContext.xml 的最终xml声明,包括注解 aop
- static和extern的区别
- 在自定义的dwt文件中调用page_header.lbi和page_footer.lbi
- 时序列数据库武斗大会之 TSDB 名录 Part 1
- 利用putty软件连接虚拟机中linux操作系统
- bzoj 4004: [JLOI2015]装备购买 拟阵 && 高消
- 2015第24周二Spring事务2
- Flash型单片机的加密与解密
- 通过实例介绍持续集成的应用--基于Jenkins
- 新概念英语(1-47)A cup of coffee
- PAT1091:Acute Stroke
- c++WIN32获取syslistview行数
- dubbo系列五、dubbo核心配置
- JAVA通过oshi获取系统和硬件信息