源码编译安装MySQL-5.6/mysql-5.6.39------踩了无数坑,重装了十几次服务器才会的,不容易啊!
1.切换到src目录
cd /usr/local/src/
2. 下载mysql免编译二进制包
免编译的mysql二进制包5.6源码包:
wget http://mirrors.163.com/mysql/Downloads/MySQL-5.6/mysql-5.6.39-linux-glibc2.12-x86_64.tar.gz
(https://dev.mysql.com/get/Downloads/MySQL-5.6/mysql-5.6.43-linux-glibc2.12-x86_64.tar.gz --最新地址)
(http://mirrors.sohu.com/mysql/MySQL-5.6/mysql-5.6.39-linux-glibc2.12-x86_64.tar.gz)
tar -zxvf mysql-5.6.39-linux-glibc2.12-x86_64.tar.gz
3. 把 mysql-5.6.39-linux-glibc2.12-x86_64.tar.gz目录下所有文件 移到 /usr/local/mysql 位置
mv mysql-5.6.39-linux-glibc2.12-x86_64/* /usr/local/mysql

4.建立MySql用户,因为启动MySQL需要改用户
useradd -s /sbin/nologin mysql
cd /usr/local/mysql
5.创建datadir,数据库文件会放到这里面
mkdir -p /data/mysql
6. 更改权限,不更改后续操作就会出问题
chown -R mysql:mysql /data/mysql
7. yum install libaio* -y
二进制安装mysql初始化出现:Installing MySQL system tables.../usr/local/mysql/bin/mysqld: error while loading shared
原因:缺少libaio库文件
解决方法:yum install libaio* -y
8. yum -y install numactl
bin/mysqld: error while loading shared libraries: libnuma.so.1: 安装mysql
如果安装mysql出现了以上的报错信息.这是却少numactl这个时候如果是Centos就yum -y install numactl就可以解决这个问题了.
ubuntu的就sudo apt-get install numactl就可以解决这个问题了
9. 编译安装
yum install -y perl-Module-Install
./scripts/mysql_install_db --user=mysql --datadir=/data/mysql
如果在/data/mysql目录下生成几个文件和目录,说明执行成功;或者在执行完成最后一条命令后,马上执行echo $? 看输出结果是否为0
10. 首先赋值配置文件,如下所示:
cp support-files/my-default.cnf /etc/my.cnf
cp:是否覆盖"/etc/my.cnf"? y
因为是系统默认就有/etc/my.cnf,所以会提示是否覆盖,直接按"y"即可,
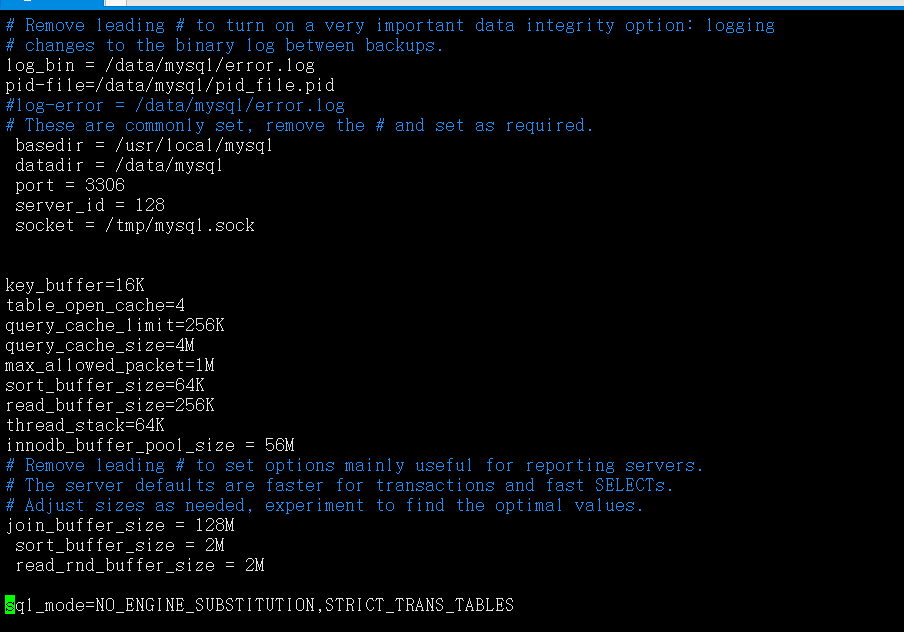
11. 修改配置文件 ,如下所示:
vim /etc/my.cnf
---------------------------------------------------------------------------------------------------------------------------------------------
[mysqld]
# Remove leading # and set to the amount of RAM for the most important data
# cache in MySQL. Start at 70% of total RAM for dedicated server, else 10%.
#innodb_buffer_pool_size = 128M
# Remove leading # to turn on a very important data integrity option: logging
# changes to the binary log between backups.
#log_bin =
log_bin = /data/mysql/error.log
pid-file=/data/mysql/pid_file.pid
# These are commonly set, remove the # and set as required.
basedir = /usr/local/mysql
datadir = /data/mysql
port = 3306
server_id = 128
socket = /tmp/mysql.sock
key_buffer=16K
table_open_cache=4
query_cache_limit=256K
query_cache_size=4M
max_allowed_packet=1M
sort_buffer_size=64K
read_buffer_size=256K
thread_stack=64K
innodb_buffer_pool_size = 56M
# Remove leading # to set options mainly useful for reporting servers.
# The server defaults are faster for transactions and fast SELECTs.
# Adjust sizes as needed, experiment to find the optimal values.
join_buffer_size = 128M
sort_buffer_size = 2M
read_rnd_buffer_size = 2M
sql_mode=NO_ENGINE_SUBSTITUTION,STRICT_TRANS_TABLES
---------------------------------------------------------------------------------------------------------------------
12. 然后复制启动脚本文件并修改其属性
cp support-files/mysql.server /etc/init.d/mysqld
chmod 755 /etc/init.d/mysqld
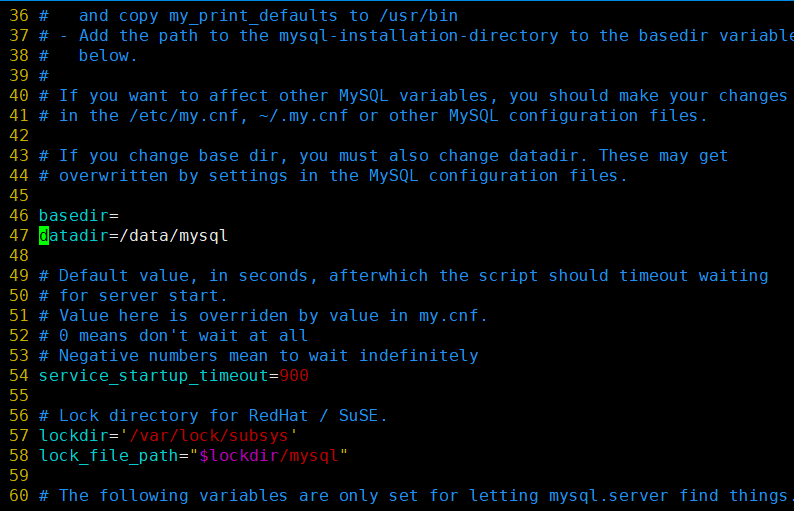
13. 修改启动脚本 (这步废除)
vim /etc/init.d/mysqld
需要修改的地方有 datadir=/data/mysql
14. 把启动脚本加入系统服务项,设定开机并启动mysql
a . 把mysqld服务加入到系统服务列表中,
chkconfig --add mysqld
b .使其开机就启动
chkconfig mysqld on
c .启动服务
service mysqld start

看见success,说明mysql已经启动成功了
15. 看看有没有监听3306端口
netstat -lnp|grep 3306

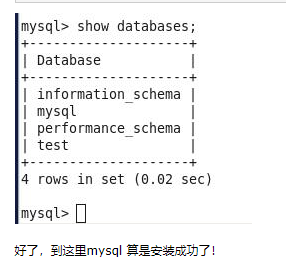
16.进入mysql
/usr/local/mysql/bin/mysql -uroot -p
show databases;
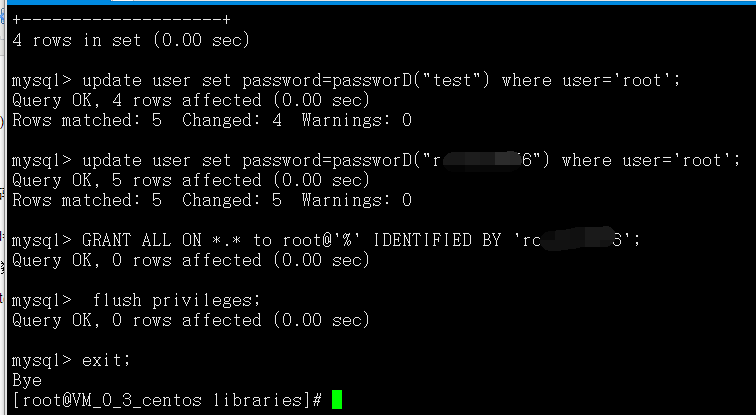
17. Linux下修改Mysql的用户(root)的密码 (第一次进入不需要密码,直接mysql -uroot -p 进来该密码)
通过登录mysql系统,
# mysql -uroot -p
Enter password: 【输入原来的密码】 (下面的passedorD("test")表示数据库密码)
mysql>use mysql;
mysql> update user set password=passworD("test") where user='root';
# 远程登录密码 (下面的test表示数据库密码)
mysql>GRANT ALL ON *.* to root@'%' IDENTIFIED BY 'test';
mysql> flush privileges;
mysql> exit;
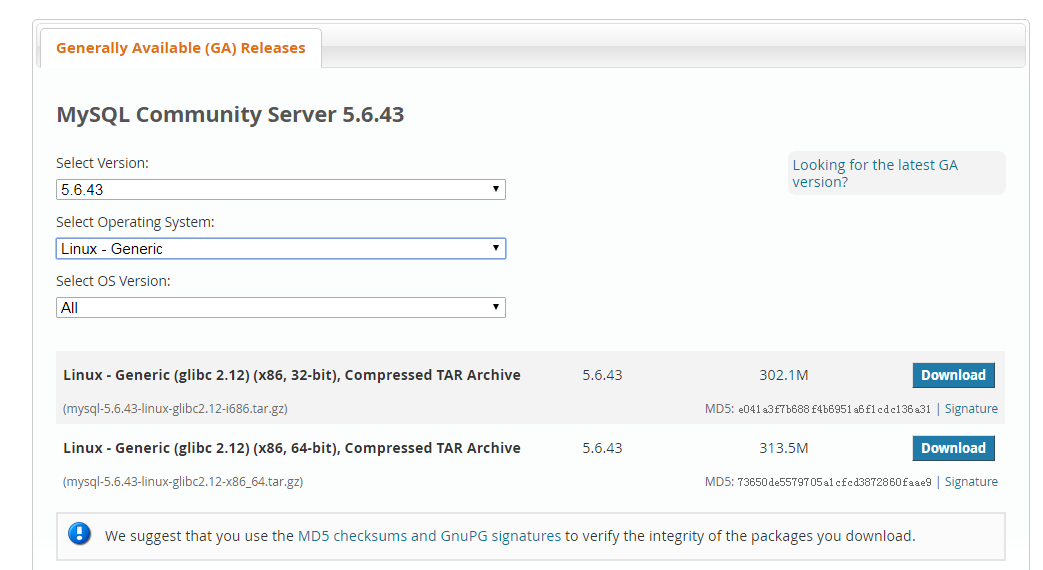
--------------------------------------------下面是mysql二进制源码包下载地址------------------------------------------------------------------------------------
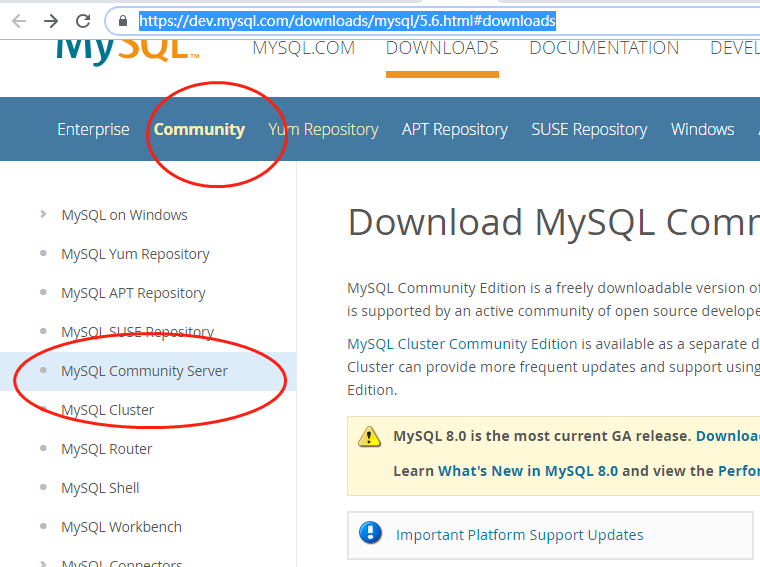
下载地址: https://dev.mysql.com/downloads/mysql/5.6.html#downloads
--------------------------------------问题一--------------------------------------------------------------
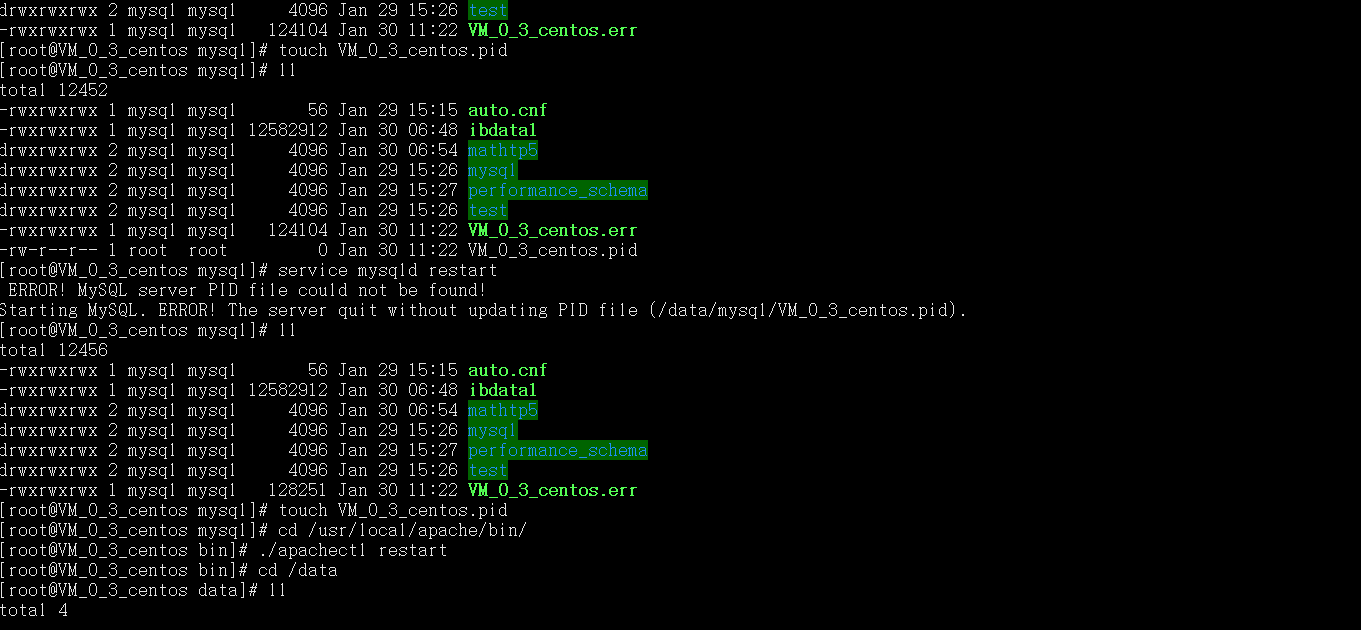
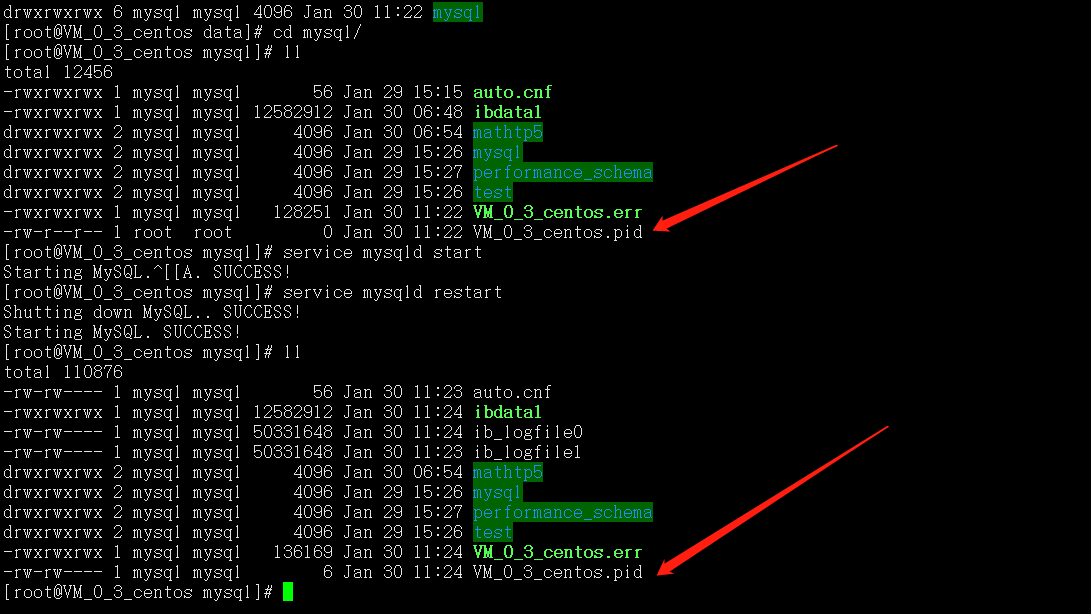
出现如下问题,在/data/mysql 下创建个 VM_0_3_centos.pid 1: (touch VM_0_3_centos.pid)

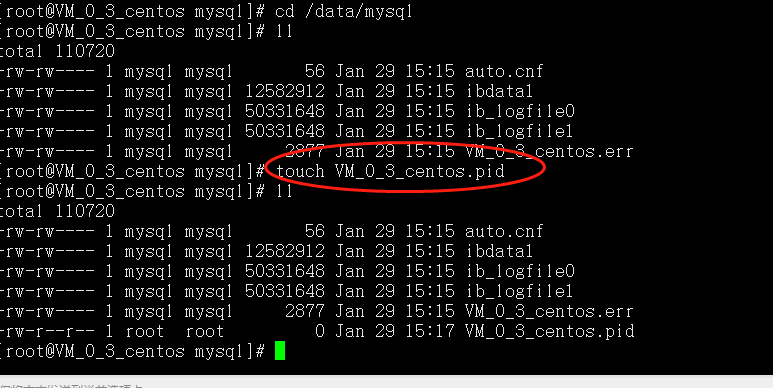
2 然后去 apache 下重启apache 之后 /data/mysql/ 下的VM_0_3_centos.pid用户名,用户组,改变了,重启msyql,创建VM_0_3_centos.pid就不会消失,死活创建不了
cd /usr/local/apache/bin/
./apachectl start
最新文章
- Unity3D中可中途释放的单例
- js apply 和 call
- Axure一点2
- CentOS编译安装Python3
- c语言全局变量和局部变量问题汇总
- django进阶补充
- matlab导入txt数据画图
- 从Github上将laravel项目拉到新开发环境
- onkeyup+onafterpaste 只能输入数字和小数点
- C. Nice Garland Codeforces Round #535 (Div. 3) 思维题
- NandFlash和iNand
- Oracle之现有表上建新表、操作符、字符函数
- STL_map.插入
- 【Spring】3、BeanFactory 和 ApplicationContext的区别
- 初识java内存区域
- LA 3213 古老的密码
- http-server 基于nodejs的http服务器
- c++11 线程的互斥量
- linux(centOs)下memcached安装
- su和sudo命令