实验七:基于REST API的SDN北向应用实践
2024-10-21 07:41:57
(一)基本要求
编写Python程序,调用OpenDaylight的北向接口实现以下功能
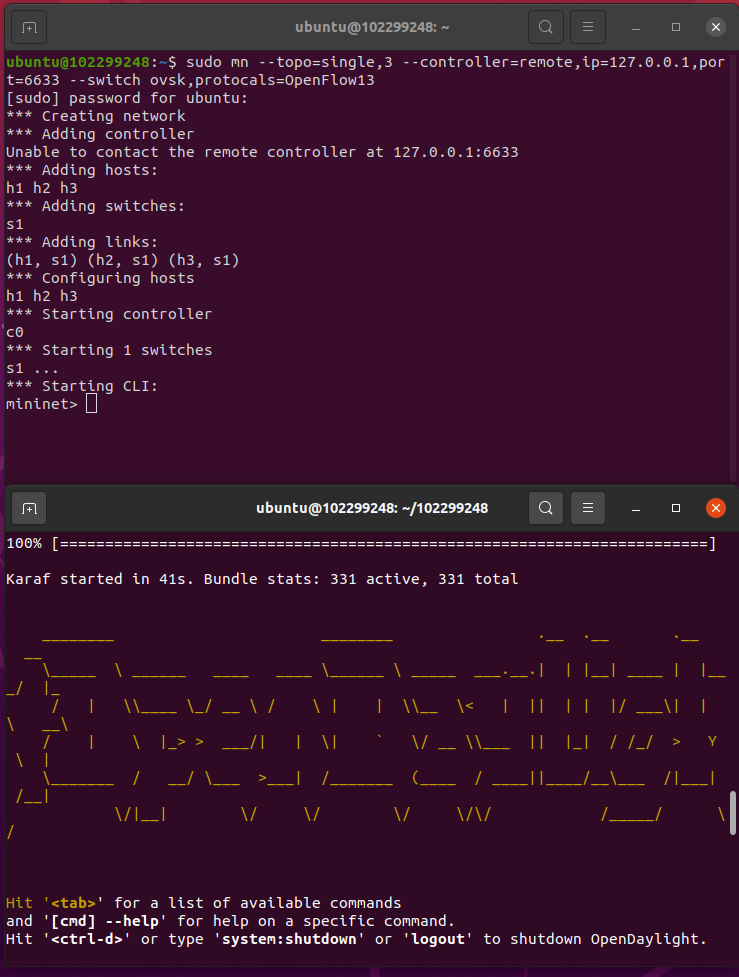
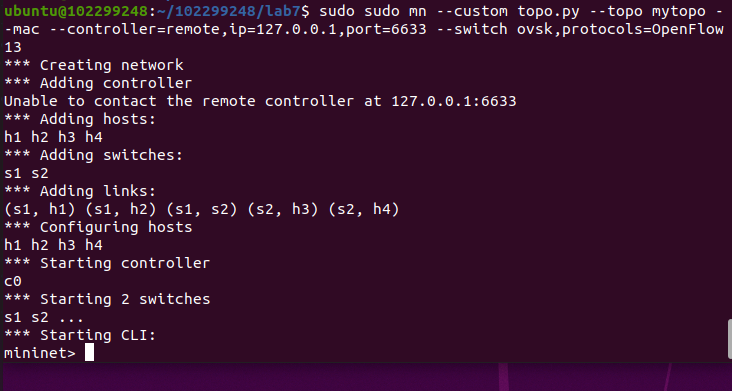
(1) 利用Mininet平台搭建下图所示网络拓扑,并连接OpenDaylight;
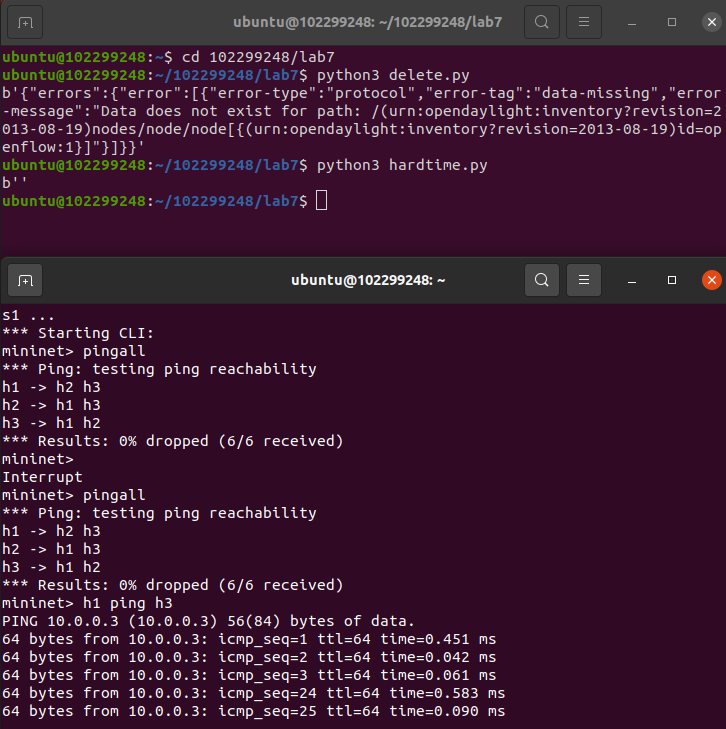
(2) 下发指令删除s1上的流表数据。
delete.py的代码
点击查看代码
#!/usr/bin/python

import requests

from requests.auth import HTTPBasicAuth

if __name__ == "__main__":

    url = 'http://127.0.0.1:8181/restconf/config/opendaylight-inventory:nodes/node/openflow:1/'

    headers = {'Content-Type': 'application/json'}

    res = requests.delete(url, headers=headers, auth=HTTPBasicAuth('admin', 'admin'))

    print (res.content)

(3) 下发硬超时流表,实现拓扑内主机h1和h3网络中断20s。
hardtime.py的代码
点击查看代码
import requests

from requests.auth import HTTPBasicAuth

if __name__ == "__main__":

    url = 'http://127.0.0.1:8181/restconf/config/opendaylight-inventory:nodes/node/openflow:1/flow-node-inventory:table/0/flow/1'

    with open("./hardtime.json") as f:

        jstr = f.read()

    headers = {'Content-Type': 'application/json'}

    res = requests.put(url, jstr, headers=headers, auth=HTTPBasicAuth('admin', 'admin'))

    print (res.content)
hardtime.json的代码
点击查看代码
{

  "flow": [

    {

      "id": "1",

      "match": {

        "in-port": "1",

        "ethernet-match": {

          "ethernet-type": {

            "type": "0x0800"

          }

        },

        "ipv4-destination": "10.0.0.3/32"

      },

      "instructions": {

        "instruction": [

          {

            "order": "0",

            "apply-actions": {

              "action": [

                {

                  "order": "0",

                  "drop-action": {}

                }

              ]

            }

          }

        ]

      },

      "flow-name": "flow1",

      "priority": "65535",

      "hard-timeout": "20",

      "cookie": "2",

      "table_id": "0"

    }

  ]

}
(4) 获取s1上活动的流表数。
getflow.py的代码
点击查看代码
#!/usr/bin/python

import requests

from requests.auth import HTTPBasicAuth

if __name__ == "__main__":

    url = 'http://127.0.0.1:8181/restconf/operational/opendaylight-inventory:nodes/node/openflow:1/flow-node-inventory:table/0/opendaylight-flow-table-statistics:flow-table-statistics'

    headers = {'Content-Type': 'application/json'}

    res = requests.get(url,headers=headers, auth=HTTPBasicAuth('admin', 'admin'))

    print (res.content)

编写Python程序,调用Ryu的北向接口实现以下功能
(1) 实现上述OpenDaylight实验拓扑上相同的硬超时流表下发。

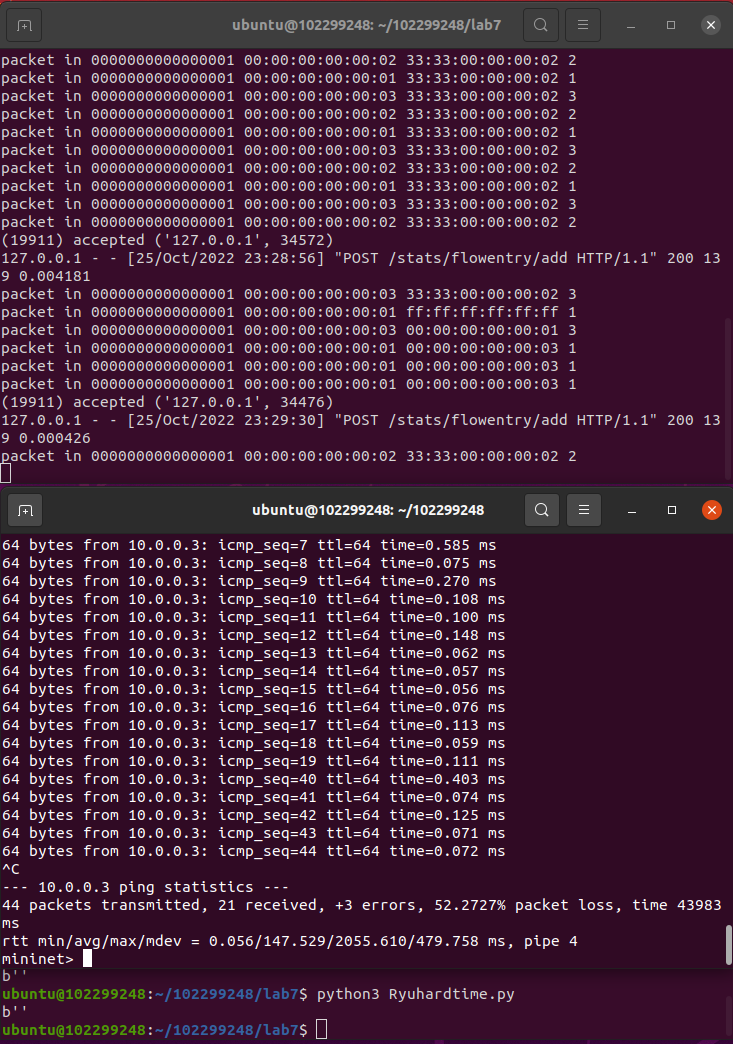
Ryuhardtime.py的代码
点击查看代码
#!/usr/bin/python

import requests

if __name__ == "__main__":

    url = 'http://127.0.0.1:8080/stats/flowentry/add'

    with open("./Ryuhardtime.json") as f:

        jstr = f.read()

    headers = {'Content-Type': 'application/json'}

    res = requests.post(url, jstr, headers=headers)

    print (res.content)
Ryuhardtime.json的代码
点击查看代码
{

    "dpid": 1,

    "cookie": 1,

    "cookie_mask": 1,

    "table_id": 0,

    "hard_timeout": 20,

    "priority": 65535,

    "flags": 1,

    "match":{

        "in_port":1,

    },

    "actions":[

    ]

 }
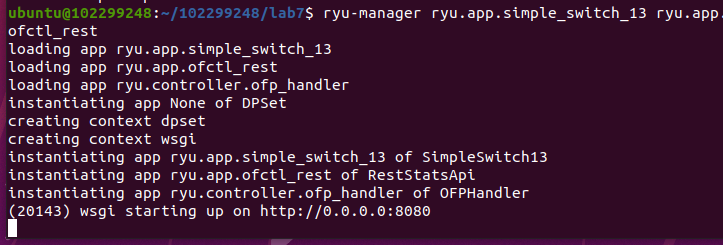
启动Ryu控制器
(2) 参考Ryu REST API的文档,基于VLAN实验的网络拓扑,编程实现相同的VLAN配置。
topo.py代码
点击查看代码
from mininet.topo import Topo

class MyTopo(Topo):

    def __init__(self):

        # initilaize topology

        Topo.__init__(self)

        self.addSwitch("s1")

        self.addSwitch("s2")

        self.addHost("h1")

        self.addHost("h2")

        self.addHost("h3")

        self.addHost("h4")

        self.addLink("s1", "h1")

        self.addLink("s1", "h2")

        self.addLink("s2", "h3")

        self.addLink("s2", "h4")

        self.addLink("s1", "s2")

topos = {'mytopo': (lambda: MyTopo())}
Ryuvlan.py的代码
点击查看代码
import json

import requests

if __name__ == "__main__":

    url = 'http://127.0.0.1:8080/stats/flowentry/add'

    headers = {'Content-Type': 'application/json'}

    flow1 = {

        "dpid": 1,

        "priority": 1,

        "match":{

            "in_port": 1

        },

        "actions":[

            {

                "type": "PUSH_VLAN",

                "ethertype": 33024

            },

            {

                "type": "SET_FIELD",

                "field": "vlan_vid",

                "value": 4096

            },

            {

                "type": "OUTPUT",

                "port": 3

            }

        ]

    }

    flow2 = {

        "dpid": 1,

        "priority": 1,

        "match":{

            "in_port": 2

        },

        "actions":[

            {

                "type": "PUSH_VLAN",

                "ethertype": 33024

            },

            {

                "type": "SET_FIELD",

                "field": "vlan_vid",

                "value": 4097

            },

            {

                "type": "OUTPUT",

                "port": 3

            }

        ]

    }

    flow3 = {

        "dpid": 1,

        "priority": 1,

        "match":{

            "vlan_vid": 0

        },

        "actions":[

            {

                "type": "POP_VLAN",

                "ethertype": 33024

            },

            {

                "type": "OUTPUT",

                "port": 1

            }

        ]

    }

    flow4 = {

        "dpid": 1,

        "priority": 1,

        "match": {

            "vlan_vid": 1

        },

        "actions": [

            {

                "type": "POP_VLAN",

                "ethertype": 33024

            },

            {

                "type": "OUTPUT",

                "port": 2

            }

        ]

    }

    flow5 = {

        "dpid": 2,

        "priority": 1,

        "match": {

            "in_port": 1

        },

        "actions": [

            {

                "type": "PUSH_VLAN",

                "ethertype": 33024

            },

            {

                "type": "SET_FIELD",

                "field": "vlan_vid",

                "value": 4096

            },

            {

                "type": "OUTPUT",

                "port": 3

            }

        ]

    }

    flow6 = {

        "dpid": 2,

        "priority": 1,

        "match": {

            "in_port": 2

        },

        "actions": [

            {

                "type": "PUSH_VLAN",

                "ethertype": 33024

            },

            {

                "type": "SET_FIELD",

                "field": "vlan_vid",

                "value": 4097

            },

            {

                "type": "OUTPUT",

                "port": 3

            }

        ]

    }

    flow7 = {

        "dpid": 2,

        "priority": 1,

        "match": {

            "vlan_vid": 0

        },

        "actions": [

            {

                "type": "POP_VLAN",

                "ethertype": 33024

            },

            {

                "type": "OUTPUT",

                "port": 1

            }

        ]

    }

    flow8 = {

        "dpid": 2,

        "priority": 1,

        "match": {

            "vlan_vid": 1

        },

        "actions": [

            {

                "type": "POP_VLAN",

                "ethertype": 33024

            },

            {

                "type": "OUTPUT",

                "port": 2

            }

        ]

    }

    res1 = requests.post(url, json.dumps(flow1), headers=headers)

    res2 = requests.post(url, json.dumps(flow2), headers=headers)

    res3 = requests.post(url, json.dumps(flow3), headers=headers)

    res4 = requests.post(url, json.dumps(flow4), headers=headers)

    res5 = requests.post(url, json.dumps(flow5), headers=headers)

    res6 = requests.post(url, json.dumps(flow6), headers=headers)

    res7 = requests.post(url, json.dumps(flow7), headers=headers)

    res8 = requests.post(url, json.dumps(flow8), headers=headers)
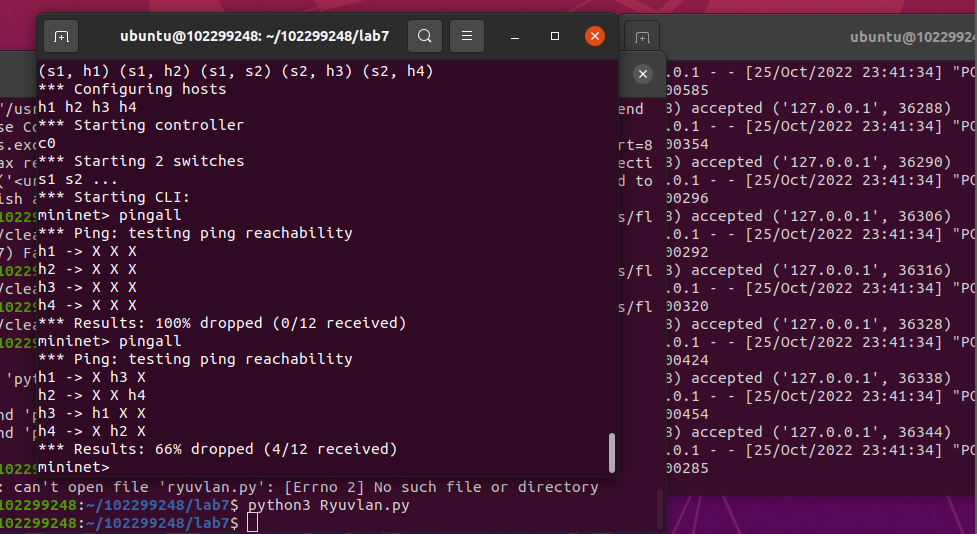
运行Ryuvlan.py之后pingall
(二)进阶要求
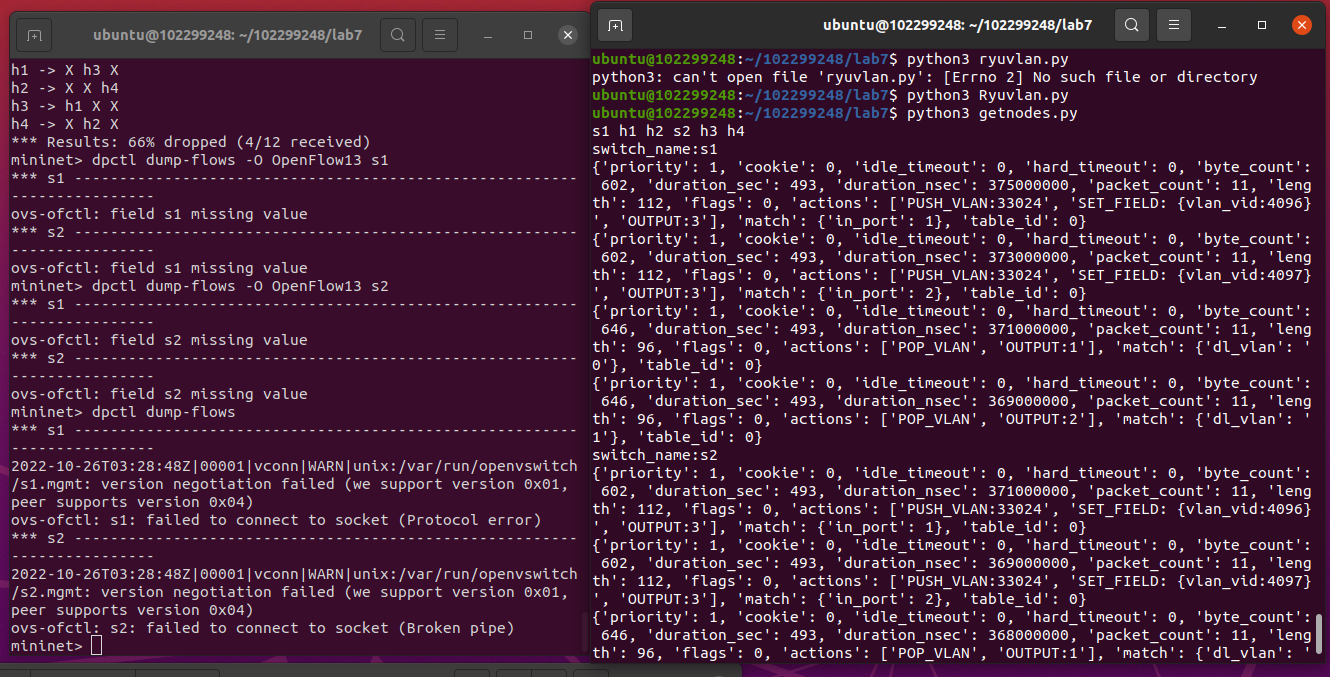
OpenDaylight或Ryu任选其一,编程实现查看前序VLAN实验拓扑中所有节点(含交换机、主机)的名称,以及显示每台交换机的所有流表项。
getnode.py的代码
点击查看代码
import requests

import time

import re

class GetNodes:

    def __init__(self, ip):

        self.ip = ip

    def get_switch_id(self):

        url = 'http://' + self.ip + '/stats/switches'

        re_switch_id = requests.get(url=url).json()

        switch_id_hex = []

        for i in re_switch_id:

            switch_id_hex.append(hex(i))

        return switch_id_hex

    def getflow(self):

        url = 'http://' + self.ip + '/stats/flow/%d'

        switch_list = self.get_switch_id()

        ret_flow = []

        for switch in switch_list:

            new_url = format(url % int(switch, 16))

            re_switch_flow = requests.get(url=new_url).json()

            ret_flow.append(re_switch_flow)

        return ret_flow

    def show(self):

        flow_list = self.getflow()

        for flow in flow_list:

            for dpid in flow.keys():

                dp_id = dpid

                switchnum= '{1}'.format(hex(int(dp_id)), int(dp_id))

                print('s'+switchnum,end = " ")

                switchnum = int(switchnum)

            for list_table in flow.values():

                for table in list_table:

                    string1 = str(table)

                    if re.search("'dl_vlan': '(.*?)'", string1) is not None:

                       num = re.search("'dl_vlan': '(.*?)'", string1).group(1);

                       if num == '0' and switchnum == 1:

                          print('h1',end = " ")

                       if num == '1' and switchnum == 1:

                          print('h2',end = " ")

                       if num == '0' and switchnum == 2:

                          print('h3',end = " ")

                       if num == '1' and switchnum == 2:

                          print('h4',end = " ")

        print("")

        flow_list = self.getflow()

        for flow in flow_list:

            for dpid in flow.keys():

                dp_id = dpid

                print('switch_name:s{1}'.format(hex(int(dp_id)), int(dp_id)))

            for list_table in flow.values():

                for table in list_table:

                    print(table)

s1 = GetNodes("127.0.0.1:8080")

s1.show()
个人总结
从配置环境开始就一直出问题的ODL,果不其然又出问题了,只能重新安装才能使用,后面的实验倒是一帆风顺,了解了相关OpenDaylight REST API和Ryu REST API的使用,学到了不少东西.
最新文章
- mac上启动Java项目失败
- Caffe(卷积神经网络框架)介绍
- Android 文件访问权限的四种模式
- 11.Events
- HTML5中的文本级语义
- Hrbust1328 相等的最小公倍数 (筛素数,素因子分解)
- python基础课程_学习笔记15:标准库:有些收藏夹——fileinput
- mysql进阶(四)mysql中select
- python学习笔记之线程、进程和协程(第八天)
- debian shell脚本关联
- Spark-SQL之DataFrame操作
- RGB颜色对照表
- 《面向对象程序设计》六 GUI
- Orchard模块开发全接触1:起步
- MySql:charset和collation的设置
- bzoj2458 最小三角形
- C#调取webapi
- 网络虚拟化技术(二): TUN/TAP MACVLAN MACVTAP
- HTML5项目笔记4:使用Audio API设计绚丽的HTML5音乐播放器
- 工程命名为***&***出现的问题: LaunchScreen.xib: Line 20: EntityRef: expecting ';'