2020-2021-1 20209306 《linux内核原理与分析》第三周作业
2024-10-09 15:56:07
目录
一、实验:完成一个简单的时间片轮转多道程序内核代码
在LinuxKernel/linux-3.9.4目录下查看mymain.c和myinterrupt.c的代码,为了完成实验,需将其中代码进行相应修改。
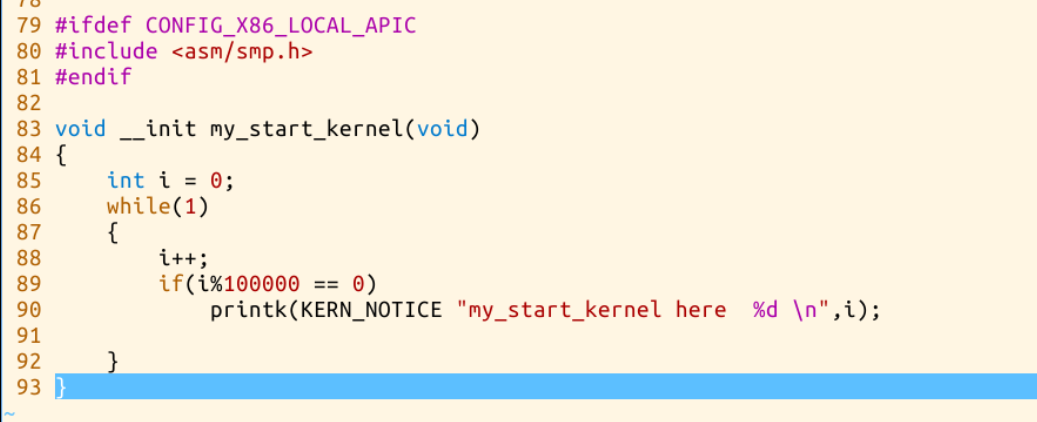
未修改mymain.c中的代码:
未修改的myinterrupt.c代码:

通过对教材的理解和GitHub上代码的查看,对两个文件进行相应的代码修改。
对mymain.c进行相应的修改,这里是mykernel内核代码的入口,负责初始化内核的各个组成部分。以下为相应修改后的代码:
#include <linux/string.h>

#include <linux/ctype.h>

#include <linux/tty.h>

#include <linux/vmalloc.h>

#include "mypcb.h"

tPCB task[MAX_TASK_NUM];

tPCB * my_current_task = NULL;

volatile int my_need_sched = 0;

void my_process(void);

void __init my_start_kernel(void)

{

    int pid = 0;

    int i;

    /* Initialize process 0*/

    task[pid].pid = pid;

    task[pid].state = 0;/* -1 unrunnable, 0 runnable, >0 stopped */

    task[pid].task_entry = task[pid].thread.ip = (unsigned long)my_process;

    task[pid].thread.sp = (unsigned long)&task[pid].stack[KERNEL_STACK_SIZE-1];

    task[pid].next = &task[pid];

    /*fork more process */

    for(i=1;i<MAX_TASK_NUM;i++)

    {

        memcpy(&task[i],&task[0],sizeof(tPCB));

        task[i].pid = i;

	    task[i].thread.sp = (unsigned long)(&task[i].stack[KERNEL_STACK_SIZE-1]);

        task[i].next = task[i-1].next;

        task[i-1].next = &task[i];

    }

    /* start process 0 by task[0] */

    pid = 0;

    my_current_task = &task[pid];

	asm volatile(

    	"movl %1,%%rsp\n\t" 	/* set task[pid].thread.sp to rsp */

    	"pushl %1\n\t" 	        /* push rbp */

    	"pushl %0\n\t" 	        /* push task[pid].thread.ip */

    	"ret\n\t" 	            /* pop task[pid].thread.ip to rip */

    	:

    	: "c" (task[pid].thread.ip),"d" (task[pid].thread.sp)	/* input c or d mean %ecx/%edx*/

	);

}

int i = 0;

void my_process(void)

{

    while(1)

    {

        i++;

        if(i%10000000 == 0)

        {

            printk(KERN_NOTICE "this is process %d -\n",my_current_task->pid);

            if(my_need_sched == 1)

            {

                my_need_sched = 0;

        	    my_schedule();

        	}

        	printk(KERN_NOTICE "this is process %d +\n",my_current_task->pid);

        }

    }

}
接下来修改myinterrupt.c,主要是增加了进程切换的代码my_schedule(void)函数。修改后代码如下:
#include <linux/string.h>

#include <linux/ctype.h>

#include <linux/tty.h>

#include <linux/vmalloc.h>

#include "mypcb.h"

extern tPCB task[MAX_TASK_NUM];

extern tPCB * my_current_task;

extern volatile int my_need_sched;

volatile int time_count = 0;

/*

 * Called by timer interrupt.

 * it runs in the name of current running process,

 * so it use kernel stack of current running process

 */

void my_timer_handler(void)

{

    if(time_count%1000 == 0 && my_need_sched != 1)

    {

        printk(KERN_NOTICE ">>>my_timer_handler here<<<\n");

        my_need_sched = 1;

    }

    time_count ++ ;

    return;

}

void my_schedule(void)

{

    tPCB * next;

    tPCB * prev;

    if(my_current_task == NULL

        || my_current_task->next == NULL)

    {

    	return;

    }

    printk(KERN_NOTICE ">>>my_schedule<<<\n");

    /* schedule */

    next = my_current_task->next;

    prev = my_current_task;

    if(next->state == 0)/* -1 unrunnable, 0 runnable, >0 stopped */

    {

    	my_current_task = next;

    	printk(KERN_NOTICE ">>>switch %d to %d<<<\n",prev->pid,next->pid);

    	/* switch to next process */

    	asm volatile(

        	"pushl %%rbp\n\t" 	    /* save rbp of prev */

        	"movl %%rsp,%0\n\t" 	/* save rsp of prev */

        	"movl %2,%%rsp\n\t"     /* restore  rsp of next */

        	"movl $1f,%1\n\t"       /* save rip of prev */

        	"pushl %3\n\t"

        	"ret\n\t" 	            /* restore  rip of next */

        	"1:\t"                  /* next process start here */

        	"popl %%rbp\n\t"

        	: "=m" (prev->thread.sp),"=m" (prev->thread.ip)

        	: "m" (next->thread.sp),"m" (next->thread.ip)

    	);

    }

    return;

}
然后增加一个mypch.h,用来定义进程控制块,代码如下:
#define KERNEL_STACK_SIZE   1024*2

/* CPU-specific state of this task */

struct Thread {

    unsigned long		ip;

    unsigned long		sp;

};

typedef struct PCB{

    int pid;

    volatile long state;	/* -1 unrunnable, 0 runnable, >0 stopped */

    unsigned long stack[KERNEL_STACK_SIZE];

    /* CPU-specific state of this task */

    struct Thread thread;

    unsigned long	task_entry;

    struct PCB *next;

}tPCB;

void my_schedule(void);
最后make重新编译。
二、学习总结
1.堆栈相关的寄存器
ESP:堆栈指针
EBP:基址指针
2.堆栈操作
堆栈主要用到的操作是push和pop,在上一章的课程中已经熟悉。
3.其他关键寄存器
了解了CS寄存器。一般程序都至少会用到标准库,整个程序会有多个代码段。
*顺序执行:总是指向地址连续的下一套指令。
*跳转/分支:执行这样的指令时,CS:EIP的值会根据程序需要被修改。
*call:将当前CS:EIP的值压入栈顶,CS:EIP指向被调用函数的入口地址。
*ret:从栈顶弹出原来保存在这里的CS:EIP的值,放入CS:EIP中。
4.用堆栈来传递函数的参数
对32位x86CPU来讲,通过堆栈来传递参数的方法时从右到左依次压栈。
5.了解了函数如何传递返回值,堆栈还提供局部变量的空间,编译器使用堆栈的规则。
三、学习总结和遇到的问题
第二章的学习让我了解了计算机的三个法宝:存储程序计算机、函数调用堆栈机制和中断机制;学习了借助linux内核部分源代码模拟存储程序计算机工作模型及时钟中断。
思考了一个问题:为什么应用程序不能直接访问硬件而是通过操作系统?
原因是计算机运行时,内核是被信任的第三方,只有内核可以执行特权指令。这是为了方便应用程序。
最新文章
- 动态生成验证码———MVC版
- ios开发证书
- UEFI引导在GPT分区下安装win2008——抓住那只傲娇的win2008
- JS跨域解决iframe高度自适应(IE8/Firefox/Chrome适用)
- 导师互选系统 Alpha版冲刺总结
- 【风马一族_Java】9*9口诀
- html5 中常用的标签和属性
- [原创作品] javascript 实现的web分页器原理
- 数据库的优化tips
- Linux下利用fork()创建子进程并使父进程等待子进程结束
- 转 Linux下的GoldenGate的启动关闭Shell脚本(独立)
- latex_引用参考文献格式,引用多篇参考文献
- 7.02-bs4_btc
- codeforces740B
- Java全栈程序员之06:IDEA中MAVEN项目依赖及运行
- 18-09-20 关于Xlwings读写基础1
- Access restriction: The method typeNameToClass(String) from the type ObjectHandler is not accessible due to restriction on required library
- linux下设置软件使用socks5代理
- 微信公众号自动回复 node
- java导出word文件