【Nginx】安装&环境配置
安装依赖包
安装Nginx
环境变量配置
nginx version: nginx/1.17.6
built by gcc 4.8.5 20150623 (Red Hat 4.8.5-39) (GCC)
built with OpenSSL 1.0.2k-fips 26 Jan 2017
TLS SNI support enabled
configure arguments: --with-http_stub_status_module --with-http_ssl_module --with-http_v2_module
配置nginx.conf
nginx的配置目录:/usr/local/nginx/conf/
启动nginx:nginx -c /usr/local/nginx/conf/nginx.conf
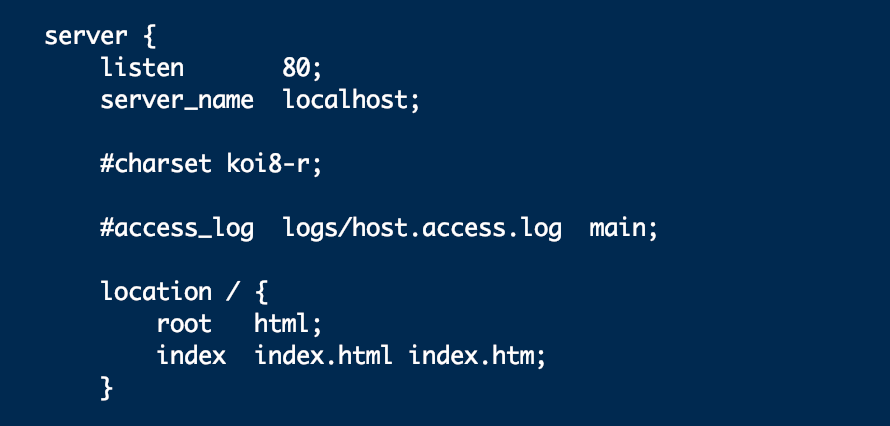
查看并编辑nginx.conf:
vim nginx.conf
listen:监听端口改为8089(或其他,80端口需要备案)
server_name:站点域名(默认本机ip,可以改为自定义域名如:www.test.com)
root:站点根目录(html--》/usr/local/nginx/html)
保存更改:“:wq”
重启nginx使生效:nginx -s reload
检查是否重启成功:ps aux | grep nginx
重启不成功:“kill -9 进程id ”或者“ nginx -s stop ”

需要kill两个进程,否则端口被占用无法启动成功

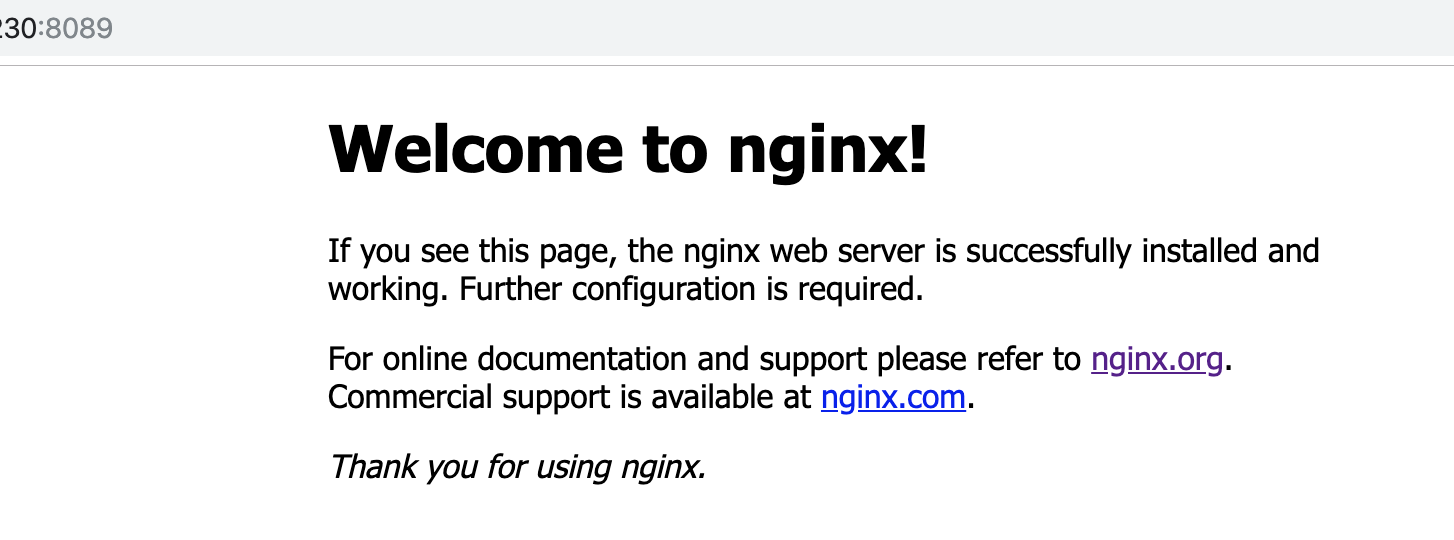
浏览器访问:
在Nginx上配置多个站点
1、在nginx.conf 目录下创建文件夹:mkdir conf.d
2、拷贝当前nginx.conf到新文件夹目录下:cp nginx.conf conf.d/site1.conf
3、编辑site1.conf:
 server {

        listen       8081;

        server_name  www.site1.com;

        location / {

            root   html;

            index  index.html index.htm;

        }

         location /error/ {

            alias  /sylvia/ErrorPages/;

        }

         location /ErrorPages/ {

            alias /sylvia/ErrorPages/;

            internal;

         }

        error_page 400 /ErrorPages/HTTP400.html;

        error_page 401 /ErrorPages/HTTP401.html;

        error_page 402 /ErrorPages/HTTP402.html;

        error_page 403 /ErrorPages/HTTP403.html;

        error_page 404 /ErrorPages/HTTP404.html;

        error_page 500 /ErrorPages/HTTP500.html;

        error_page 501 /ErrorPages/HTTP501.html;

        error_page 502 /ErrorPages/HTTP502.html;

        error_page 503 /ErrorPages/HTTP503.html;

    }
引入alias,创建虚拟目录。(参考:https://www.cnblogs.com/kevingrace/p/6187482.html)
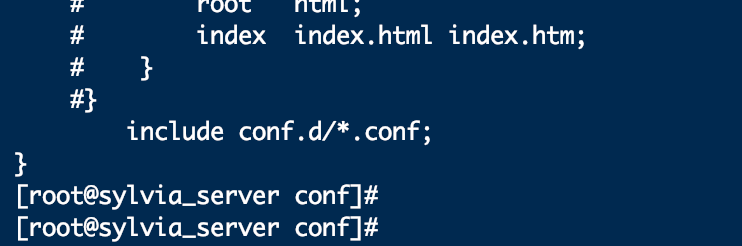
4、编辑根配置nginx.conf
在http{}里面最后一行添加:include conf.d/*.conf;
5、重启nginx
浏览器访问:域名+端口+path
最新文章
- ORACLE数据库的导入及导出
- TFS强制解除签入签出锁定
- ORACLE PL/SQL编程详解
- linux 文档处理命令
- 根据关键词kill进程
- php 添加redis扩展(二)
- COM口,串行通讯端口,RS-232接口 基础知识
- js的内置对象
- 在Simplicity Studio下创建适用于EFR32的工程项目
- 微信小程序测试
- SQL 快速生成不重复的卡号
- NgDL:【第二周】NN基础
- 获取webpart方法以及连接字符串记录
- Crazy Shopping(拓扑排序+完全背包)
- Mongodb 安装 和 启动
- 修改UIView的默认Layer后,修改View的值会动态修改Layer的值
- PmExceptionMapper.xml 20160712
- 设置 IE 默认模式为 IE8
- Unity3D 5中增加WebGL 播放插件
- Python WSGI v1.0 中文版(转)