【默默努力】vue-pc-app
2024-09-06 08:13:53
最近在github上面看到了一个团队的项目,真的非常赞。他们进行vue-cli的二次开发,将项目用自己的方式打包。
今天的这个开源项目地址为:https://github.com/tffe-team/vue-pc-app
项目运行效果为
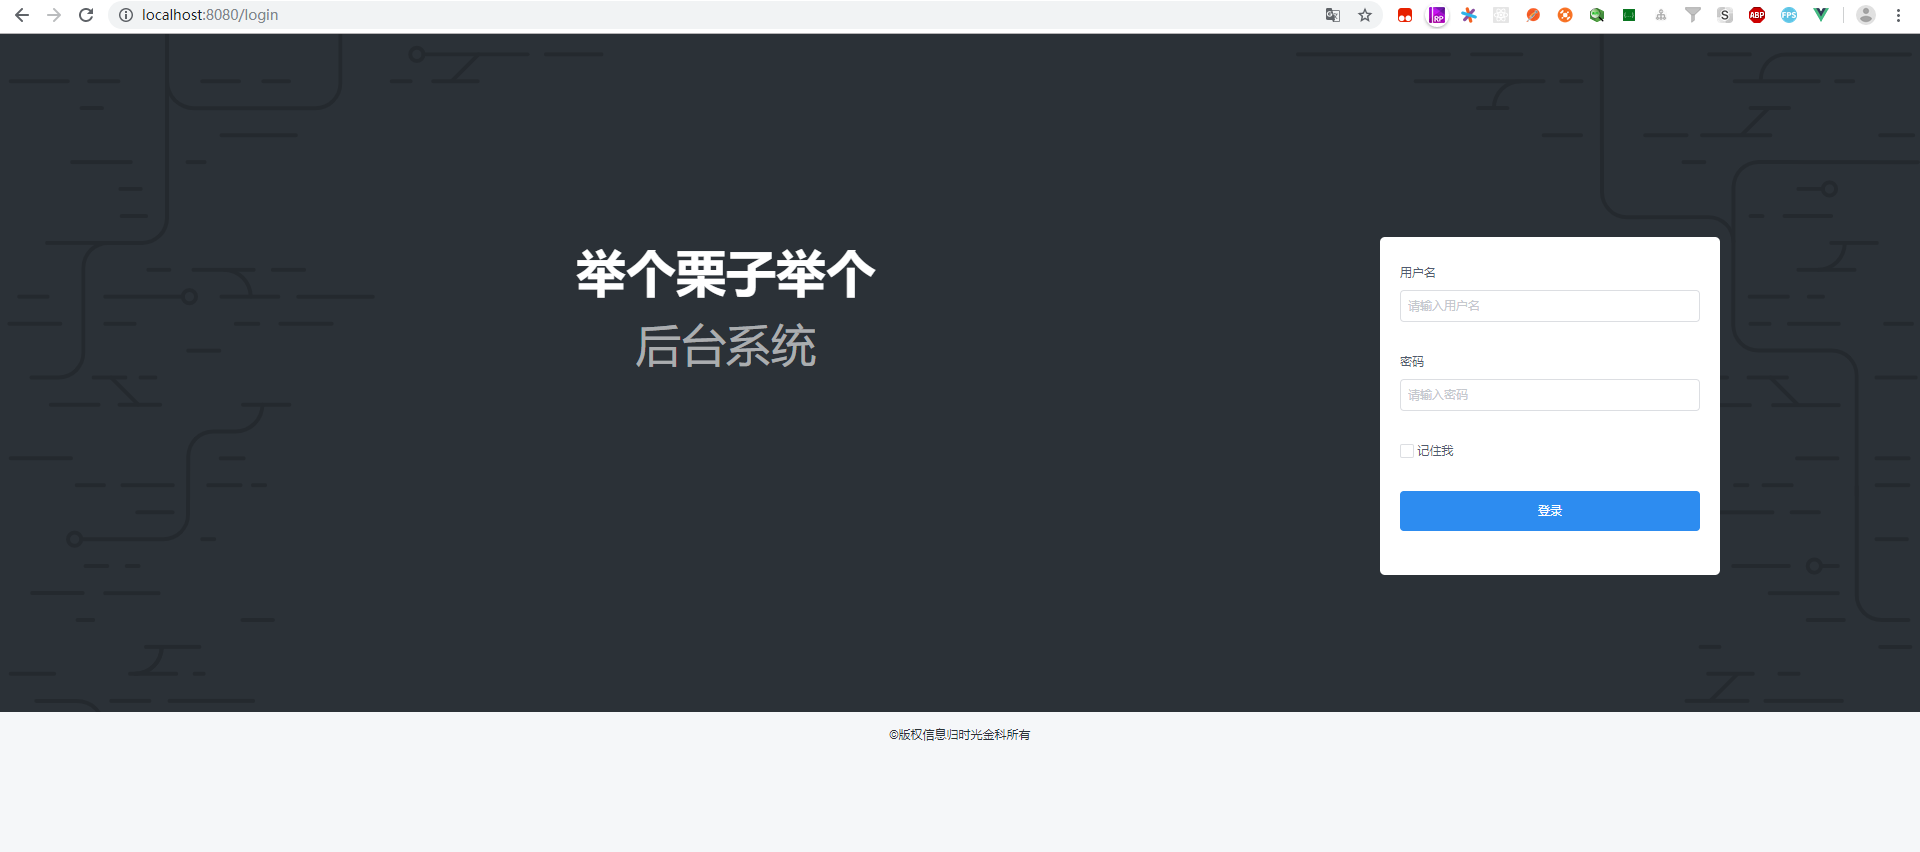
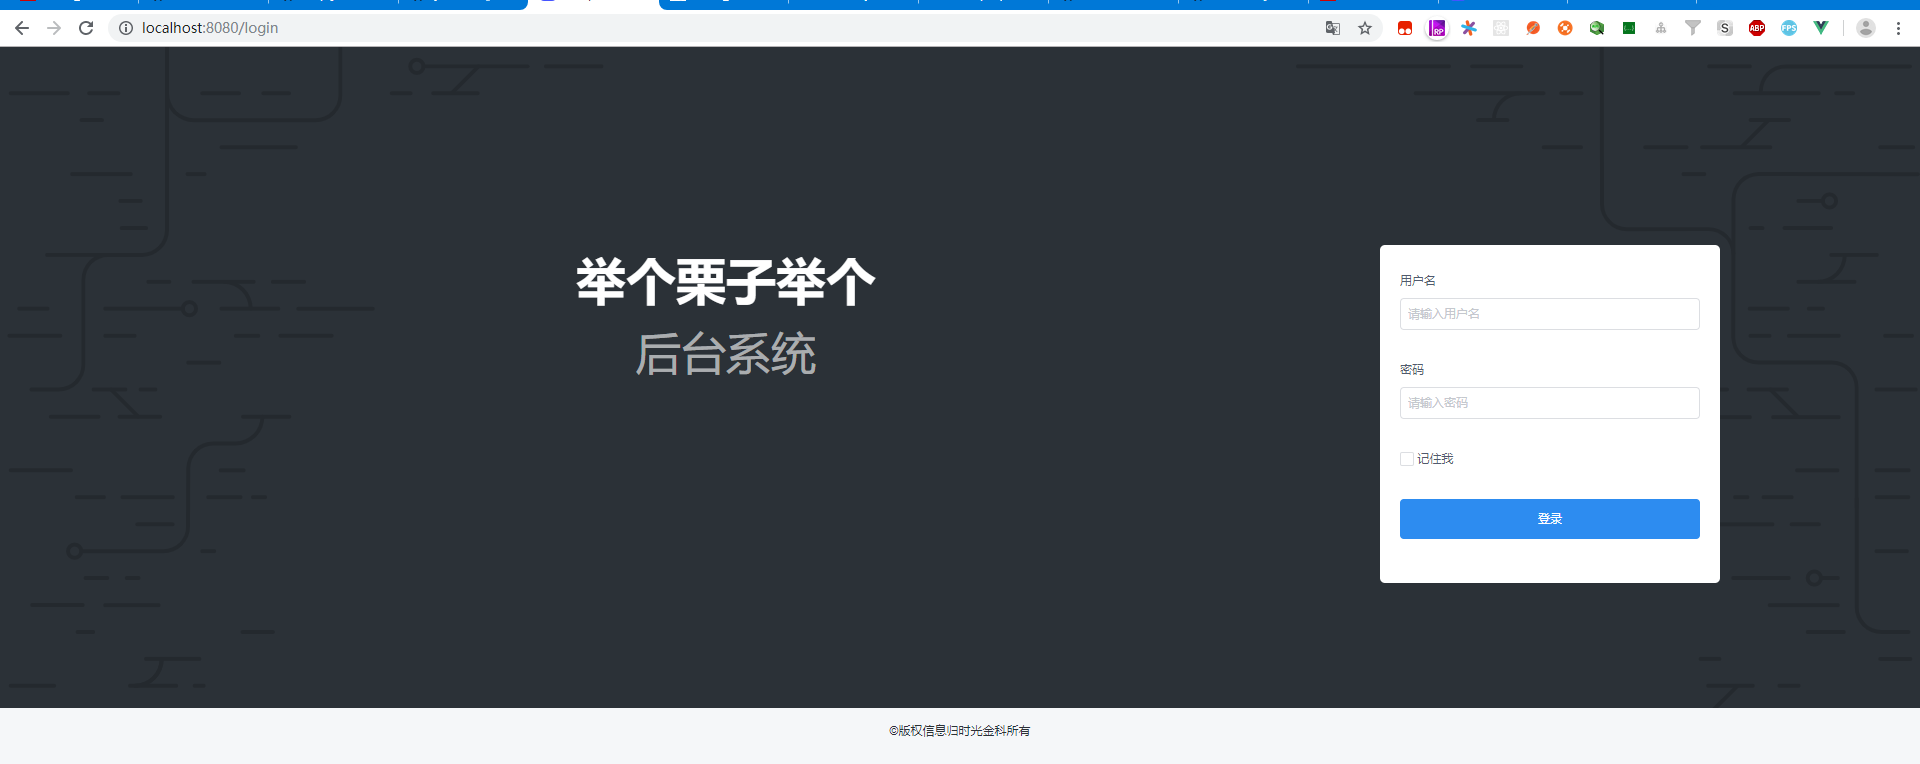
可以直接登录进去页面效果为
我猜那个团队的意思应该是将一些项目模板化,项目的架子在那里,什么需要添加的,就在里面扩展。
感谢无私分享的程序员,接下来我们看代码
项目入口文件为main.ts
import Vue from 'vue'

import App from '@/App.vue'

import router from './router'

import store from './store'

import iView from 'iview'

import 'iview/dist/styles/iview.css'

const {LoadingBar} = iView

Vue.use(iView)

Vue.config.productionTip = false

router.beforeEach((to, from, next) => {

  LoadingBar.start()

  next()

})

router.afterEach(route => {

  LoadingBar.finish()

  //内容滚动的位置

  window.scrollTo(0, 0)

})

new Vue({

  store,

  router,

  render: h => h(App),

}).$mount('#app')
后台管理系统用的iview框架
入口组件为App.vue
//用到了装饰器语法修饰组件
<template>

  <div id="app">

    <Layout style="height: 100%;"><router-view/></Layout>

  </div>

</template>

<script lang="ts">

import { Component, Vue } from 'vue-property-decorator'

@Component

export default class App extends Vue {}

</script>

<style>

html{

  height: 100%;

}

body{

   height: 100%;

}

#app {

  font-family: 'Avenir', Helvetica, Arial, sans-serif;

  -webkit-font-smoothing: antialiased;

  -moz-osx-font-smoothing: grayscale;

  text-align: center;

  color: #2c3e50;

   height: 100%;

}

.g-page-box{

  text-align: right;

  padding: 20px 0px;

}

.g-link {

  color: #2d8cf0;

  margin: 0 2px;

  cursor: pointer;

}

.g-link-disable{

  color: #515a6e;

}

.g-right-split{

  border-right: 1px solid #999;

  padding-right: 5px;

  margin-right: 5px;

}

.g-text-red{

  color: red;

}

.g-text-green{

  color: #05c705;

}

.g-text-orange{

  color: orange;

}

.g-pointer{

  cursor: pointer;

}

</style>
路由为
//src\router\index.ts

import Vue from 'vue'

import Router from 'vue-router'

Vue.use(Router)

const Home = () => import(/* webpackChunkName: "home" */ '@/components/Home.vue')

const Login = () => import(/* webpackChunkName: "login" */ '@/components/Login.vue')

const Base = () => import(/* webpackChunkName: "base" */ '@/components/Base.vue')

const List = () => import(/* webpackChunkName: "list" */ '@/components/List.vue')

const AddPage = () => import(/* webpackChunkName: "list" */ '@/components/AddPage.vue')

export default new Router({

  mode: 'history',

  routes: [

    {

      path: '/',

      name: 'index',

      redirect: '/login'

    },

    {

      path: '/login',

      name: 'login',

      component: Login

    },

    {

      path: '/home',

      component: Base,

      children: [

        {

          path: '/home',

          name: 'home',

          component: Home

        }

      ]

    },

    {

      path: '/main',

      component: Base,

      children: [

      {

        path: 'model',

        name: 'model',

        component: List

      }

    ]

    },

    {

      path: '/add',

      component: Base,

      children: [

      {

        path: 'addPage',

        name: 'addPage',

        component: AddPage

      }

    ]

    }

  ]

})
根据路由我们进行页面的分析
第一个是Login.vue
页面效果为
代码为
//login.vue

<template>

  <div class="m-login">

    <div class="desc">

      <h2 class="title">举个栗子举个</h2>

      <div class="sub-title">后台系统</div>

    </div>

    <Form ref="loginForm" :rules="validationLogin" :model="formInfo">

      <FormItem prop="userName" label="用户名">

        <Input placeholder="请输入用户名" v-model="formInfo.userName"></Input>

      </FormItem>

      <FormItem prop="userPassword" label="密码">

        <Input type="password" placeholder="请输入密码" v-model="formInfo.userPassword"></Input>

      </FormItem>

      <FormItem>

        <div class="remember">

          <Checkbox v-model="remember">记住我</Checkbox>

        </div>

      </FormItem>

      <FormItem>

        <Button type="primary" long class="login-btn" @click="submitLogin" :loading="btnLoading">登录</Button>

      </FormItem>

    </Form>

    <p class="copy-right">©️版权信息归时光金科所有</p>

  </div>

</template>

<script lang="ts">

import { Component, Prop, Vue } from 'vue-property-decorator'

import { login } from '@/api/index'

@Component

export default class Login extends Vue {

  btnLoading = false

  remember = false

  formInfo: any = {

    userName: '',

    userPassword: ''

  }

  validationLogin = {}

  validateUserName = (rule: string, value: string, callback: Function) => {

    if (!value) {

      callback(new Error('请输入姓名'))

    } else {

      callback()

    }

  }

  validateUserPassword = (rule: string, value: string, callback: Function) => {

    if (!value) {

      callback(new Error('请输入密码'))

    } else {

      callback()

    }

  }

  created() {

    this.validationLogin = {

      userName: { validator: this.validateUserName, trigger: 'blur' },

      userPassword: { validator: this.validateUserPassword, trigger: 'blur' }

    }

    this._getLoginInfo()

  }

  submitLogin(): void {

    const myForm: any = this.$refs.loginForm

    myForm.validate((valid: any) => {

      if (valid) {

        this.btnLoading = true

        login({

          username: this.formInfo.userName,

          password: this.formInfo.userPassword

        }, (res: any) => {

          // 这里比较神奇,任意的username和password都可以使用

          if (res.code === 200) {

              localStorage.setItem('realName', res.data.chinesename)

              //打印出结果为魔方

              console.log('realName',res.data.chinesename)

              if (this.remember) {

                localStorage.setItem('loginInfo', [this.formInfo.userName, this.formInfo.userPassword].join('_'))

              } else {

                localStorage.removeItem('loginInfo')

              }

              this.$Message.success({

                content: '登录成功',

                onClose: (): void => {

                  window.location.href = '/home'

                }

              })

          } else {

            this.btnLoading = false

          }

        })

      }

    })

  }

  _getLoginInfo(): void {

    const loginInfo = localStorage.getItem('loginInfo')

    if (loginInfo) {

      this.remember = true

      this.formInfo.userName = loginInfo.split('_')[0]

      this.formInfo.userPassword = loginInfo.split('_')[1]

    }

  }

}

</script>

<style lang="scss" scoped>

.m-login {

  height: 80%;

  width: 100%;

  position: relative;

  background: url(../assets/simple-codelines.svg), #2b3137;

  background-position: center 10%;

  background-size: cover;

  color: hsla(0, 0%, 100%, 0.6);

  .remember {

    color: #515a6e;

    text-align: left;

  }

  .desc {

    position: absolute;

    top: 30%;

    left: 30%;

    .title {

      color: #fff;

      text-align: left;

      font-size: 50px;

    }

    .sub-title {

      font-size: 45px;

    }

  }

  .ivu-form {

    position: absolute;

    top: 30%;

    right: 200px;

    padding: 20px;

    width: 340px;

    background-color: #fff;

    margin: 0 auto;

    border-radius: 5px;

    font-size: 14px;

  }

  .login-btn {

    height: 40px;

  }

  .copy-right {

    position: absolute;

    bottom: -32px;

    width: 100%;

    color: #2b3137;

  }

}

</style>
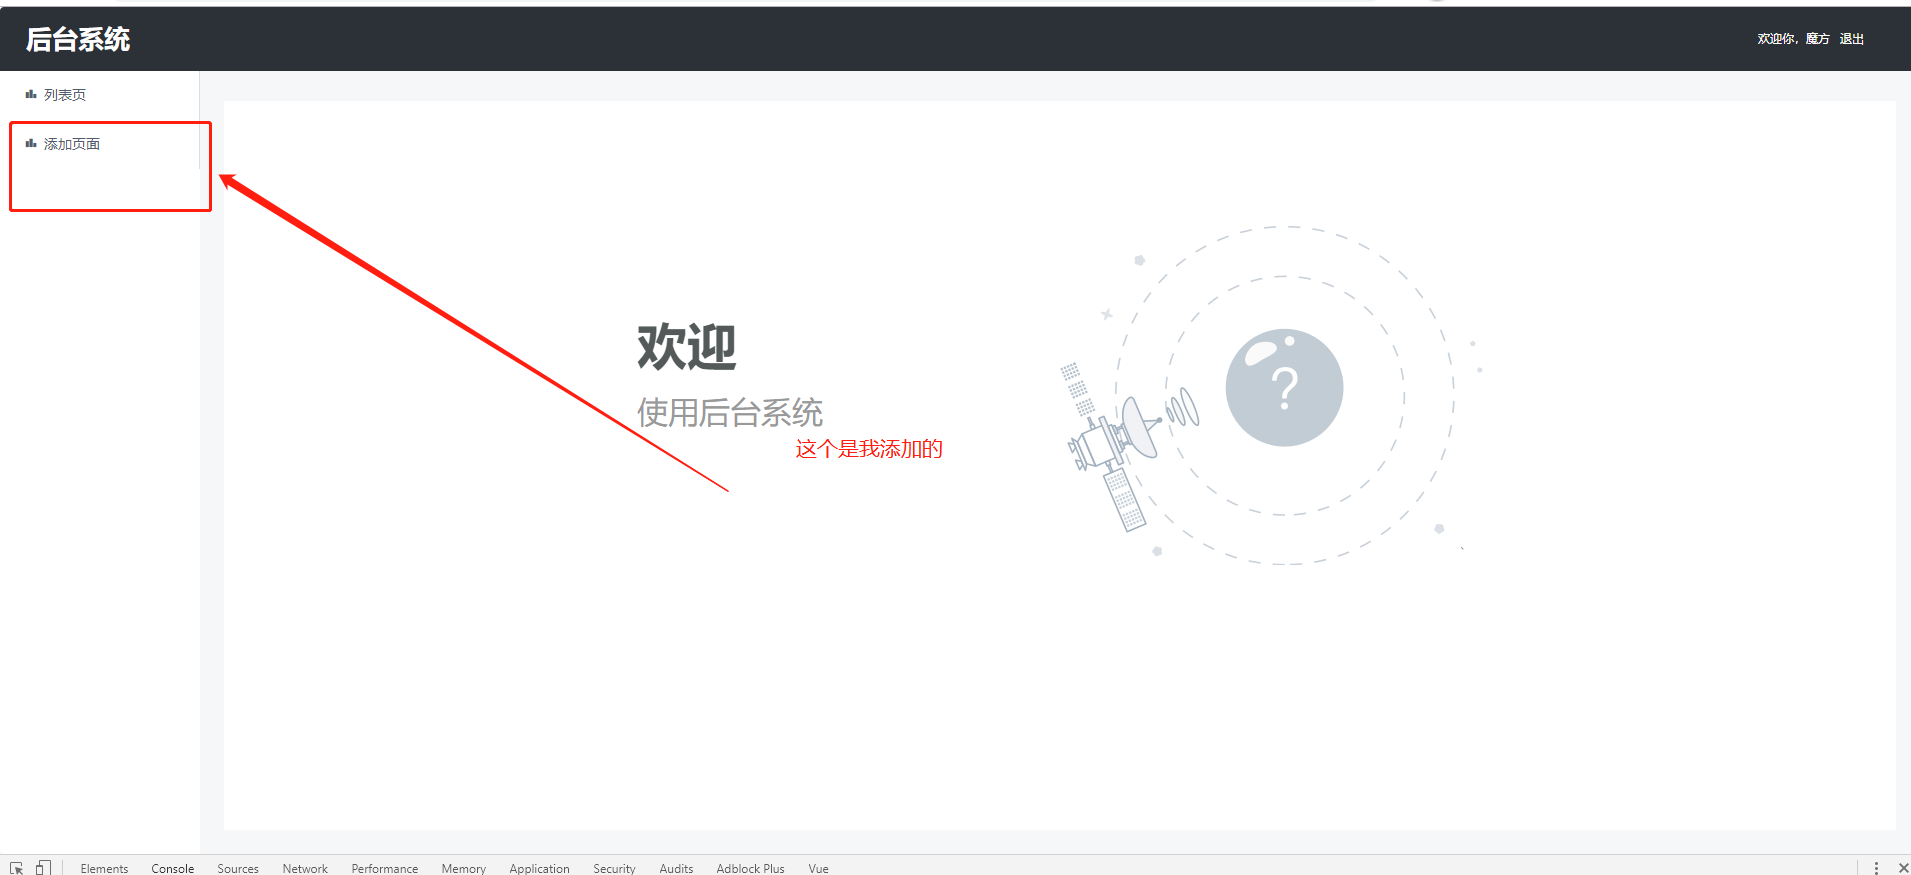
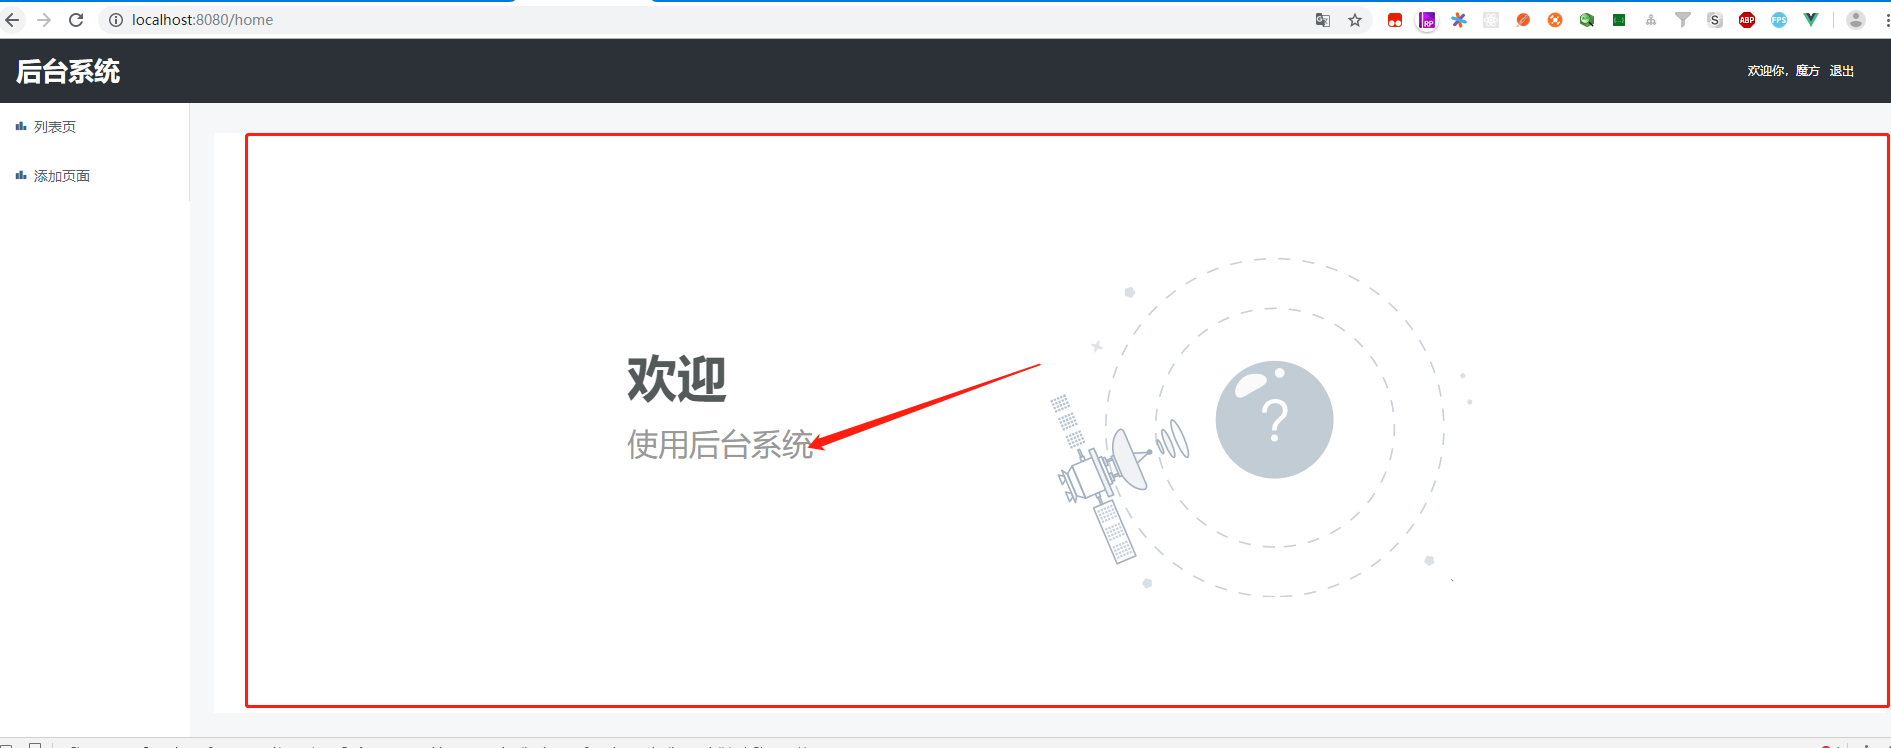
接下来进入home页面
home页面应该指的是这部分
代码为
//src\components\Home.vue

<template>

  <div id="home" class="m-home">

    <div class="content">

      <h2 class="title">欢迎</h2>

      <p class="subtitle">使用后台系统</p>

    </div>

  </div>

</template>

<script>

export default {

  name: 'home',

  methods: {

    backHome () {

      this.$router.push({path: '/'})

    }

  }

}

</script>

<style scoped lang="scss">

.m-home {

  width: 846px;

  padding-top: 100px;

  margin: 0 auto;

  .content {

    padding-top: 85px;

    vertical-align: top;

    background: url('../assets/home.png') right top no-repeat;

    height: 340px;

    .title {

      font-size: 50px;

      color: #545a5a;

    }

    .subtitle {

      font-size: 31px;

      color: #999;

      margin-top: 5px;

    }

    .back {

      margin-top: 10px;

    }

  }

  .ft {

    font-size: 12px;

    color: #999;

    text-align: center;

    width: 100%;

    position: absolute;

    left: 0;

    bottom: 20px;

  }

}

</style>
Home页面中会用到base组件
//base.vue

<template>

  <div class="m-layout">

    <Layout>

      <Header :style="{ width: '100%', backgroundColor: '#2b3137'}">

        <div class="layout-logo">

          <h2 class="title">后台系统</h2>

        </div>

        <ul class="login-info">

          <li>欢迎你,{{userName}}</li>

          <li class="login-out" @click="userLoginOut">退出</li>

        </ul>

      </Header>

      <Layout>

        <Sider hide-trigger :style="{background: '#fff'}">

          <Menu theme="light" width="auto" :active-name="activeName" :open-names="['2']">

            <MenuItem name="model">

              <router-link :to="{ name: 'model'}">

                <Icon type="ios-podium"/>列表页

              </router-link>

            </MenuItem>

              <MenuItem name="addPage">

              <router-link :to="{ name: 'addPage'}">

                <Icon type="ios-podium"/>添加页面

              </router-link>

            </MenuItem>

          </Menu>

        </Sider>

        <Layout :style="{padding: '0 24px 24px'}">

          <Content

            :style="{padding: '24px', flex: '1', background: '#fff', marginTop:'30px'}"

          >

            <router-view></router-view>

          </Content>

        </Layout>

      </Layout>

    </Layout>

  </div>

</template>

<script lang="ts">

import { Component, Vue } from 'vue-property-decorator'

import { loginOut } from '@/api/index'

@Component

export default class Base extends Vue {

  userName: string|null = localStorage.getItem('realName')

  activeName: string|undefined = ''

  userLoginOut(): void {

    loginOut((res: any) => {

      if (res.code === 200) {

        this.$Message.success({

          content: '退出登录',

          onClose: (): void => {

            window.location.href = '/login'

          }

        })

      }

    })

  }

  created() {

    this.activeName = this.$route.name

  }

}

</script>

<style lang="scss" scoped>

.m-layout {

  background: #f5f7f9;

  position: relative;

  border-radius: 4px;

  height: 100%;

  text-align: left;

  overflow: auto;

  .ivu-layout {

    height: 100%;

  }

  .ivu-layout-header {

    padding: 0 26px;

  }

  .login-info {

    float: right;

    margin-right: 20px;

    color: #fff;

    li {

      display: inline;

      list-style: none;

      padding-right: 10px;

    }

    .login-out {

      cursor: pointer;

    }

  }

  .layout-logo {

    width: 198px;

    height: 30px;

    float: left;

    position: relative;

    top: 10px;

    left: 0;

    .logo {

      width: 82px;

      height: 37px;

      float: left;

      margin: 4px 4px 0 0;

    }

    .title {

      color: #fff;

      line-height: 45px;

      font-size: 26px;

    }

  }

  .ivu-menu-item {

    padding: 0;

    a {

      color: #515a6e;

      padding: 14px 24px;

      display: block;

    }

    .ivu-icon {

      margin-right: 6px;

      margin-top: -4px;

    }

  }

  .ivu-menu-item-selected a {

    color: #2d8cf0;

  }

}

</style>
列表页页面效果为
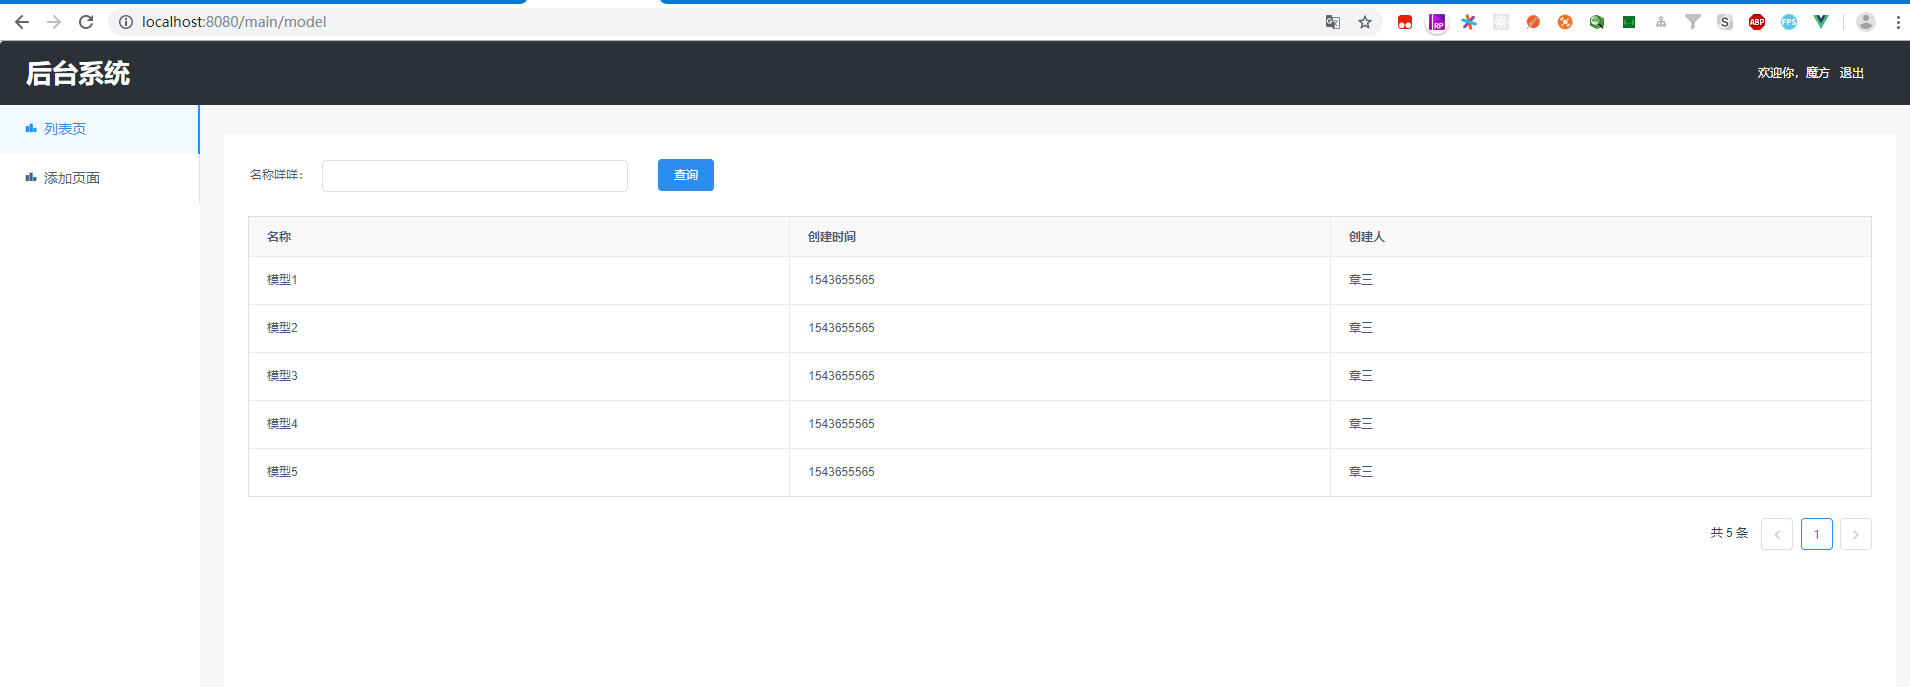
列表页是vuex与后端进行交互渲染的数据
定义了list列表
//state.ts

const state: any = {

  list: [],

  listAdd: []

}

export default state
定义类型
export const SAVE_LIST = 'SAVE_LIST'

export const SAVE_LIST_ADD = 'SAVE_LIST_ADD'
定义getter
export const list =  (state: any) => state.list

export const listAdd = (state:any)=>state.listAdd
action中定义获取的方法
import * as types from './mutation-types'

import { ActionTree, Action } from 'vuex'

import {getListData } from '@/api'

const getList: Action<object, object> = ({ commit }, params) => {

  return new Promise((resolve, reject) => {

    getListData(params, (res: any) => {

      if (+res.code === 200 && res.data.page) {

        const data = res.data

        commit(types.SAVE_LIST, data.page.data)

        resolve(data)

      } else {

        reject(res.msg)

      }

    })

  })

}

const getListAdd: Action<object, object> = ({ commit }, params) => {

  return new Promise((resolve, reject) => {

    getListData(params, (res: any) => {

      if (+res.code === 200 && res.data.page) {

        const data = res.data

        commit(types.SAVE_LIST_ADD, data.page.data)

        resolve(data)

      } else {

        reject(res.msg)

      }

    })

  })

}

const actions: ActionTree<object, object> = {

  getList,

  getListAdd

}

export default actions
在index.ts中引用这些
//index.ts

import Vue from 'vue'

import Vuex from 'vuex'

import actions from './actions'

import * as getters from './getters'

import state from './state'

import mutations from './mutations'

import createLogger from 'vuex/dist/logger'

Vue.use(Vuex)

const debug = process.env.NODE_ENV !== 'production'

export default new Vuex.Store({

  actions,

  getters,

  state,

  mutations,

  strict: debug,

  plugins: debug ? [createLogger({})] : []

})
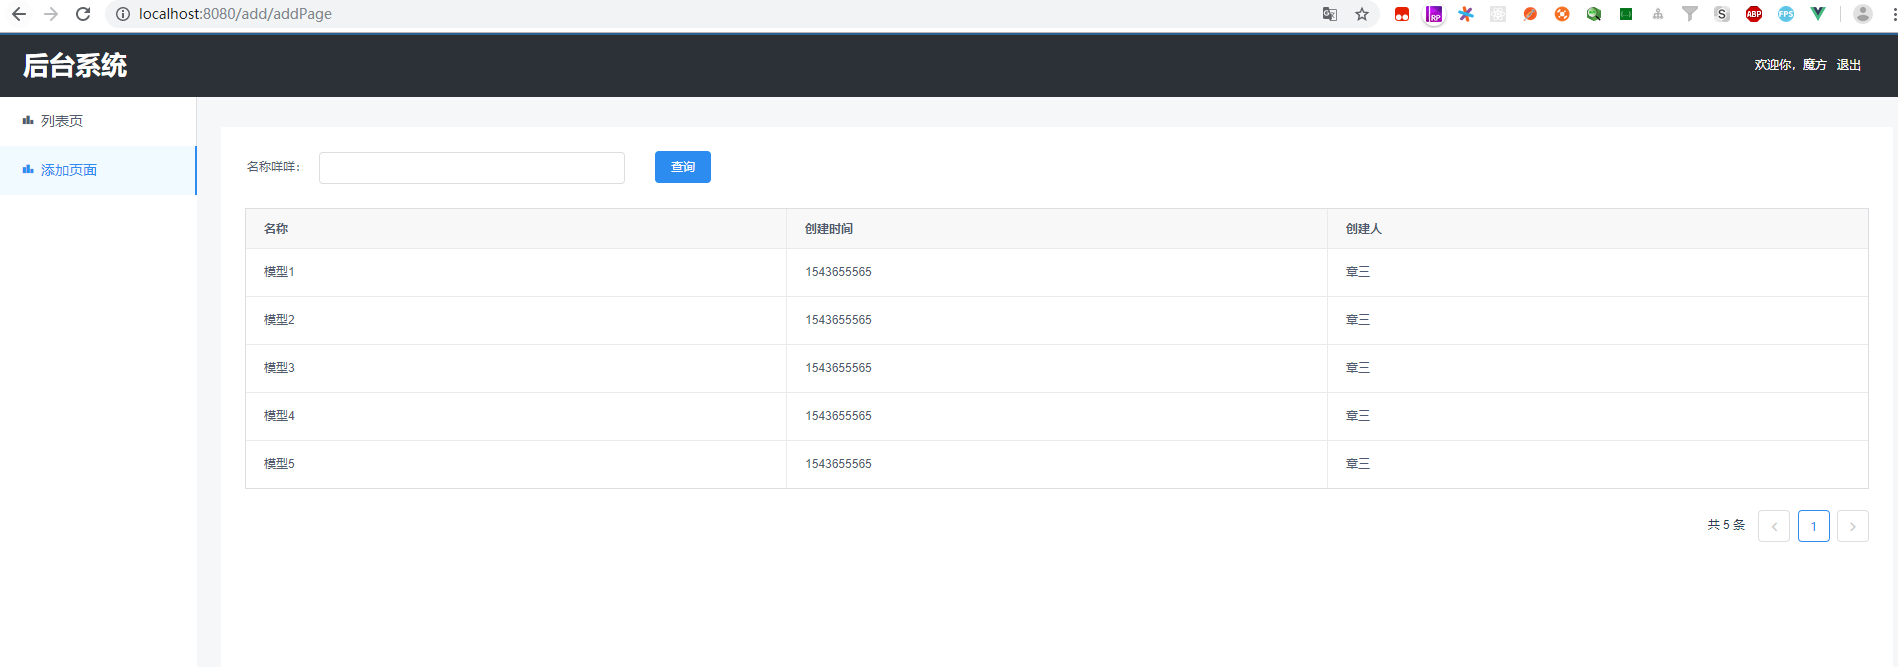
页面效果为

我按照上面的模式扩展了添加页面的数据,由于接口相同故为一样的数据
项目中封装的axios代码为
//src\interceptors\axios.ts

import axios from 'axios'

import iView from 'iview'

const {Modal} = iView

let axiosInstance: any = {}

axiosInstance = axios.create({

  timeout: 20000,

  maxContentLength: 2000,

  headers: {

    'Content-Type': 'application/json'

  }

})

axiosInstance.interceptors.request.use((config: any) => {

  if (config.method.toLowerCase() === 'get') {

    config.params = config.data

  }

  const requestConfig = Object.assign({

    responseType: 'json'

  }, config)

  return requestConfig

}, (error: any) => {

  Modal.error({

    title: '错误提示',

    content: error.message || '服务器异常'

  })

  return Promise.reject(error.message)

})

axiosInstance.interceptors.response.use((response: any) => {

  const data = response.data

  if (+data.code === 10010) {

    window.location.href = '/login'

    return

  }

  if (+data.code !== 200) {

    Modal.error({

      title: '错误提示',

      content: data.msg || '服务器异常'

    })

  }

  return data

}, (error: any) => {

  Modal.error({

    content: error.message

  })

  return Promise.reject(error)

})

export default axiosInstance
api部分为
//src\constants\api.ts

// const host = process.env.NODE_ENV === 'production' ? '/api' : '/api'

const host =  '/api'

export const loginApi = {

  login: `${host}/user_login`,

  loginOut: `${host}/user_logout`

}

export const listApi = {

  getList: `${host}/list`

}
//src\constants\variableType.ts

export interface UserInfo {

  username: string

  password: string

}

export interface QueryInfo {

  page_num?: number

  per_page_num?: number

  where_str?: object

}

export interface Result {

  code: number | string

  data: object

  msg?: string

}
后记:写这个的过程中,公司关于住房补贴的通告出来了,我的眼皮子真浅,因为我羡慕这个住房补贴,我分心了。
讨论的时间大概为:4点到4点45。希望自己能够珍惜时间,好好写代码,不要再分心,应该全心全意的写代码。
最新文章
- How to Delete XML Publisher Data Definition Template
- List、Map、Set三个接口,存取元素时,各有什么特点?
- Learn ZYNQ (9)
- git常用指令
- android-webview开发中的各种使用方法(持续更,尽量全)
- git使用--git命令项目提交问题总结
- Scala 深入浅出实战经典 第64讲:Scala中隐式对象代码实战详解
- c#与vb.net在App_Code里面编译要通过,需要以下web.config的配置
- 导出excel——入门
- Java Script基础(八) Array数组对象
- 简单3D翻转
- 多控制器之UIApplication
- 使用MJRefresh遇到的坑
- 1、初识socket
- Python入门之装饰器九步学习入门
- 关于HTML相关知识随记
- vue_ui使用
- VS2013 密钥– 所有版本
- js高级:event,事件冒泡,事件捕获
- django rest framework(4)