VUE中toast的使用与开发
在这篇文章中介绍了toast是什么,这篇文章主要介绍toast的开发与使用。
开发
Vuejs很流行,并且官方也给出了路由插件vue-router、数据管理插件vuex,但是我们仅仅停留在了使用的阶段,如果能够尝试一下自己开发,并且npm上传,那么对于个人的进步我想还是很大的。
什么是插件
Vue.js的插件有一个公开方法install, 这个方法的第一个参数是Vue构造器,第二个参数是一个可选的选项对象。 如// MyPlugin就是插件的名称, 所有的插件都需要使用install这个公开方// 第一个参数是Vue构造器,因此我们可以在这个方法中使用Vue, 第二个参数是一个选项对象。
MyPlugin.install = function (Vue, options) {

  Vue.myGlobalMethod = function () {  // 1. 添加全局方法或属性,如: vue-custom-element

    // 逻辑...

  }
 // 这里通过 Vue.directive 来进行自定义指令。
 // 其中my-derective就是指令的名称。
 // bind是自定义指令提供的钩子函数。而el、binding、vnodes、oldVnode都是钩子函数绑定的参数

  Vue.directive('my-directive', {  // 2. 添加全局资源:指令/过滤器/过渡等,如 vue-touch

    bind (el, binding, vnode, oldVnode) {

      // 逻辑...

    }

    ...

  })

  Vue.mixin({

    created: function () {  // 3. 通过全局 mixin方法添加一些组件选项,如: vuex

      // 逻辑...

    }

    ...

  })

  Vue.prototype.$myMethod = function (options) {  // 4. 添加实例方法,通过把它们添加到 Vue.prototype 上实现

    // 逻辑...

  }

}
(补充:Vue自定义指令)
下面要讲的 vue-toast 插件就是通过添加实例方法来实现的, 比如下面的这个例子,首先新建一个js文件来编写插件: speak.js
var Speak = {};

Speak.install = function (Vue, options) {

  Vue.prototype.$words = "Hello, John!"

}

module.exports = Speak;
即 Speak 就是插件的名称,我们绑定了一个$words 属性。 定义好了之后,导出。
在main.js中,需要导入 Speak.js 并且通过全局方法 Vue.use() 来使用插件。(比如我们所用的vuex和vue-router都是先在 main.js 中导入,然后必须使用 Vue.use)。
// The Vue build version to load with the `import` command

// (runtime-only or standalone) has been set in webpack.base.conf with an alias.

import Vue from 'vue'

import router from './router'

import store from './store/'


import Speak from './assets/js/speak.js'

Vue.use(Speak)

Vue.config.productionTip = false

/* eslint-disable no-new */

new Vue({

  el: '#app',

  router,

  store,

})
最后,我们就可以在组件中来获取到该插件定义的$words 属性了,
// Personal.vue

export default {

    created(){

        alert(this.$words);         // Hello John!

    }

}
然后我们我就可以发现这个组件生效了。
开发 vue-toast
实现需求:
同之前举例一样,在main.js引入之后可以在组件中通过调用 this.$toast("网络请求失败") 来弹出提示, 默认在底部显示,我们还可以通过 this.$toast.top() 或者 this.$toast.center() 等方法来实现在其他位置的显示。
思路:
其实toast还是很简单的,就是提示消息,并在一定时间内自动清除,所以,需要提示的时候,我们可以在body中添加一个div来显示提示信息, 而不同的位置通过添加不同的类名定位。
start!
// toast.js

var Toast = {};

Toast.install = function (Vue, options) {

    Vue.prototype.$toast = (tips) => {

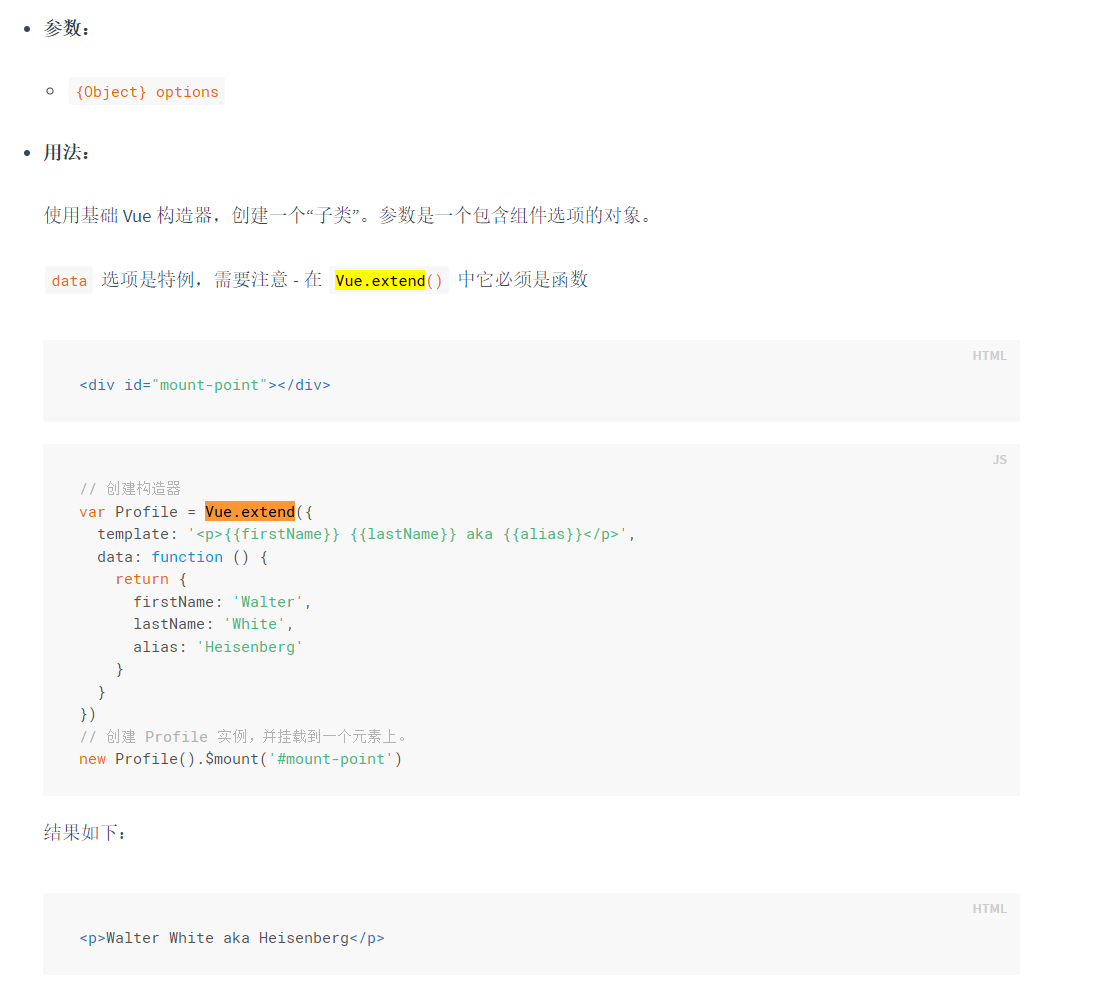
        let toastTpl = Vue.extend({     // 1、创建构造器,定义好提示信息的模板

            template: '<div class="vue-toast">' + tips + '</div>'

        });

        let tpl = new toastTpl().$mount().$el;  // 2、创建实例,挂载到文档以后的地方

        document.body.appendChild(tpl);     // 3、把创建的实例添加到body中

        setTimeout(function () {        // 4、延迟2.5秒后移除该提示

            document.body.removeChild(tpl);

        }, )

    }

}

module.exports = Toast;
通过上面寥寥十几行代码我们就实现了this.$toast,接下来就可以显示不同的位置。
即首先定义Toast这个插件,然后在Vue上定义实例方法 toast , 这个方法中,我们首先创建一个构造器,然后通过new来实例化一个实例并挂在到$el(即Vue挂载的元素)上, 这样,一个定义好的模板就实现了,接着我们将它插入到DOM中,等到一段时间之后 (如2500ms) 就移除这个div。 而其中的tips可以是一个字符串,即我们希望提示的信息。这样我们就可以通过 this.$toast("新建地址成功!") 来使用 toast 了!
补充知识:

// toast.js

['bottom', 'center', 'top'].forEach(type => {

    Vue.prototype.$toast[type] = (tips) => {

        return Vue.prototype.$toast(tips,type)

    }

})
这里,我们将bottom、center、top所组成的数组进行遍历来设置 $toast[type]方法,这样就是我们就可以通过$toast.type来调用了, 而$toast[type]方法显然都是一个函数,他们接受一个参数tips, 最后返回一个对应的方法Vue.prototype.$toast(tips,type)。
可以看到这时候我们就需要重新修改一个$toast方法了:
Vue.prototype.$toast = (tips,type) => {     // 添加 type 参数

    let toastTpl = Vue.extend({             // 模板添加位置类

        template: '<div class="vue-toast toast-'+ type +'">' + tips + '</div>'

    });

    ...

}
这样,如果我们不传递参数,那么type就是undefined, 只要在类名中我们不设置 undefined相关的就可以了,而如果type是bottom之类的时候,我们在css中定义相关的样式,就可以正确显示了。
OK! 到这里,其实已经完成了大体框架的大部分了! 但是如果我希望默认在顶部显示,那么我每次都需要调用 this.$toast.top() 好像就太麻烦了, 另外,如果我们希望div停留的时间不是 2500ms 而是随着不同的需求而改变的呢? 这时候,其实我们可以利用之前所提到过的options参数来实现了! 在Vue.use()中通过 options来传进我们想要传递的参数就可以。 最终修改如下:
var Toast = {};

Toast.install = function (Vue, options) {

    let opt = {

        defaultType:'bottom',   // 默认显示位置

        duration:''         // 持续时间

    }

    for(let property in options){

        opt[property] = options[property];  // 使用 options 的配置

    }

    Vue.prototype.$toast = (tips,type) => {

        if(type){

            opt.defaultType = type;         // 如果有传type,位置则设为该type

        }

        if(document.getElementsByClassName('vue-toast').length){

            // 如果toast还在,则不再执行

            return;

        }

        let toastTpl = Vue.extend({

            template: '<div class="vue-toast toast-'+opt.defaultType+'">' + tips + '</div>'

        });

        let tpl = new toastTpl().$mount().$el;

        document.body.appendChild(tpl);

        setTimeout(function () {

            document.body.removeChild(tpl);

        }, opt.duration)

    }

    ['bottom', 'center', 'top'].forEach(type => {

        Vue.prototype.$toast[type] = (tips) => {

            return Vue.prototype.$toast(tips,type)

        }

    })

}

module.exports = Toast;
这样,一个简单的vue插件就完成了, 我们可以通过 npm 打包发布, 这样下次使用时就可以通过 npm install 来安装了!
最新文章
- sublime text 配置 builder [build system]
- JSON的一些细节
- ES(二):Kibana
- Tomcat7启动log打印到INFO: At least one JAR was scanned for TLDs yet contained no TLDs.就停止不动了
- struts1的一些基本用法和操作
- 如何安装PANABIT?
- DateTools时间插件
- NOIP 2015 信息传递
- C中sizeof()的用法——32位和64位下的sizeof()
- linux安装vnc
- 两个byte[]拼接
- MySQL,Oracle,PostgreSQL通过web方式管理维护, 提高开发及运维效率
- python读取外部文件
- Halcon的应用程序 打开后 弹出没有帮助文件错误提示
- 实例解析Collections源码,Iterator和ListIterator
- RocketMQ4.3.X关于设置useEpollNativeSelector = true报错问题
- MySQL casting from decimal to string(mysql decimal 转 varchar)
- 在mmdetection中跑通MaskRCNN
- cf1076E Vasya and a Tree (线段树)
- 【搜索】传感器 @upcexam6023