Spring MVC + Velocity实现国际化配置
本示例已升级到Spring Boot 2.x
源码地址:https://github.com/smltq/spring-boot-demo/tree/master/template-thymeleaf
国际化介绍
web开发中,国际化是需要考虑的一个问题,而且这个问题一般是越早敲定越好(不然等到系统大了,翻译是个问题).下面是结合实际项目(Spring MVC+Velocity)对实现国际化的一些总结.github地址
Spring国际化
I18N:作为"国际化"的简称,其来源是英文单词internationalization的首末字符i和n,18为中间的字符数.
Spring做国际化的配置主要有3个关键点:
- ResourceBundleMessageSource:实现国际化资源的定义.
- LocaleResolver:实现本地化信息的解析.
- LocaleChangeInterceptor:实现本地化信息的监听(来实现url参数动态指定locale).
LocaleResolver
LocaleResolver是指用什么策略来检测请求是哪一种locale,Spring MVC提供了一下几种策略:
AcceptHeaderLocaleResolver
根据浏览器Http Header中的accept-language域判定浏览器的语言环境,可以通过HttpServletRequest.getLocale获得域的内容,但是无法调用LocaleResolver接口的setLocale设置locale.基于这个策略,在后面的demo中可以实现基于浏览器的国际化案例.
SessionLocaleResolver
根据用户本次会话过程中的语言设定决定语言种类,session级别的,在此session周期内可以修改语言种类,但是session失效后,语言设定失效.基于这个策略,在后面的demo中可以实现基于session的国际化案例.
CookiedLocaleResolver
根据Cookie判定用于的语言设定(Cookie中保存着用户前一次的语言设定参数).
FixedLocaleResolver
一直使用固定的Locale,改变locale是不支持的.
如果需要使用哪一种策略,只需要在DispatcherServlet制定的Spring配置文件中配置就行,DispatchServlet将在初始化的时候调用initLocaleResolver(context)方法去配置文件中找名字为localeResolver的bean,如果有就使用配置文件的,没有就使用默认的AcceptHeaderLocaleResovler
通过上面,了解了Spring实现国际化的相关概念,下面结合demo实例,看看Spring MVC是如何实现国际化的
- 配置文件
    <!--国际化配置 start-->

    <bean id="messageSource"

          class="org.springframework.context.support.ReloadableResourceBundleMessageSource">

        <property name="basename" value="classpath:i18n/messages"/>

        <property name="defaultEncoding" value="UTF-8"/>

    </bean>

    <bean id="localeChangeInterceptor"

          class="org.springframework.web.servlet.i18n.LocaleChangeInterceptor">

        <property name="paramName" value="lang"/>

    </bean>

    <!--语言选择-->

    <bean id="localeResolver"

          class="org.springframework.web.servlet.i18n.CookieLocaleResolver">

        <property name="defaultLocale" value="en"/>

    </bean>

    <!--国际化配置 end-->
- demo里准备两份语言文件分别是messages_cn.properties和messages_en.properties,内容分别如下:
Hello=Hello

HelloWorld=Hello World

SpringMvcBootstrap=Spring MVC Bootstrap

Greetings=I deeply greet you!
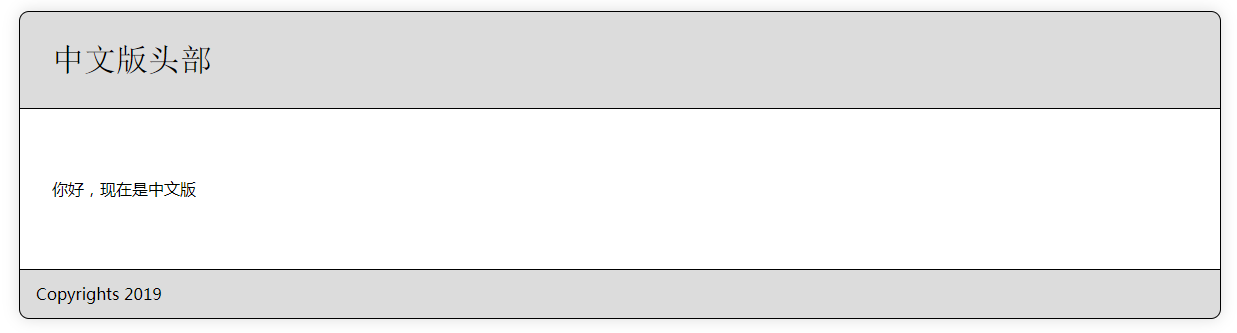
Hello=你好,现在是中文版

HelloWorld=你好,现在是中文版

SpringMvcBootstrap=中文版头部

Greetings=中文版欢迎你
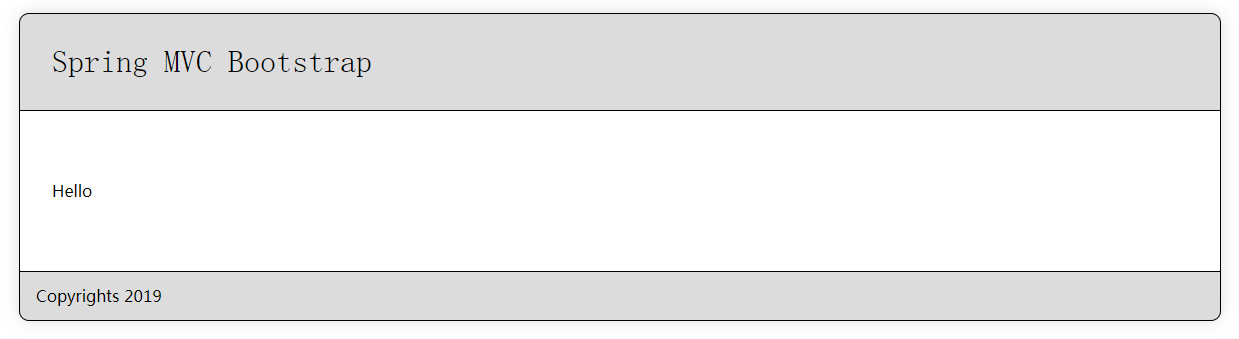
- 前端界面通过使用spring针对不同view视图提供的标记处理国际化信息.velocity标记,比如demo中的hello.vm文件
#define($content)

    #springMessage("Hello")

#end
最后运行结果会根据defaultLocale的配置显示英语版本或中文版本,显示效果如下:
以上配置示例是基于Cookie的国际化实现,国际化根据实际需求,实现方式有很多比如:
- 基于浏览器请求的国际化
- 基于Session的国际化实现
- 基于ULR请求的国际化实现
Velocity简单使用
- pom.xml增加Velocity 依赖
        <!-- Velocity 依赖 -->

        <dependency>

            <groupId>org.apache.velocity</groupId>

            <artifactId>velocity</artifactId>

            <version>1.7</version>

        </dependency>

        <dependency>

            <groupId>org.apache.velocity</groupId>

            <artifactId>velocity-tools</artifactId>

            <version>2.0</version>

        </dependency>
- xml增加模板引擎配置
    <!--模板引擎配置 start-->

    <bean id="velocityConfig"

          class="org.springframework.web.servlet.view.velocity.VelocityConfigurer">

        <property name="configLocation">

            <value>/WEB-INF/velocity/velocity.properties</value>

        </property>

    </bean>

    <bean id="viewResolver"

          class="org.springframework.web.servlet.view.velocity.VelocityLayoutViewResolver">

        <property name="cache" value="false"/>

        <property name="layoutUrl" value="/layout/main.vm"/>

        <property name="prefix" value="/templates/"/>

        <property name="suffix" value=".vm"/>

        <property name="exposeSpringMacroHelpers" value="true"/>

        <property name="contentType" value="text/html;charset=UTF-8"/>

        <property name="viewClass" value="org.springframework.web.servlet.view.velocity.VelocityLayoutView"/>

    </bean>

    <!--模板引擎配置 end-->
- controller代码,hello方法会显示hello.vm内容,helloWorld方法显示hello-world.vm内容,入口是main.vm
@Controller

public class HelloWorldController {

    @RequestMapping(value = "/hello", method = RequestMethod.GET)

    public String hello() {

        return "hello";

    }

    @RequestMapping(value = "/hello-world", method = RequestMethod.GET)

    public String helloWorld() {

        return "hello-world";

    }

    @RequestMapping(value = "/hello-redirect", method = RequestMethod.GET)

    public String helloRedirect() {

        return "redirect:/hello-world";

    }

}
- 我们看看main.vm代码
<!doctype html>

<html>

<head>

    <title>$!page_title</title>

    <link href="#springUrl('/resources/css/reset.css')" rel="stylesheet" type="text/css"/>

    <link href="#springUrl('/resources/css/style.css')" rel="stylesheet" type="text/css"/>

</head>

<body>

<article>

    <header>#parse('/layout/header.vm')</header>

    <section>$!content</section>

    <footer>#parse('/layout/footer.vm')</footer>

</article>

</body>

</html>
SpringMVC和REST服务API的基本用法示例
- pom.xml增加json和xml依赖
        <!-- JSON 转换器 -->

        <dependency>

            <groupId>org.codehaus.jackson</groupId>

            <artifactId>jackson-mapper-asl</artifactId>

            <version>1.5.3</version>

        </dependency>

        <!-- XML 转换器 -->

        <dependency>

            <groupId>javax.xml.bind</groupId>

            <artifactId>jaxb-api</artifactId>

            <version>2.0</version>

        </dependency>
- controller代码
@Controller

public class UserServiceController {

    @RequestMapping(value = "/user/{name}/{surname}.json", method = RequestMethod.GET, produces = MediaType.APPLICATION_JSON_VALUE)

    public @ResponseBody

    User getUserJson(@PathVariable String name, @PathVariable String surname) {

        User user = new User(name, surname);

        return user;

    }

    @RequestMapping(value = "/user/{name}/{surname}.xml", method = RequestMethod.GET, produces = MediaType.APPLICATION_XML_VALUE)

    public @ResponseBody

    User getUserXml(@PathVariable String name, @PathVariable String surname) {

        User user = new User(name, surname);

        return user;

    }

}

@XmlRootElement(name = "user")

public class User {

    private String name;

    private String surname;

    public User() {

    }

    public User(String name, String surname) {

        super();

        this.name = name;

        this.surname = surname;

    }

    public String getName() {

        return name;

    }

    public void setName(String name) {

        this.name = name;

    }

    public String getSurname() {

        return surname;

    }

    public void setSurname(String surname) {

        this.surname = surname;

    }

}
- json数据结果
浏览器输入http://localhost:9080/testweb/user/tq/lin.json,结果显示如下:
{

    name: "tq",

    surname: "lin"

}
- xml数据结果
浏览器输入http://localhost:9080/testweb/user/tq/lin.xml,结果显示如下:
<user>

    <name>tq</name>

    <surname>lin</surname>

</user>
最新文章
- Java基础知识【上】(转载)
- [译]Mongoose指南 - 中间件
- Split的应用
- centos7安装mysql
- 【多端应用开发系列0.0.0——之总序】xy多端应用开发方案定制
- eclipse项目导入到Android Studio Plugin with id 'android-library' not found
- [每日一题] 11gOCP 1z0-052 :2013-09-27 bitmap index.................................................C37
- 用react分页显示数据
- C语言博客作业--嵌套循环
- [HNOI 2002]彩票
- linux ---docker篇
- mysql 8.0 ~ 存储和账户
- 【转】C++标准转换运算符static_cast
- python之操作系统介绍,进程的创建
- 学习 已经登录windows的情况下获取windows的密码
- Windsor
- Confluence 6 文档主题合并问答
- python day12 ——1.生成器2.生成器表达式 3.列表推导式
- 动态分析小示例| 08CMS SQL 注入分析
- .Net Core Api 跨域配置