08_springboot2.x自定义starter
2024-09-07 20:15:43
概述
starter:启动器
1、这个场景需要使用到的依赖是什么?
2、如何编写自动配置
规则:
@Configuration //指定这个类是一个配置类

@ConditionalOnXXX //在指定条件成立的情况下自动配置类生效

@AutoConfigureAfter //指定自动配置类的顺序

@Bean //给容器中添加组件

@ConfigurationPropertie结合相关xxxProperties类来绑定相关的配置

@EnableConfigurationProperties //让xxxProperties生效加入到容器中
自动配置类要能加载
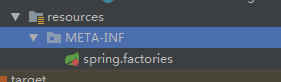
将需要启动就加载的自动配置类,配置在META‐INF/spring.factories
org.springframework.boot.autoconfigure.EnableAutoConfiguration=\

org.springframework.boot.autoconfigure.admin.SpringApplicationAdminJmxAutoConfiguration,\

org.springframework.boot.autoconfigure.aop.AopAutoConfiguration,\模式:
启动器只用来做依赖导入;
专门来写一个自动配置模块;
启动器依赖自动配置;别人只需要引入启动器(starter)
mybatis-spring-boot-starter;自定义启动器名-spring-boot-starter
启动器(starter)
–启动器模块是一个空JAR 文件,仅提供辅助性依赖管理,这些依赖可能用于自动装配或者其他类库
命名规约:
•推荐使用以下命名规约
官方命名空间
–前缀:“spring-boot-starter-”
–模式:spring-boot-starter-模块名
–举例:spring-boot-starter-web、spring-boot-starter-actuator、spring-boot-starter-jdbc
自定义命名空间
–后缀:“-spring-boot-starter”
–模式:模块-spring-boot-starter
–举例:mybatis-spring-boot-starter
图解
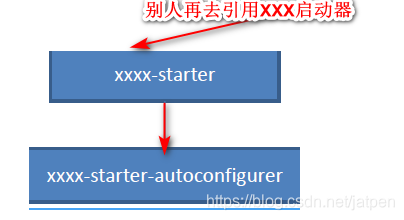
1、编写启动器XXX-starter
2、自动配置模块
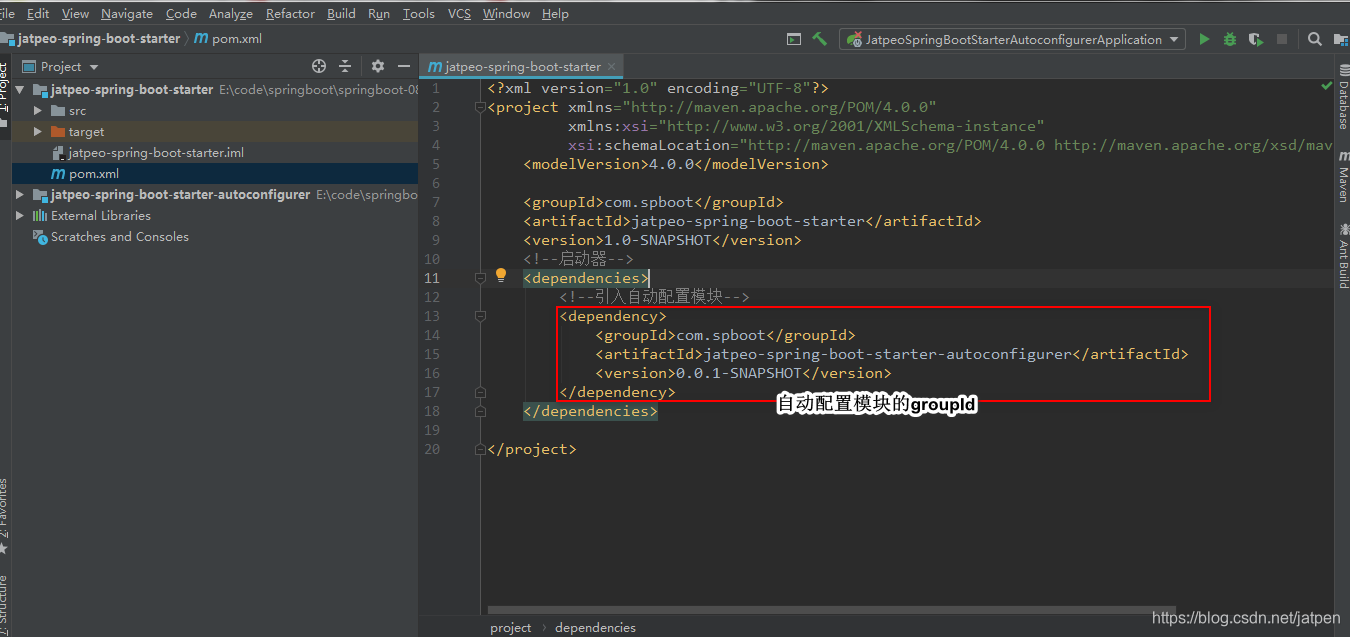
pom.xml
<?xml version="1.0" encoding="UTF-8"?>

<project xmlns="http://maven.apache.org/POM/4.0.0" xmlns:xsi="http://www.w3.org/2001/XMLSchema-instance"

         xsi:schemaLocation="http://maven.apache.org/POM/4.0.0 https://maven.apache.org/xsd/maven-4.0.0.xsd">

    <modelVersion>4.0.0</modelVersion>

    <parent>

        <groupId>org.springframework.boot</groupId>

        <artifactId>spring-boot-starter-parent</artifactId>

        <version>2.1.9.RELEASE</version>

        <relativePath/> <!-- lookup parent from repository -->

    </parent>

    <groupId>com.spboot</groupId>

    <artifactId>jatpeo-spring-boot-starter-autoconfigurer</artifactId>

    <version>0.0.1-SNAPSHOT</version>

    <name>jatpeo-spring-boot-starter-autoconfigurer</name>

    <description>Demo project for Spring Boot</description>

    <properties>

        <java.version>1.8</java.version>

    </properties>

    <dependencies>

        <!--所有starter的基本配置-->

        <dependency>

            <groupId>org.springframework.boot</groupId>

            <artifactId>spring-boot-starter</artifactId>

        </dependency>

    </dependencies>

</project>
应用举例:
HelloProperties 配置文件package com.spboot.starter;
import org.springframework.boot.context.properties.ConfigurationProperties;
@ConfigurationProperties(prefix = "jatpeo.hello")
public class HelloProperties {
private String prefix;
private String suffix;
public String getPrefix() {
return prefix;
}
public void setPrefix(String prefix) {
this.prefix = prefix;
}
public String getSuffix() {
return suffix;
}
public void setSuffix(String suffix) {
this.suffix = suffix;
}
}
HelloServicepackage com.spboot.starter;
public class HelloService {
HelloProperties helloProperties;
public String sayHello(String name){
return helloProperties.getPrefix()+ name + helloProperties.getSuffix();
}
public HelloProperties getHelloProperties() {
return helloProperties;
}
public void setHelloProperties(HelloProperties helloProperties) {
this.helloProperties = helloProperties;
}
}
自动配置类:
HelloServiceAutoConfigurationpackage com.spboot.starter;
import org.springframework.beans.factory.annotation.Autowired;
import org.springframework.boot.autoconfigure.EnableAutoConfiguration;
import org.springframework.boot.autoconfigure.condition.ConditionalOnWebApplication;
import org.springframework.boot.context.properties.EnableConfigurationProperties;
import org.springframework.context.annotation.Bean;
import org.springframework.context.annotation.Configuration;
@Configuration
@ConditionalOnWebApplication//web应用起效果
@EnableConfigurationProperties(HelloProperties.class)
public class HelloServiceAutoConfiguration {
@Autowired
HelloProperties helloProperties;
@Bean
public HelloService helloService(){
HelloService helloService = new HelloService();
helloService.setHelloProperties(helloProperties);
return helloService;
}
}
注意:这里让自动配置类生效得在META-INF/新建spring.factories
org.springframework.boot.autoconfigure.EnableAutoConfiguration=\

com.spboot.starter.HelloServiceAutoConfiguration
分别安装到maven仓库
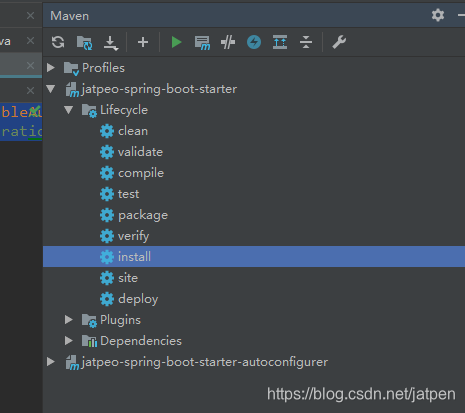
注意安装顺序
测试:
新建项目
pom.xml

注意:引用的是我们配置的启动器的
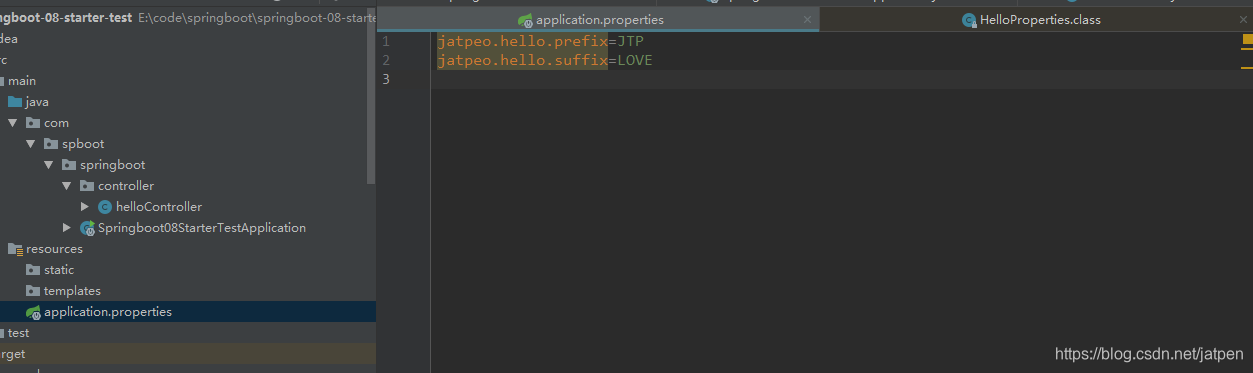
application.properties
controller:
package com.spboot.springboot.controller;

import com.spboot.starter.HelloService;

import org.springframework.beans.factory.annotation.Autowired;

import org.springframework.web.bind.annotation.GetMapping;

import org.springframework.web.bind.annotation.RestController;

@RestController

public class helloController {

    @Autowired

    HelloService helloService;

    @GetMapping("/hello")

    public String say(){

        return helloService.sayHello("dyn");

    }

}
浏览器测试:

最新文章
- C# 获取相对路径的字符串
- css初始化代码
- 【腾讯Bugly干货分享】WebP原理和Android支持现状介绍
- 解决Eclipse左键无法查看maven第三方包的源代码,多图亲测可用【转】
- 5.webService拦截器
- 为什么我不建议你做APP?
- AIX 系统中 PVID 的含义与作用
- AndroidUI自动化测试工具-UIautomator
- eclipse指定启动的jdk
- c# equals和==的区别
- HTML+CSS总结/有关于web标准的总结
- C#中的事件-订阅与发布
- 设置listview的header不能点击
- MVC快速分页
- Leetcode Pasacl'sTriangle
- swift class的虚函数表
- Android 更改按钮样式 Button Styles
- 28-1-LTDC显示中英文
- js九九乘法表的应用
- js关于a++ 与++a