Swift - UITableView的用法
2024-10-21 06:29:43
因为倾向于纯代码编码,所以不太喜欢可视化编程,不过也略有研究,所以项目里面的所有界面效果,全部都是纯代码编写!
终于到了重中之重的tableview的学习了,自我学习ios编程以来,工作中用得最多的就她了,所以不管是以前学习和现在学习,我都把对tableview的学习放在重点!
闲话少叙,代码如下:
一、先谈自定义cell,以及自定义cell上控件的自定义
cell是直接用xib拖拽的,很方便有木有
import UIKit

class MyCell: UITableViewCell {

    override func awakeFromNib() {

        super.awakeFromNib()

        // Initialization code

    }

    @IBOutlet weak var headerImg: UIImageView!

    @IBOutlet weak var fileLab: UILabel!

    override func setSelected(_ selected: Bool, animated: Bool) {

        super.setSelected(selected, animated: animated)

        // Configure the view for the selected state

    }

}
二、在控制器里面的调用
1)声明及初始化
class SeventViewController: UIViewController,UITableViewDelegate,UITableViewDataSource

    var myTableView:UITableView?

    var imgAry = [String]()

    var fileAry = [String]()
func creatTableView() {

        self.myTableView = UITableView(frame:self.view.frame,style:.plain)

        self.myTableView?.delegate = self

        self.myTableView?.dataSource = self

        self.myTableView?.tableFooterView = UIView()

        self.myTableView?.register(UINib.init(nibName: "MyCell", bundle: nil), forCellReuseIdentifier: "MyCell")

        self.myTableView?.rowHeight =

        self.view.addSubview(self.myTableView!)

    }
2)添加了一个表头,具体如下
//创建一个表头标签

        let headerLab = UILabel()

        headerLab.frame = CGRectMake(, , SCREEN_WIDTH, )

        headerLab.backgroundColor = UIColor.orangeColor()

        headerLab.textColor = UIColor.whiteColor()

        headerLab.numberOfLines =

        headerLab.lineBreakMode = NSLineBreakMode.ByWordWrapping //换行方式

        headerLab.text = "常见 UIKIT 控件"

        headerLab.font = UIFont.systemFontOfSize()

        self.tableView.tableHeaderView = headerLab
3)创建内容数组
self.imgAry = ["1.jpeg","1.jpeg","1.jpeg","1.jpeg","1.jpeg","1.jpeg",]
4)代理方法的实现
有2个代理方法是必须实现的
(1)返回行数
func tableView(_ tableView: UITableView, numberOfRowsInSection section: Int) -> Int {

        return self.imgAry.count

    }
(2)cell的初始化
func tableView(_ tableView: UITableView, cellForRowAt indexPath: IndexPath) -> UITableViewCell {

        let cell:MyCell = tableView.dequeueReusableCell(withIdentifier: "MyCell") as! MyCell

        cell.headerImg.image = UIImage(named:self.imgAry[indexPath.row])

        cell.fileLab.text = "\(indexPath.row)"

        return cell

    }
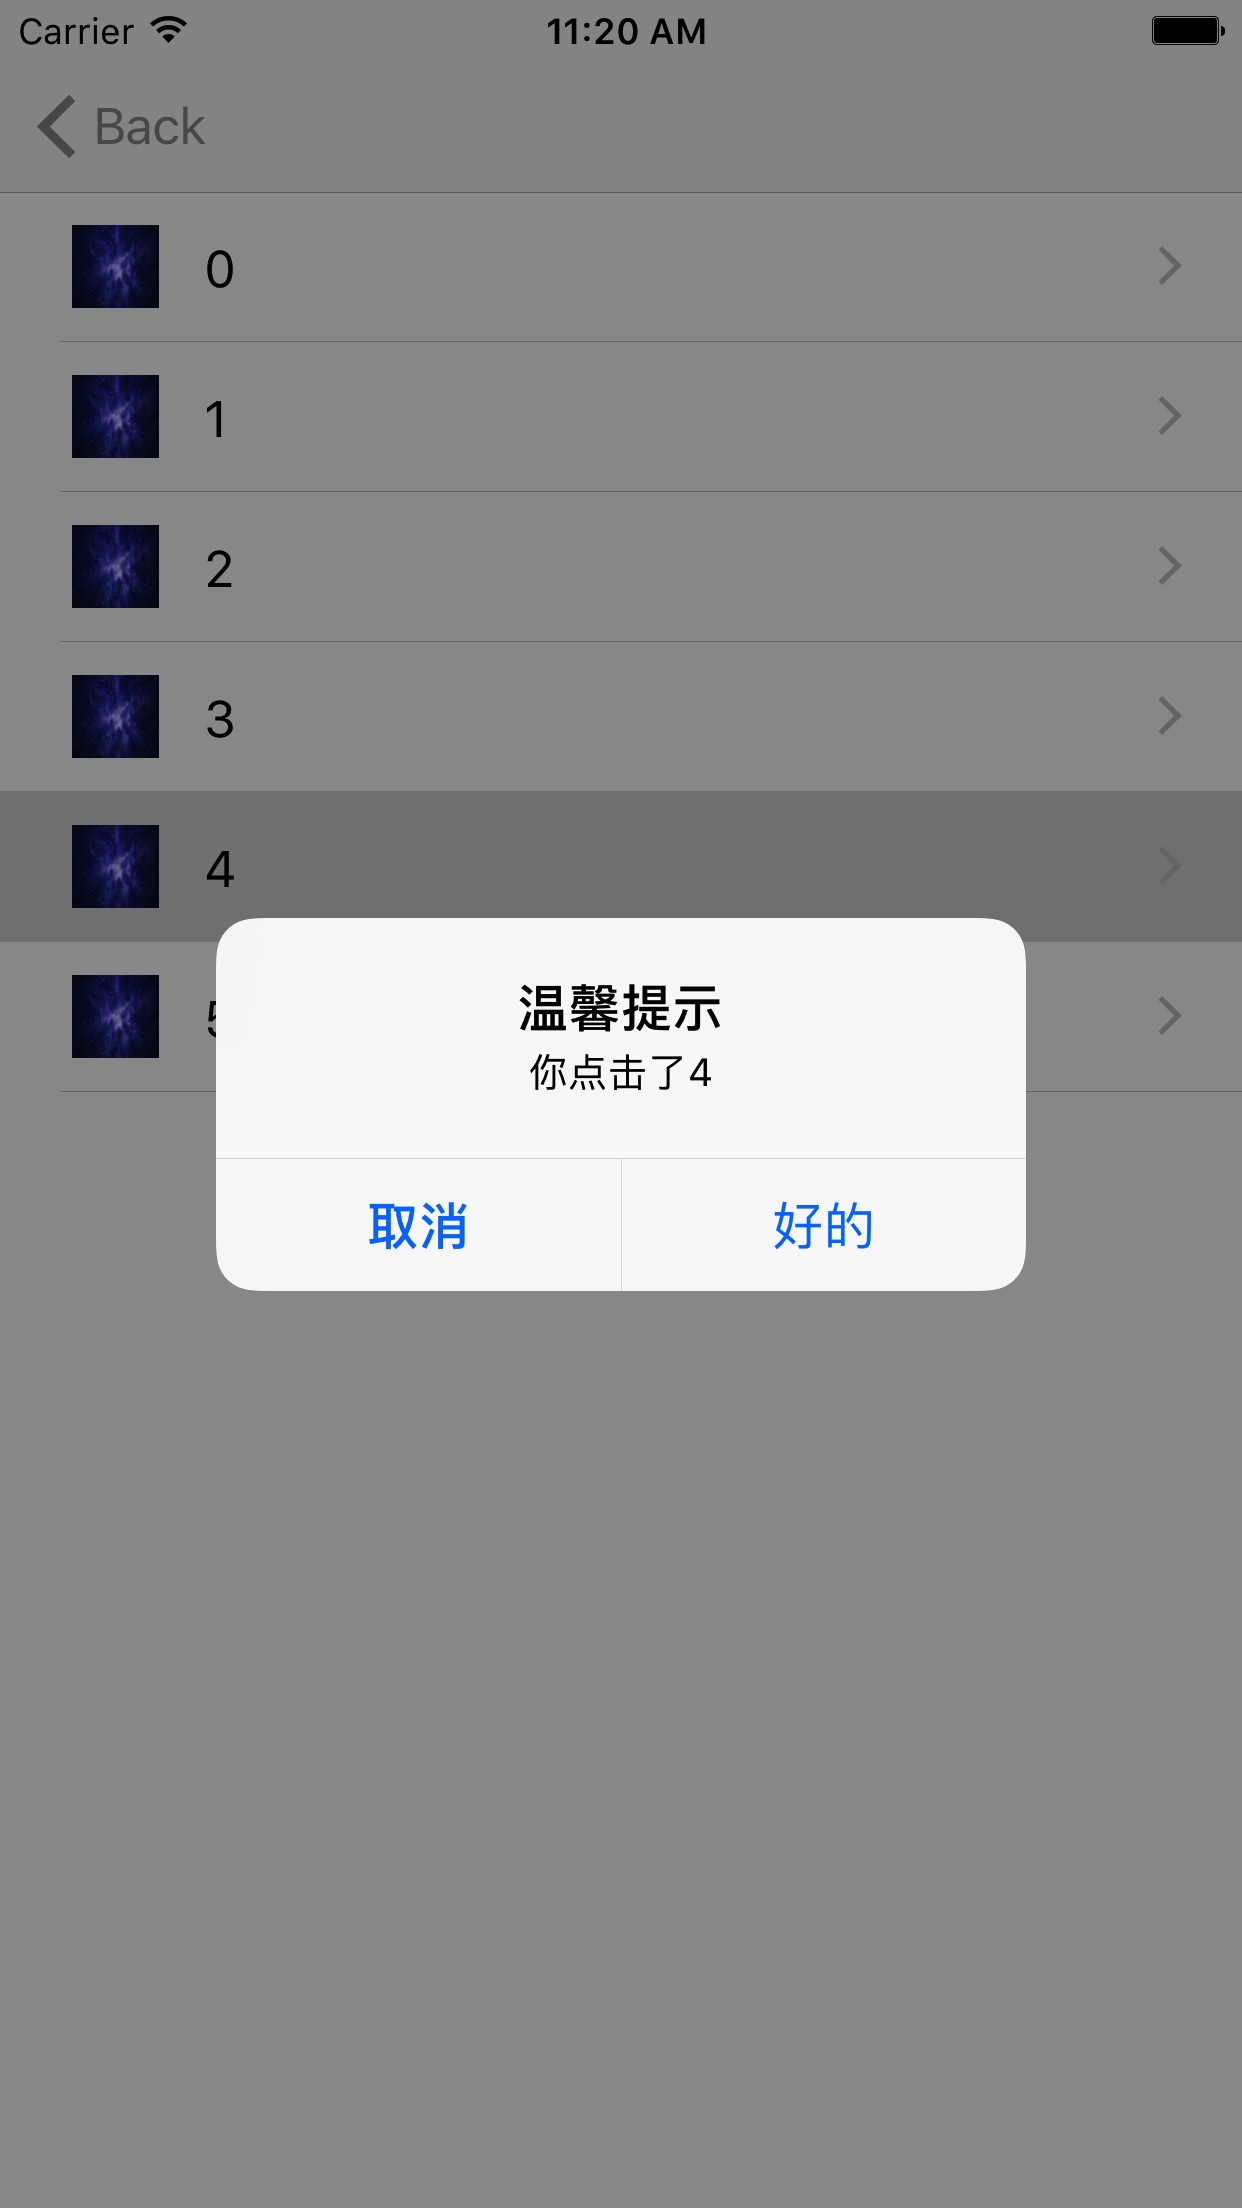
(3)cell的点击方法
func tableView(_ tableView: UITableView, didSelectRowAt indexPath: IndexPath) {

        switch indexPath.row {

        case :

            self.creatAlertView(title: "", msg: "\(indexPath.row)")

            break

        case :

            self.creatAlertView(title: "", msg: "\(indexPath.row)")

            break

        case :

            self.creatAlertView(title: "", msg: "\(indexPath.row)")

            break

        case :

            self.creatAlertView(title: "", msg: "\(indexPath.row)")

            break

        case :

            self.creatAlertView(title: "", msg: "\(indexPath.row)")

            break

        case :

            self.creatAlertView(title: "", msg: "\(indexPath.row)")

            break

        default:

            break

        }

    }

    func creatAlertView(title:String,msg:String){

        let hAlertView = UIAlertController(title:"温馨提示",message:"你点击了\(msg)",preferredStyle:.alert)

        let cancelAction = UIAlertAction(title:"取消",style:.cancel,handler:nil)

        let okAction = UIAlertAction(title:"好的",style:.default)

        hAlertView.addAction(cancelAction)

        hAlertView.addAction(okAction)

        self.present(hAlertView, animated: true, completion: nil)

    }
最终效果如下:
注:当然了,还有很多其他的方法,如果用到了,可以自己看一下!
三、在这里为tableview做一个分组,代码如下
1)声明
self.imgAry1 = ["2.jpeg","2.jpeg","2.jpeg","2.jpeg","2.jpeg","2.jpeg",]
2)添加并修改相关代理方法
 func numberOfSections(in tableView: UITableView) -> Int {

            return

    }

    func tableView(_ tableView: UITableView, numberOfRowsInSection section: Int) -> Int {

        if section ==  {

            return self.imgAry.count

        }

        return self.imgAry1.count

    }

    func tableView(_ tableView: UITableView, titleForHeaderInSection section: Int) -> String? {

        var header = NSArray()

        header = ["第一区","第二区"]

        return header[section] as? String

    }

    func tableView(_ tableView: UITableView, cellForRowAt indexPath: IndexPath) -> UITableViewCell {

        let cell:MyCell = tableView.dequeueReusableCell(withIdentifier: "MyCell") as! MyCell

        if indexPath.section ==  {

            cell.headerImg.image = UIImage(named:self.imgAry[indexPath.row])

            cell.fileLab.text = "\(indexPath.section+indexPath.row)"

        }else

        {

            cell.headerImg.image = UIImage(named:self.imgAry1[indexPath.row])

            cell.fileLab.text = "\(indexPath.section+indexPath.row)"

        }

        return cell

    }
这样的话,一个简单的分组就完成了,不过tableview博大精深,还得继续钻研啊!
效果图如下:

最新文章
- Jsonp原理就是这么简单
- Essential controls for web app
- WPF整理-处理没有注意到的异常
- Unity5中的MetaPass
- iOS 定位于地理反编码
- 2d背景循环
- AFN演示
- PHP错误报告级别及调整方法
- Hadoop Error:Name node is in safe mode的解决方法
- css div旋转之后自适应
- Entity Framework Core 2.0 使用入门
- 使用ng-options指令创建下拉框
- 【玩转开源】BananaPi R2 —— 第三篇 基于Openwrt开发一个简单的路由器
- DG Switch over
- asd短片数篇
- python爬虫学习笔记(一)——环境配置(windows系统)
- shell编程—注释、字符串和数组(四)
- 【sql inject】sql盲注技巧
- Quartz.NET作业调度框架的简单应用
- K-wolf Number (数位DP)
热门文章
- vue2.0的学习
- C#中关于系统用户信息持久化(接上文)
- spring报错:Caused by: java.lang.IllegalStateException: Cannot convert value of type for property : no matching editors or conversion strategy found
- VBA学习笔记(3)--文件夹操作
- iOS菊花加载圈
- Linux 含有ext 分区的镜像无法再Windows上拷贝的解决办法
- kubernetes 调度相关
- spingboot集成jpa(二)
- DataGridView使用技巧十二:DataGridView Error图标表示的设定
- Struts2- 设置默认拦截器