Spring boot Sample 0010之spring-boot-web-freemarker
2024-09-06 06:32:02
一、环境
1.1、Idea 2020.1
1.2、JDK 1.8
二、目的
spring boot 整合freemarker模板开发web项目
三、步骤
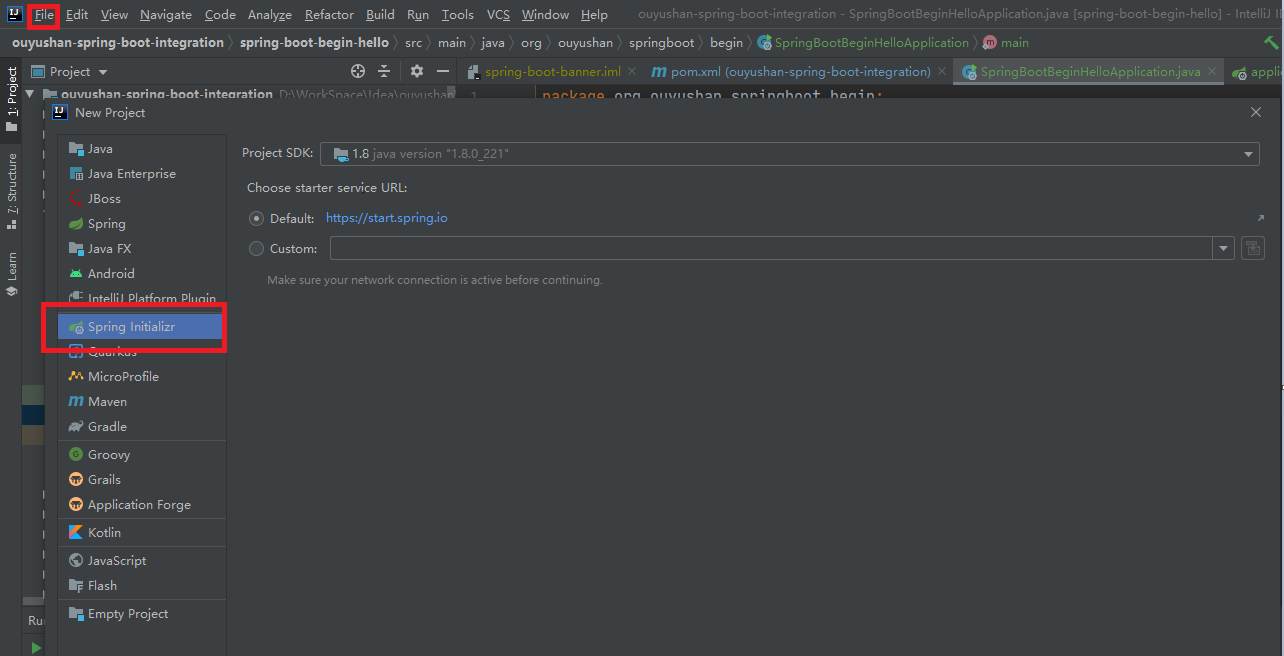
3.1、点击File -> New Project -> Spring Initializer,点击next
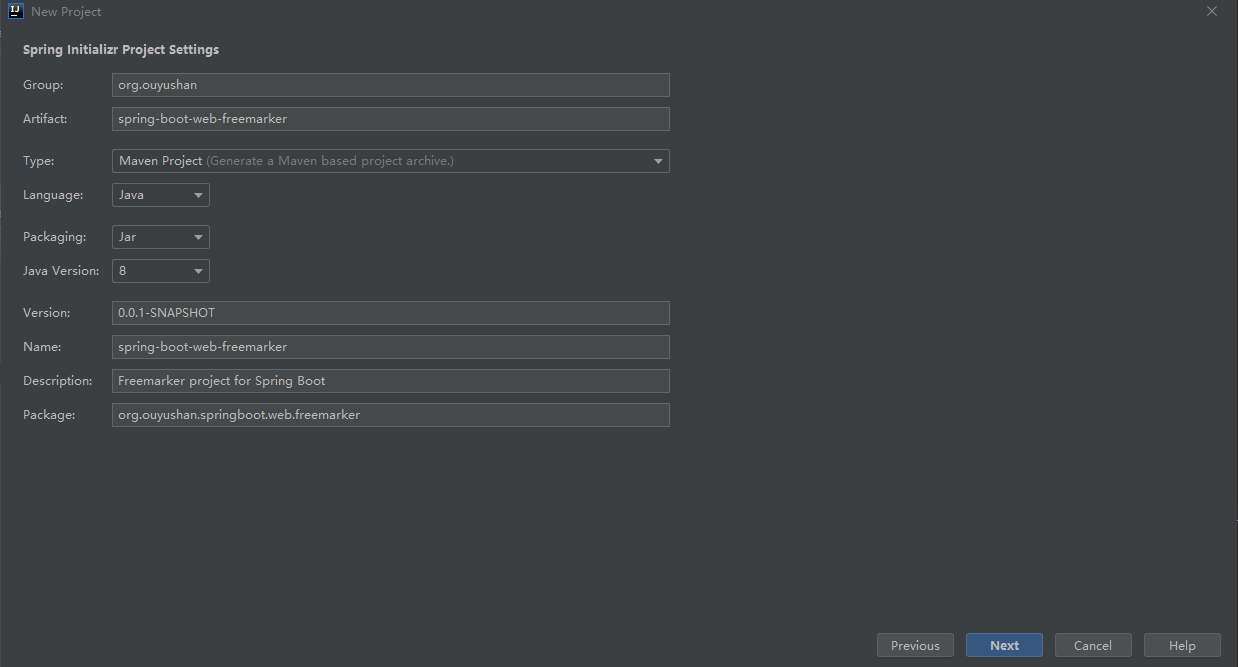
3.2、在对应地方修改自己的项目信息
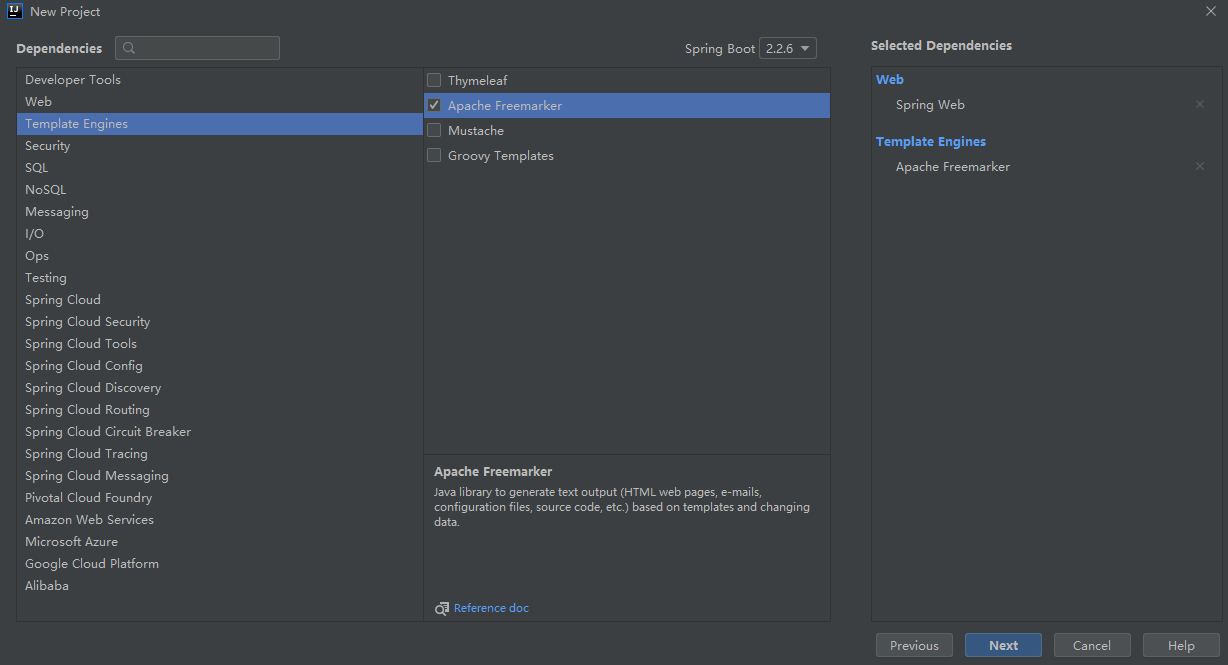
3.3、选择Web依赖,选中Spring Web。可以选择Spring Boot版本,本次默认为2.2.6,点击Next
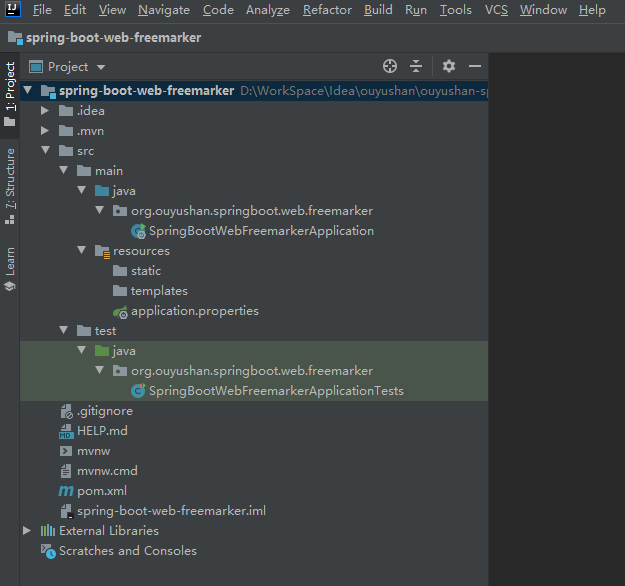
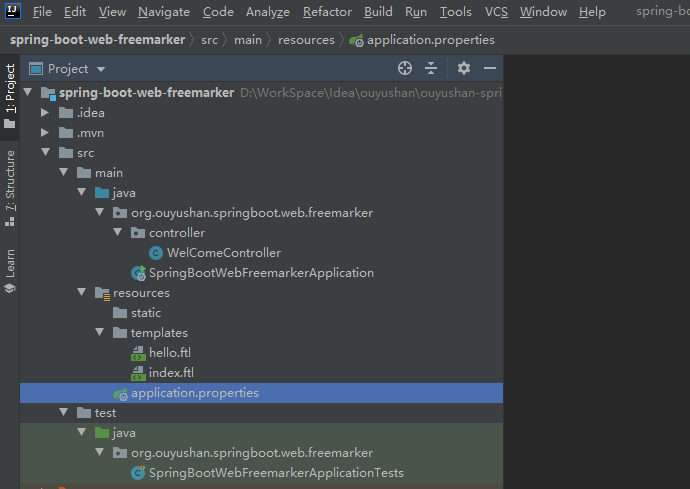
3.4、项目结构
四、添加文件
pom.xml
<?xml version="1.0" encoding="UTF-8"?>

<project xmlns="http://maven.apache.org/POM/4.0.0" xmlns:xsi="http://www.w3.org/2001/XMLSchema-instance"

         xsi:schemaLocation="http://maven.apache.org/POM/4.0.0 https://maven.apache.org/xsd/maven-4.0.0.xsd">

    <modelVersion>4.0.0</modelVersion>

    <parent>

        <groupId>org.springframework.boot</groupId>

        <artifactId>spring-boot-starter-parent</artifactId>

        <version>2.2.6.RELEASE</version>

        <relativePath/> <!-- lookup parent from repository -->

    </parent>

    <groupId>org.ouyushan</groupId>

    <artifactId>spring-boot-web-freemarker</artifactId>

    <version>0.0.1-SNAPSHOT</version>

    <name>spring-boot-web-freemarker</name>

    <description>Freemarker project for Spring Boot</description>

    <properties>

        <java.version>1.8</java.version>

    </properties>

    <dependencies>

        <dependency>

            <groupId>org.springframework.boot</groupId>

            <artifactId>spring-boot-starter-freemarker</artifactId>

        </dependency>

        <dependency>

            <groupId>org.springframework.boot</groupId>

            <artifactId>spring-boot-starter-web</artifactId>

        </dependency>

        <dependency>

            <groupId>org.springframework.boot</groupId>

            <artifactId>spring-boot-starter-test</artifactId>

            <scope>test</scope>

            <exclusions>

                <exclusion>

                    <groupId>org.junit.vintage</groupId>

                    <artifactId>junit-vintage-engine</artifactId>

                </exclusion>

            </exclusions>

        </dependency>

    </dependencies>

    <build>

        <plugins>

            <plugin>

                <groupId>org.springframework.boot</groupId>

                <artifactId>spring-boot-maven-plugin</artifactId>

            </plugin>

        </plugins>

    </build>

</project>
配置默认application.properties
# 设定ftl文件路径

spring.freemarker.template-loader-path=classpath:/templates

spring.freemarker.suffix=.ftl

#spring.freemarker.cache=false

#spring.freemarker.charset=UTF-8

#spring.freemarker.check-template-location=true

#spring.freemarker.content-type=text/html

#spring.freemarker.expose-request-attributes=false

#spring.freemarker.expose-session-attributes=false

#spring.freemarker.request-context-attribute=request
实现WelcomController
package org.ouyushan.springboot.web.freemarker.controller;

import org.springframework.beans.factory.annotation.Value;

import org.springframework.stereotype.Controller;

import org.springframework.ui.Model;

import org.springframework.web.bind.annotation.GetMapping;

import org.springframework.web.bind.annotation.RequestMapping;

import java.util.Date;

import java.util.Map;

/**

 * @Description:

 * @Author: ouyushan

 * @Email: ouyushan@hotmail.com

 * @Date: 2020/4/30 11:35

 */

@Controller

public class WelComeController {

    @Value("${application.message:Default Value Hello World}")

    private String message;

    @GetMapping("/")

    public String error(Map<String,Object> model){

        model.put("index",this.message);

        return "index";

    }

    @GetMapping("/hi")

    public String welcome(Model model){

        model.addAttribute("time",new Date());

        model.addAttribute("message",this.message);

        return "hello";

    }

}
添加页面文件
templates/hello.ftl
<!DOCTYPE html> <html lang="en"> <body>
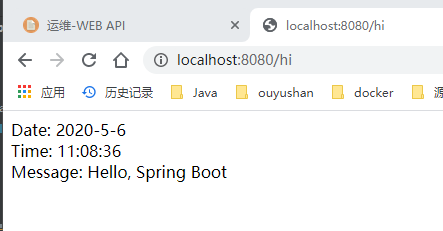
Date: ${time ? date}
<br>
Time: ${time ? time}
<br>
Message: ${message}
</body> </html>
templates/index.ftl
<!DOCTYPE html>
<html lang="en">
<head>
<meta charset="UTF-8">
<title>Title</title>
</head>
<body>
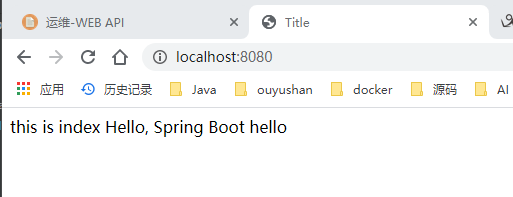
this is index ${index}
</body>
</html>
五、接口测试
访问:
http://localhost:8080/
访问:
http://localhost:8080/hi
六、知识点
必须配置以下内容,否则报 no mapping found for ** 错误
spring.freemarker.template-loader-path=classpath:/templates

spring.freemarker.suffix=.ftl
最新文章
- Tomcat-问题解决
- git 远程库命令
- LINQ to SQL语句(5)之Order By
- emacs 新手笔记(二) —— 分割窗格 (split window)
- 批量清除BOM头
- poj1269(直线交点)
- android 上手维修设备和推断启动服务
- hdu 1711---KMP
- 远程文件同步详解(Remote File Sync)
- SQL实验一
- 【十四】jvm 性能调优实例
- APB协议
- Java的类继承
- 字符串通过在配置文件配置三个key来进行加密解密
- 通过Jekins执行bat脚本始终无法完成
- BZOJ 1003 - 物流运输 - [最短路+dp]
- 基于Mybatis实现一个查库的接口
- 很有用的mobile web application远程调试工具 weinre
- 【EF框架】另一个 SqlParameterCollection 中已包含 SqlParameter。
- 浅谈 JavaScript 中常用数据及其类型转换