PopUpWindow 的使用笔记
最接做需求的时候,碰到了 PopUpWindow,但是也没做过多了解,就是照搬别人的代码改改逻辑。后面视觉看了之后,说让我加一些动画效果,使用起来更加舒服。可是我看别人以前也没有写,于是就开始捣鼓 PopUpWindow。同时也写一篇文章记录下,后续忘了也可以查看。

相关方法解读
1)几个常用的构造方法
我们在文档中可以看到,提供给我们的PopupWindow的构造方法有九种之多,这里只贴实际 开发中用得较多的几个构造方法:
public PopupWindow (Context context)
public PopupWindow(View contentView, int width, int height)
public PopupWindow(View contentView)
public PopupWindow(View contentView, int width, int height, boolean focusable)
参数就不用多解释了吧,contentView是PopupWindow显示的View,focusable是否显示焦点
2)常用的一些方法
下面介绍几个用得较多的一些方法,其他的可自行查阅文档:
setContentView(View contentView):设置PopupWindow显示的View
getContentView():获得PopupWindow显示的View
showAsDropDown(View anchor):相对某个控件的位置(正左下方),无偏移
showAsDropDown(View anchor, int xoff, int yoff):相对某个控件的位置,有偏移
showAtLocation(View parent, int gravity, int x, int y): 相对于父控件的位置(例如正中央Gravity.CENTER,下方Gravity.BOTTOM等),可以设置偏移或无偏移 PS:parent这个参数只要是activity中的view就可以了!
setWidth/setHeight:设置宽高,也可以在构造方法那里指定好宽高, 除了可以写具体的值,还可以用WRAP_CONTENT或MATCH_PARENT, popupWindow的width和height属性直接和第一层View相对应。
setFocusable(true):设置焦点,PopupWindow弹出后,所有的触屏和物理按键都由PopupWindows 处理。其他任何事件的响应都必须发生在PopupWindow消失之后,(home 等系统层面的事件除外)。 比如这样一个PopupWindow出现的时候,按back键首先是让PopupWindow消失,第二次按才是退出 activity,准确的说是想退出activity你得首先让PopupWindow消失,因为不并是任何情况下按back PopupWindow都会消失,必须在PopupWindow设置了背景的情况下 。
setAnimationStyle(int):设置动画效果
创建布局
PopUpWindow 就是一个容器,是需要编写对应的布局文件,布局比较简单具体如下:
<?xml version="1.0" encoding="utf-8"?>

<LinearLayout xmlns:android="http://schemas.android.com/apk/res/android"

    android:layout_width="match_parent"

    android:layout_height="match_parent"

    android:clipChildren="false"

    android:orientation="vertical">

    <View

        android:id="@+id/empty_view"

        android:layout_width="match_parent"

        android:layout_height="100dp"

        android:layout_weight="1"

        />

    <LinearLayout

        android:id="@+id/container"

        android:layout_width="match_parent"

        android:layout_height="200dp"

        android:background="@color/colorPrimary"

        android:orientation="vertical"

        android:gravity="center_vertical">

        <TextView

            android:id="@+id/title"

            android:layout_width="match_parent"

            android:layout_height="60dp"

            android:text="test" />

    </LinearLayout>

</LinearLayout>
注意其中这行代码:
android:layout_weight="1"
由于其他 view 没有使用这个属性,默认为0,使用该属性的view将剩余的空间铺满。这样就相当于为我们设置了一个蒙层了。
写好布局后,需要将布局文件传到容器中去。
PopUpWindow 使用
由于相关代码比较长,直接附上完整代码,方便大家查看。
完整代码如下:
public class TestActivity extends AppCompatActivity implements View.OnClickListener {

    private PopupWindow mPopupWindow;

    private ViewGroup mContentView;

    private Button mBtn;

    @Override

    protected void onCreate(Bundle savedInstanceState) {

        super.onCreate(savedInstanceState);

        setContentView(R.layout.activity_test);

        mBtn = (Button) findViewById(R.id.result);

        mPopupWindow = new PopupWindow(this);

        mPopupWindow.setContentView(getContentView(this));

        mPopupWindow.setHeight(ViewGroup.LayoutParams.MATCH_PARENT);

        mPopupWindow.setWidth(ViewGroup.LayoutParams.MATCH_PARENT);

        mPopupWindow.setClippingEnabled(false);

        // 如果不设置PopupWindow的背景,有些版本就会出现一个问题:无论是点击外部区域还是Back键都无法dismiss弹框

        mPopupWindow.setBackgroundDrawable(new ColorDrawable(getResources().getColor(R.color

                .empty_view_background)));

        mPopupWindow.setOutsideTouchable(true);

        mPopupWindow.setFocusable(true);

        mPopupWindow.update();

        mBtn.setOnClickListener(this);

    }

    /**

     * popup window view 初始化

     *

     * @return View

     */

    private View getContentView(Context ctx) {

        mContentView = (ViewGroup) LayoutInflater.from(ctx)

                .inflate(R.layout.popup, null);

        View emptyViewAbovePanel = mContentView.findViewById(R.id.empty_view);

        emptyViewAbovePanel.setOnClickListener(this);

        return mContentView;

    }

    @Override

    public void onClick(View v) {

        int i = v.getId();

        if (i == R.id.empty_view) {

            Animation animation = AnimationUtils.loadAnimation(this, R.anim.pop_gone);

            mContentView.startAnimation(animation);

            animation.setAnimationListener(new Animation.AnimationListener() {

                @Override

                public void onAnimationStart(Animation animation) {

                }

                @Override

                public void onAnimationEnd(Animation animation) {

                    mPopupWindow.dismiss();

                }

                @Override

                public void onAnimationRepeat(Animation animation) {

                }

            });

        } else if (i == R.id.result) {

            mContentView.startAnimation(AnimationUtils.loadAnimation(this, R.anim.pop_in));

            mPopupWindow.showAsDropDown(mBtn, 50, 50);

        }

    }

}
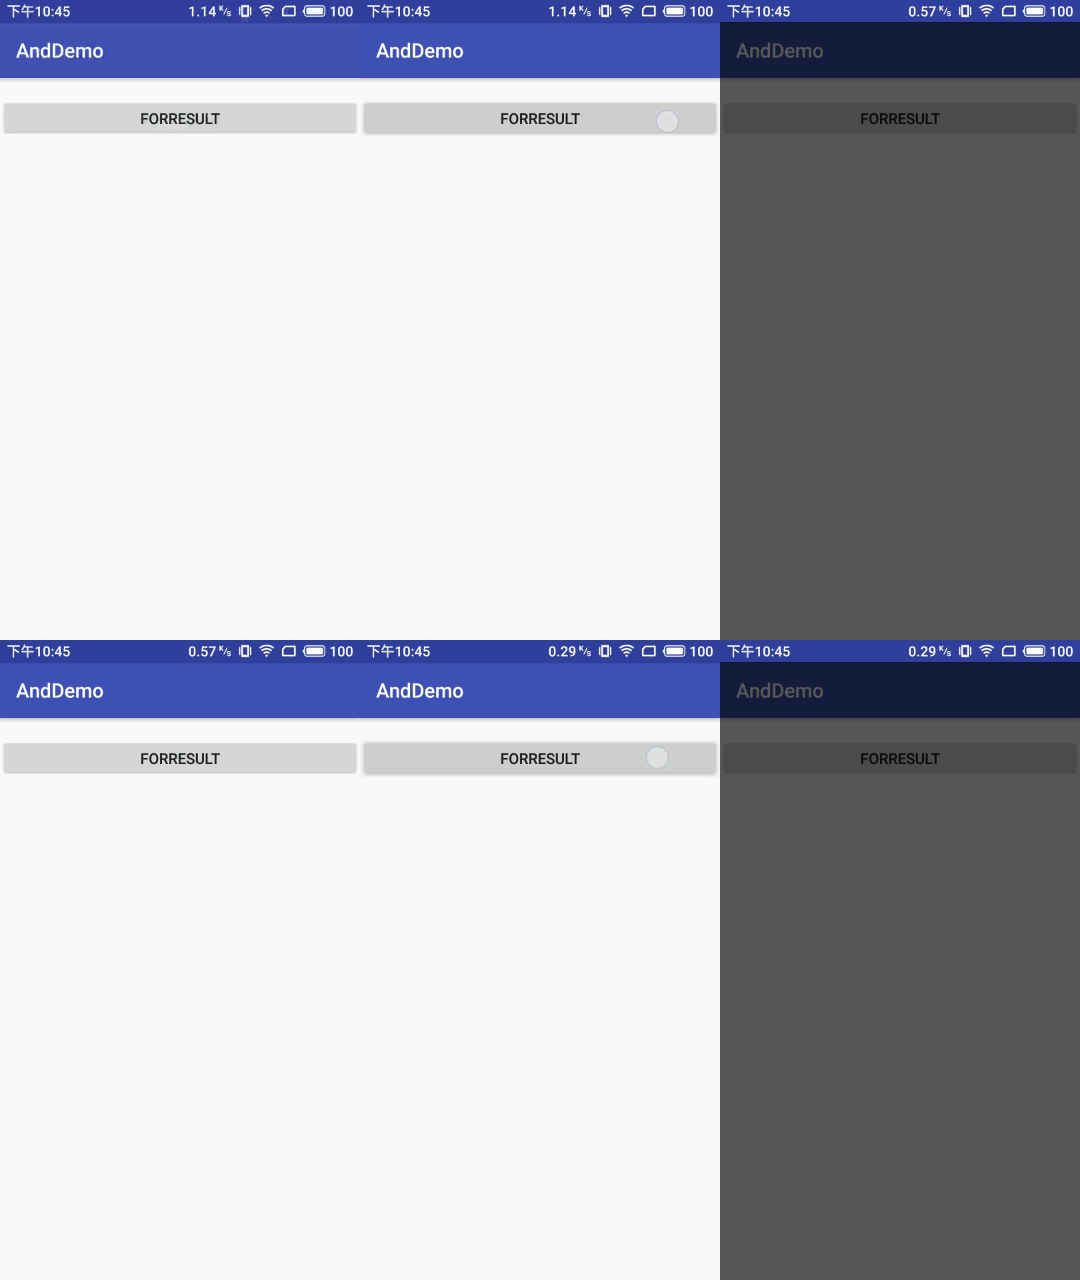
上面的代码设置了蒙层,出场入场的动画效果。
动画设置
出场动画文件xml:
<?xml version="1.0" encoding="utf-8"?>

<set xmlns:android="http://schemas.android.com/apk/res/android">

    <translate

        android:duration="400"

        android:fromXDelta="0"

        android:fromYDelta="0"

        android:toXDelta="0"

        android:toYDelta="100%" />

</set>
进场动画文件xml:
<?xml version="1.0" encoding="utf-8"?>

<set xmlns:android="http://schemas.android.com/apk/res/android">

    <translate

        android:duration="400"

        android:fromXDelta="0"

        android:fromYDelta="100%"

        android:toXDelta="0"

        android:toYDelta="0" />

</set>
为什么出场动画不用 PopUpWindow 默认动画设置呢。这是因为视觉只希望下面蓝色部分有动画效果,蒙层不需要这个动画效果。因此我们就必须添加额外的处理逻辑。如果采用默认的动画设置效果,将会使得蒙层也有动画效果。
在资源文件的values的style.xml中添加如下代码
<style name="pop_animation" parent="android:Animation">

    <item name="android:windowEnterAnimation">@anim/pop_in</item>

    <item name="android:windowExitAnimation">@anim/pop_gone</item>

</style>
android:windowEnterAnimation:为窗体进入时执行;
android:windowExitAnimation:为窗体退出时执行;
将其使用到PopupWindow中:
mPopupWindow.setAnimationStyle(R.style.pop_animation);

mPopupWindow.showAtLocation(view, Gravity.CENTER, 0, 0);
setAnimationStyle() 即是为 PopupWindow 添加动画的方法,由于 PopupWindow 不能像其他的 View 一样使用 ObjectAnimator, 所以使用动画需要在 style 中定义,并且使用 PopupWindow 的 setAnimationStyle() 方法。这样的话就可以使用。
蒙层的处理
除了上面的我的蒙层方法,还有其他添加蒙层的方法:
1)添加一层view
private void addMaskView(IBinder token) {

    WindowManager.LayoutParams p = new WindowManager.LayoutParams();

    p.width = WindowManager.LayoutParams.MATCH_PARENT;

    p.height = WindowManager.LayoutParams.MATCH_PARENT;

    p.format = PixelFormat.TRANSLUCENT;

    p.type = WindowManager.LayoutParams.TYPE_APPLICATION_PANEL;

    p.token = token;

    p.windowAnimations = android.R.style.Animation_Toast;

    maskView = new View(context);

    maskView.setBackgroundColor(0x7f000000);

    maskView.setFitsSystemWindows(false);

    maskView.setOnKeyListener(new OnKeyListener() {

        @Override

        public boolean onKey(View v, int keyCode, KeyEvent event) {

            if (keyCode == KeyEvent.KEYCODE_BACK) {

                removeMaskView();

                return true;

            }

            return false;

        }

    });

    wm.addView(maskView, p);

}
然后在消失的时候进行移除:
public void dismiss() {

    if (maskView != null) {

        wm.removeViewImmediate(maskView);

        maskView = null;

    }

    super.dismiss();

}
2) 透明度
还有人是直接使用透明度来实现的。
private void bgAlpha(float alpha) {

    WindowManager.LayoutParams lp = ((Activity)context).getWindow().getAttributes();

    lp.alpha = alpha;// 0.0-1.0

    ((Activity)context).getWindow().setAttributes(lp);

}
最新文章
- Microsoft开源跨平台的序列化库——Bond
- [转载] Tmux 速成教程:技巧和调整
- MediaPlayer开发全解析
- sqlserver 变量
- ARM学习笔记15——串口通信基本原理【转】
- hdoj 1047 Integer Inquiry
- js动态加载html,加载后的页面元素某些事件失效的解决方案
- Android DES AES MD5加密
- python3的文件读写模式
- python 自动认证登录
- CodeForces 916E Jamie and Tree(树链剖分+LCA)
- 重新设置Eclipse的workspace路径
- TextView走马灯
- Openwrt无线中继设置并访问外网
- 命名自我规约manual
- 【Jenkins】Jenkins安装
- 八:python 对象类型详解四:字典
- bootstrap collapse 无法收回
- CSAPP lab2 二进制拆弹 binary bombs phase_6
- webpack相关
热门文章
- Zabbix数据库空间大小使用计算
- 宁远电子瑞芯微RK3399开发板DLT3399A底层接口调用
- Ajax前台返回JSON数据后再Controller中直接转换成类型使用,后台接收json转成实体的方法
- Keras实例教程(3)
- SQL奇技淫巧(01):给查出的数据排序编个号【row_number() over(order by c)】(mysql,db2,oracle,sqlserver通用)
- Codeforces 1009E
- ParquetDecodingException: Can not read value at 0 in block -1 in file hdfs:...
- xcode删除一个项目
- P4570 [BJWC2011]元素 线性基 + 贪心
- URAL-1982-Electrification Plan最小生成树或并查集